2 good noses: fleece and foam, sports ball
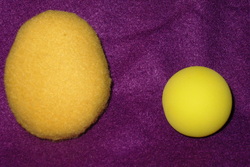
Yes, I am on to talking about building noses! This is something that probably won't come in any pattern that you buy. It's time to get creative and do some problem solving. The person who I am building this puppet for requested a large oval nose. As you know, you can't go to the "puppet store" and buy an oval shaped yellow nose. So, remember those leftover foam pieces? This'll be the time for using some. The pictures below show you the steps I usually go through to make a nose. If you are going for a small round nose, you could get a small yellow foam ball from your local sporting goods store. (These also work great for eyes!)
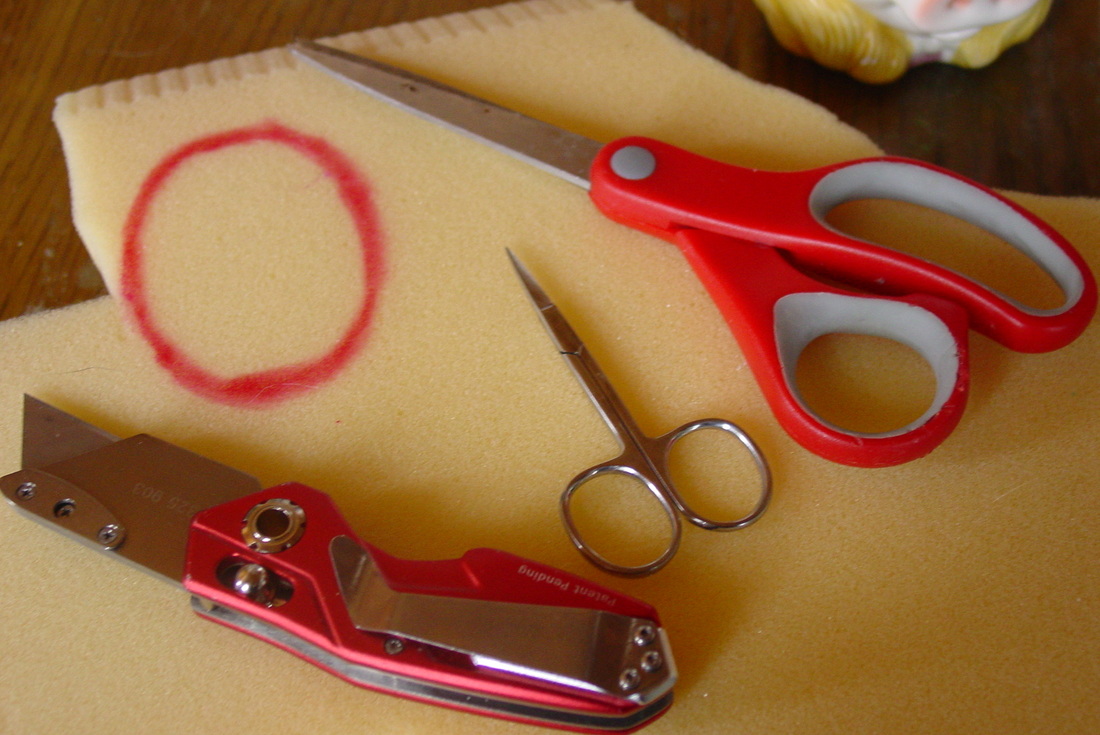
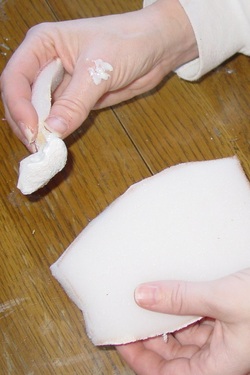
I draw the size and shape I want the nose
I cut it out roughly with a sharp utility knife and scissors
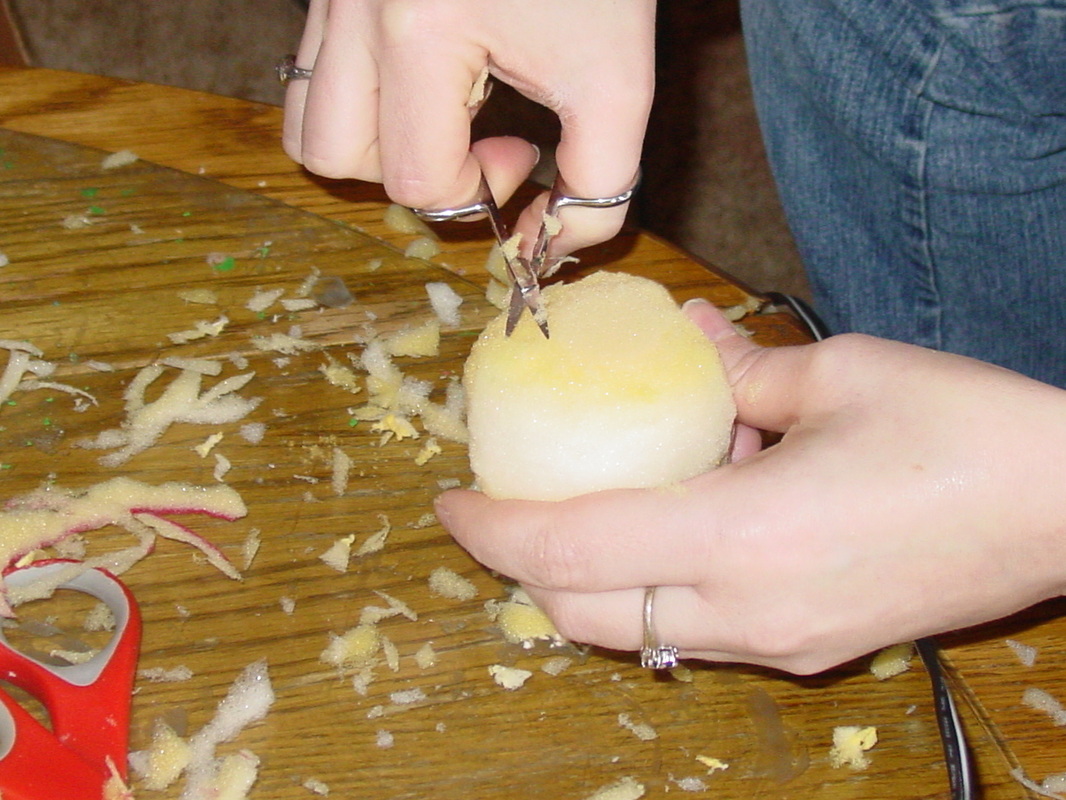
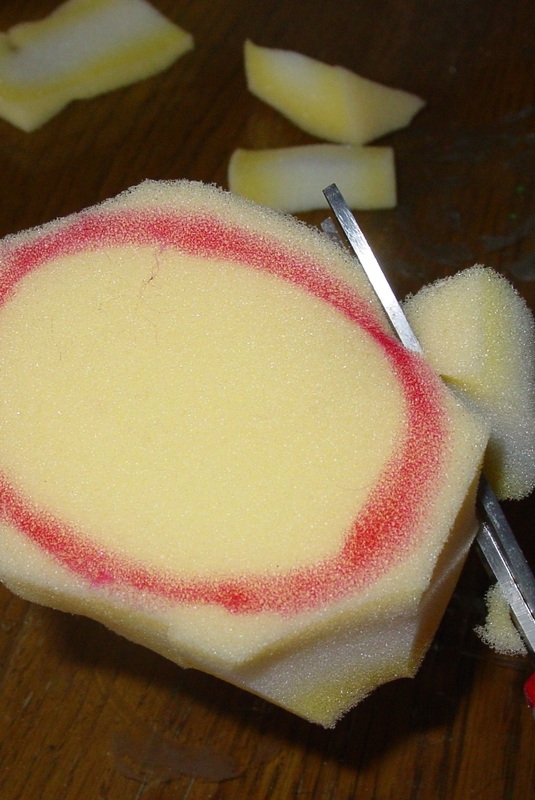
I carve it (this takes quite awhile!) with an embroidery scissors
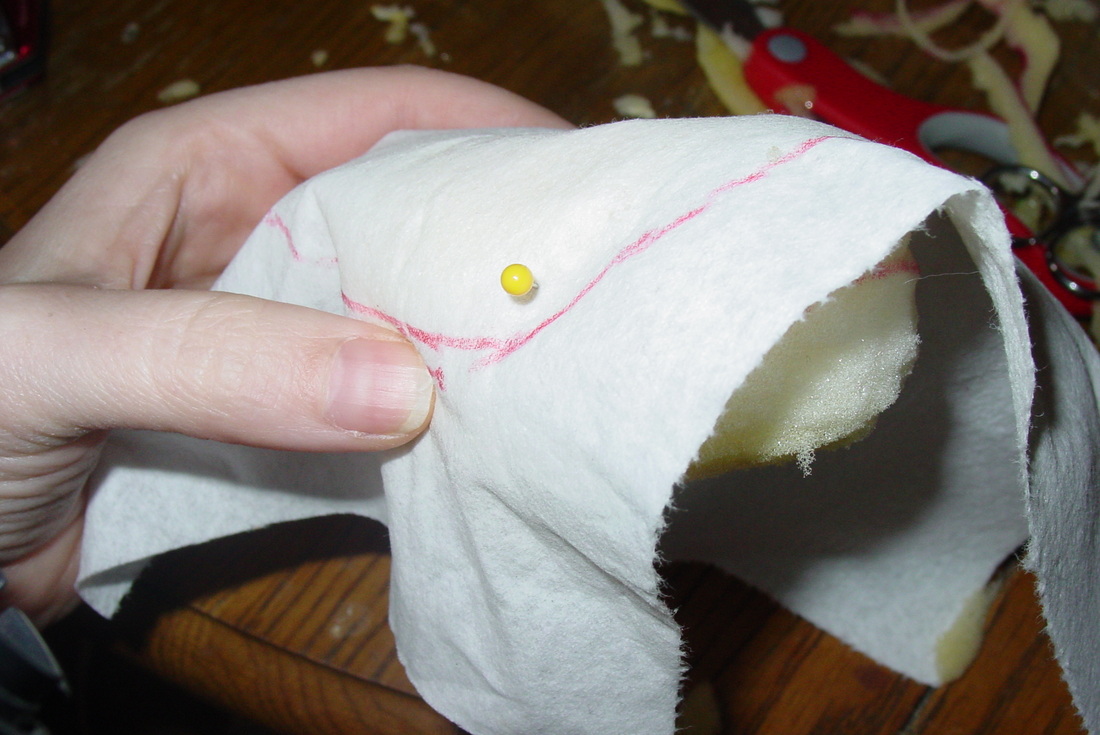
I make a pattern for my fleece with a piece of paper towel
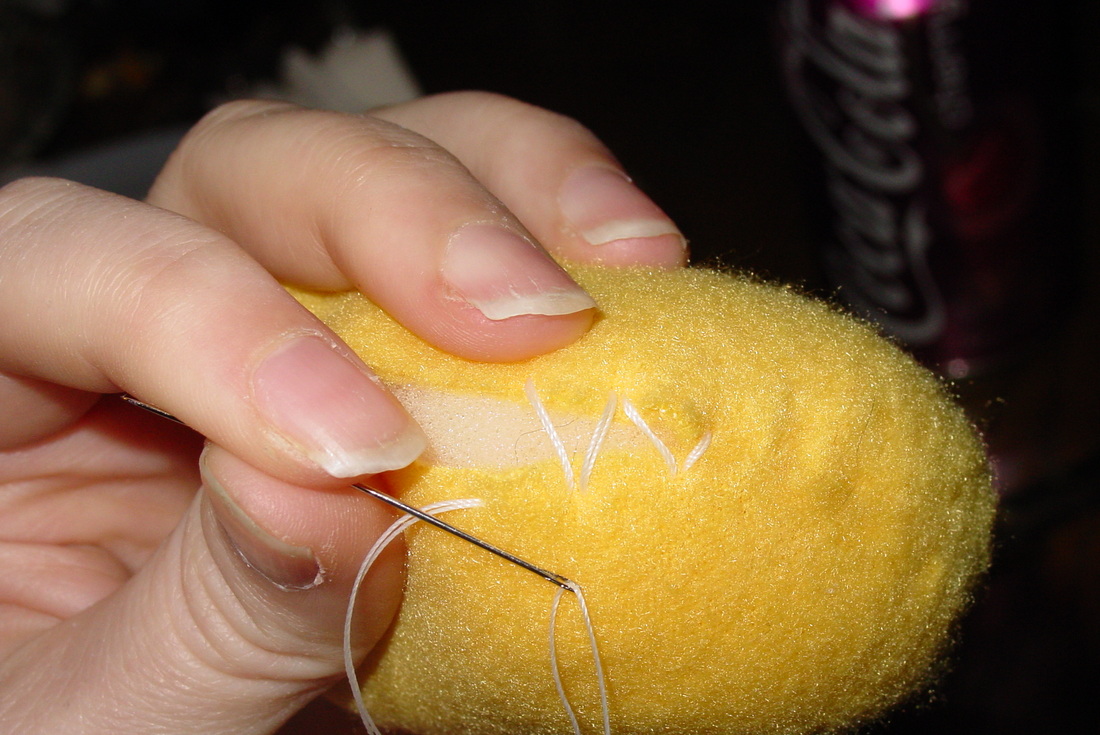
I hand sew it all around
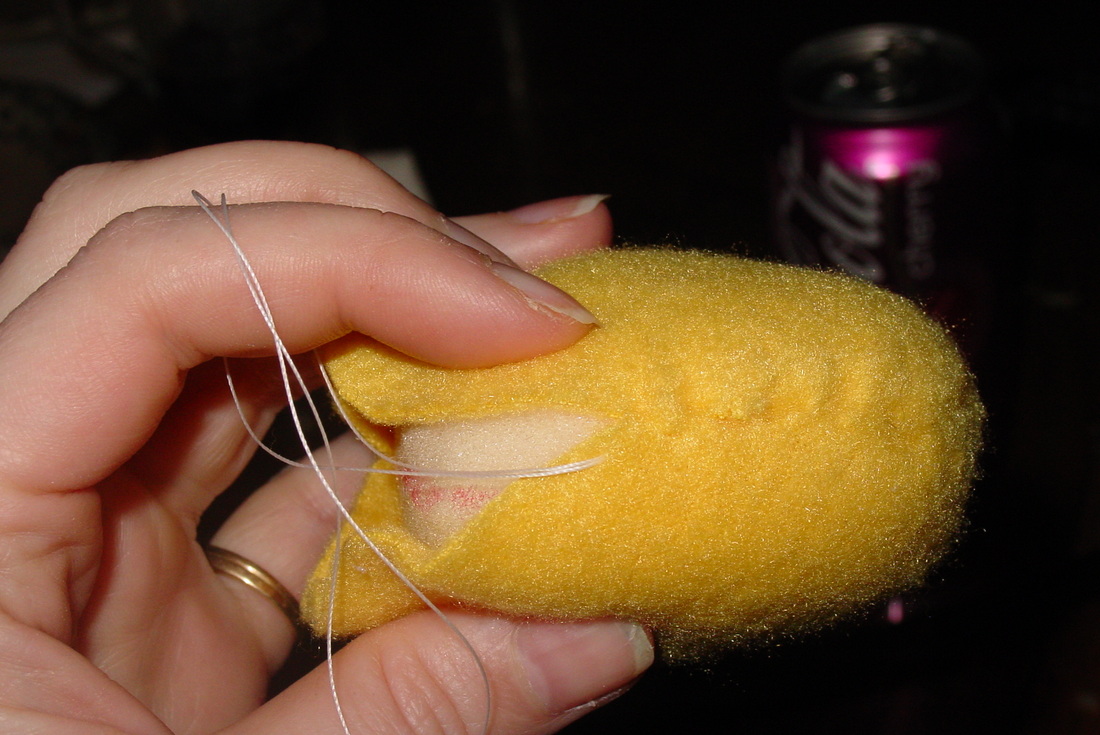
Until it is finished. (The seam mostly disappears, I help a little by picking gently with the needle)
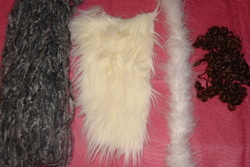
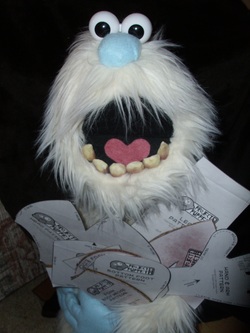
Before I get into sewing fur- I'd like to show you a little bit about different types of materials that can be used for hair. This furry monster that I am working on will even have a "poof" of hair above his eyes. This picture shows some materials I have used to make hair. (L to R) Yarn, faux fur, marabou fur, doll hair. I've also cut fleece into strips, used wigs, and artificial cob webs. Your imagination is pretty much your limit! A fun thing I love to do is go to the thrift store, and sometimes the shopping mall and hit the clearance sales with puppets in mind (especially good after Halloween!). You'll be surprised what deals and inspiration you will find.
Tomorrow, we'll talk noses!!
I have struggled in the past experimenting with all different sorts of glue, amount of time to allow to dry, and how much glue to apply!
There is no one perfect way to build a puppet- I believe most builders experiment and find their particular favorite ways of doing things. It's part of the process- I find it fun to be able to figure out something or discover a new way of doing a step.
I have included a picture here of how I glue foam parts together. Lightly applying to both sides with a scrap piece of foam, then allowing only about 15-20 minutes to dry for the contact cement seems to work well for me. I apply the glue to all the different pieces in one setting- because usually by the time I am done putting the glue on the last piece, the first piece has had enough time to dry to stick together.
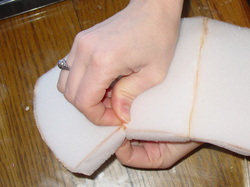
After the glue dries, I line up the edges and squeeze the two parts of the foam together. I've found that using a hand on either side gives me more control. I usually hold the parts together for 10-15 seconds until I can feel that the glue takes hold.
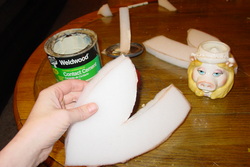
one of the halves of the foam "skull"
My next step in the process is cutting out all the foam pieces. Laying out the patterns on the foam, I try to get the least amount of waste as possible. For one puppet of this sort, I usually end up using about 16" wide x 27" long of foam. (Save the little bits- I'll show you later some fun things you can make with them.) Watch carefully when putting down the pieces, some will need to be flipped over to get the parts to lay out correctly (ie- the head pieces will need to have a left and right side) I usually use a sharp scissor, but have used a good utility knife for cutting, also. After cutting out all the pieces, apply the contact cement to the edges indicated on the pattern. I usually let it dry for about 15-20 minutes before gluing the edges together.
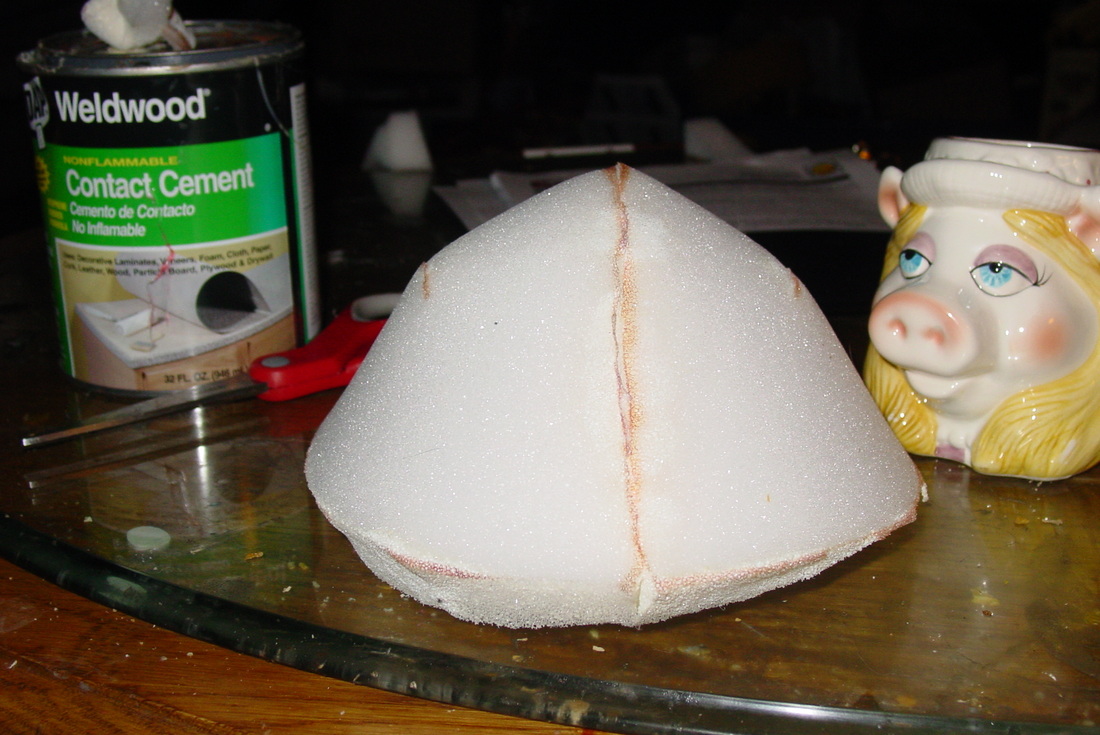
the foam "skull" put together
Now it's time to collect up my plethora of pattern pieces! For the monstery purple puppet, I will be using the "Mostro" pattern that I bought from projectpuppet.com . (I highly recommend their patterns- they are very complete and easy to follow!) I previously used this pattern on Brrrnadette, my teenage Yeti puppet, so it's already been cut. When I do cut out the patterns, I have found it is really helpful to use spray adhesive to mount them to a heavy cardboard. They last quite awhile longer that way, and have some weight for holding down the fur, foam or fabric that I am tracing them onto. Looks like I've got all my pieces- tomorrow we'll be cutting out the foam!
There are many different things that you can use to build a puppet. A sock, a spoon, fleece, a box- the list goes on and on.
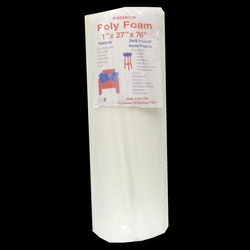
My monstery puppet will be built using a skeleton I construct from foam. The poly foam is 1" thick, and sold in rolls at craft stores for use in cushions and such things. I just picked up a new roll today- I try to watch for 40% off coupons for my local craft stores. The glue I use is called Weldwood contact cement.
I have built many different types of eyes. You can make them from styrofoam balls, ping pong balls, plastic spoons, ping pong balls and many other things. The eyes I will be using for this puppet, I order from a supply store. *We'll talk more about the eyes when I am on that step :)
I end up hand sewing quite a bit of the puppet. I am pretty rough on thread, and found that a spool of upholstery thread works the best for me. It makes things sturdier, and if I need to use a lighter weight thread in some areas I can always do that.

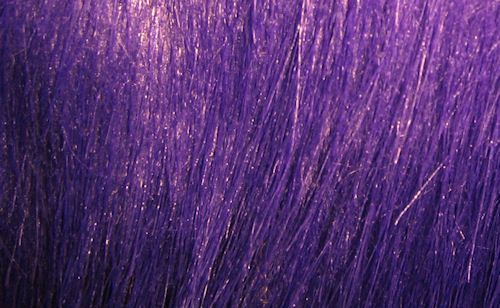
After the character sketch has been approved, it's time to choose the proper fabric. In the case of this monstery hand puppet, the furrier the better. After going to a few of my favorite online* fabric stores, I narrow it down to a couple different long pile furs.
Although the top choice is a nice long pile purple fur, I like the bottom fur better for it's wild "hairy" texture.
(*If you live in a large city- head to the fabric district! I am in the middle of Nowheresville, an hour from anywhere of significance.)
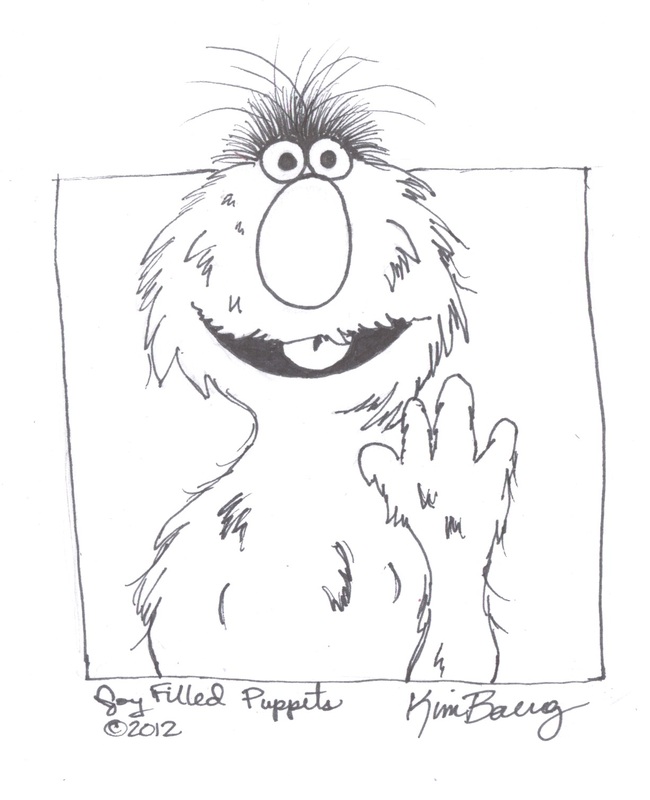
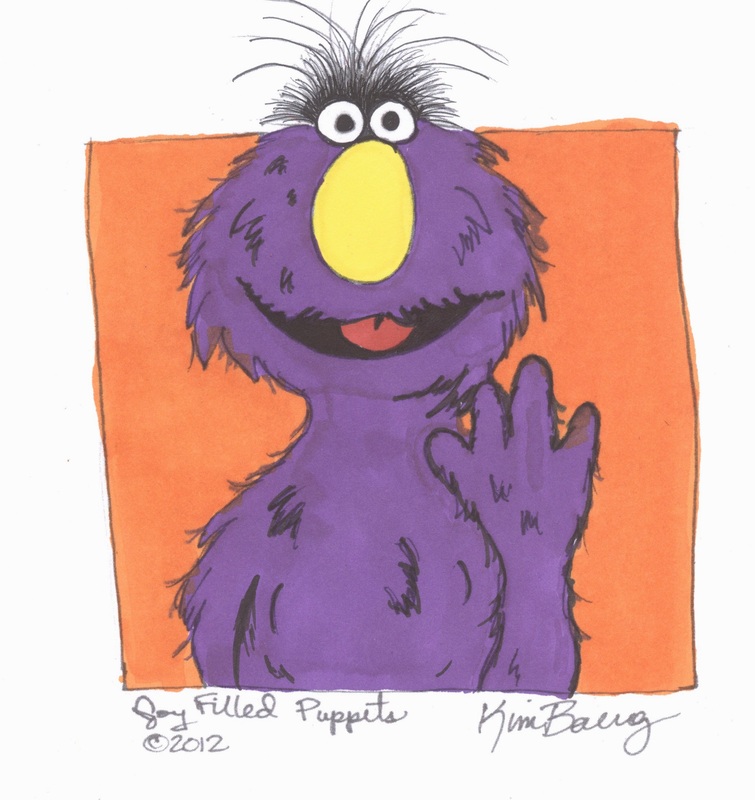
To build a puppet, I first have to get the character in my head down onto the paper. Sometimes this comes easily, other times there's kicking and screaming. Draw, draw, draw. Lots of paper might end up in the recycle bin, but better than fur and feathers.
I like to use Prismacolor markers and a Sharpie pen on plain printer paper. Once I get a black and white sketch that I am happy with, I scan it, then print it out. That way, if I mess up in the coloring process- I just print out another page and color again.


 RSS Feed