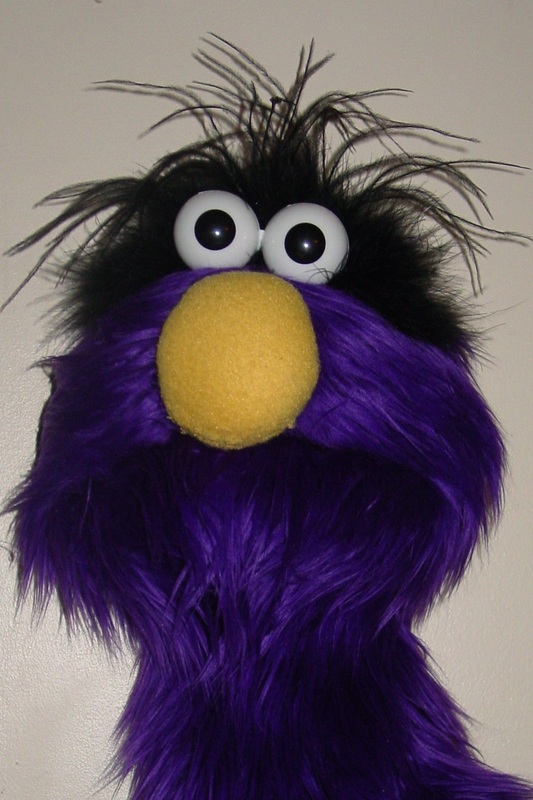
The top hair is in place and wild!
Back into working on our furry little monster!! Time to work on the "hair". I created the hair from a feather boa that I sewed 4 layers of about 5" each together. I then sewed each end of the boa onto either side of fabric behind the eyes of the puppet.
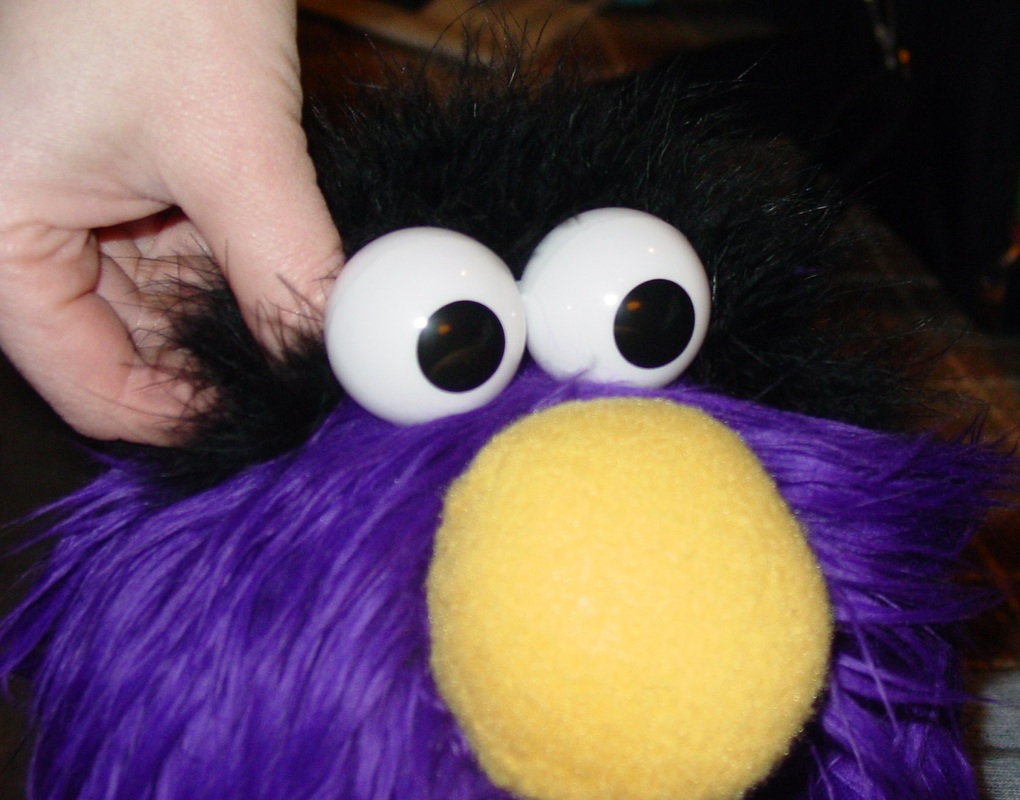
Next, I take an ostrich feather and snip off a few pieces and glue the ends and insert it down into the boa. I do this several times until I get the look I desire. I keep my original illustration in front of me at this point, so I can match it as closely as possible.
Tomorrow, we'll talk arm joints! :)
Attaching the boa layers to the long haired fur fabric with upholstery thread.
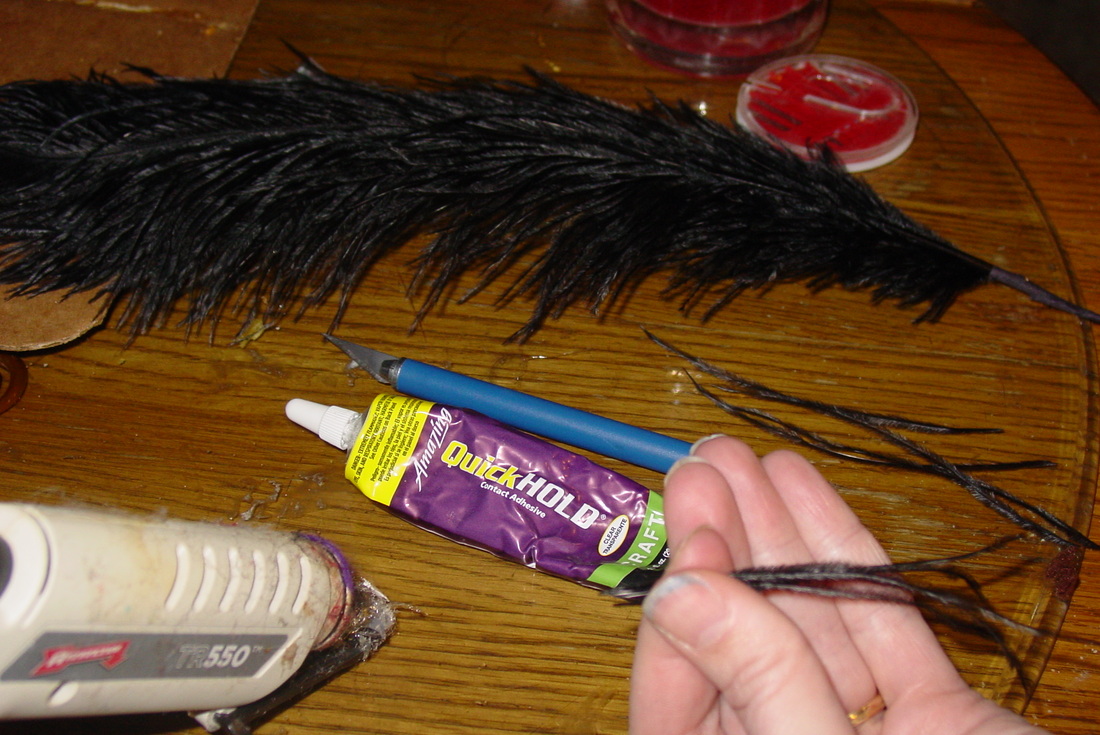
Cutting off ostrich feather pieces to glue to head

A few feather pieces transplanted as monster hair!
The mouthplate is the most important functioning part of the puppet. It really is the heart of the puppet, where all the life comes from. It needs to be easy to manipulate. Each puppet builder has their own preferred way of building a mouthplate. I build this mouth from very heavy cardboard (it's from an artist canvas). I place the two halves of the cardboard a little ways apart, then tape them together with masking or gaffers tape. Then, I glue the cardboard piece into the foam. All this will be glued to the inside of the fleece mouth- which I will show you on the next post. :)

Parts all ready to assemble mouthplate
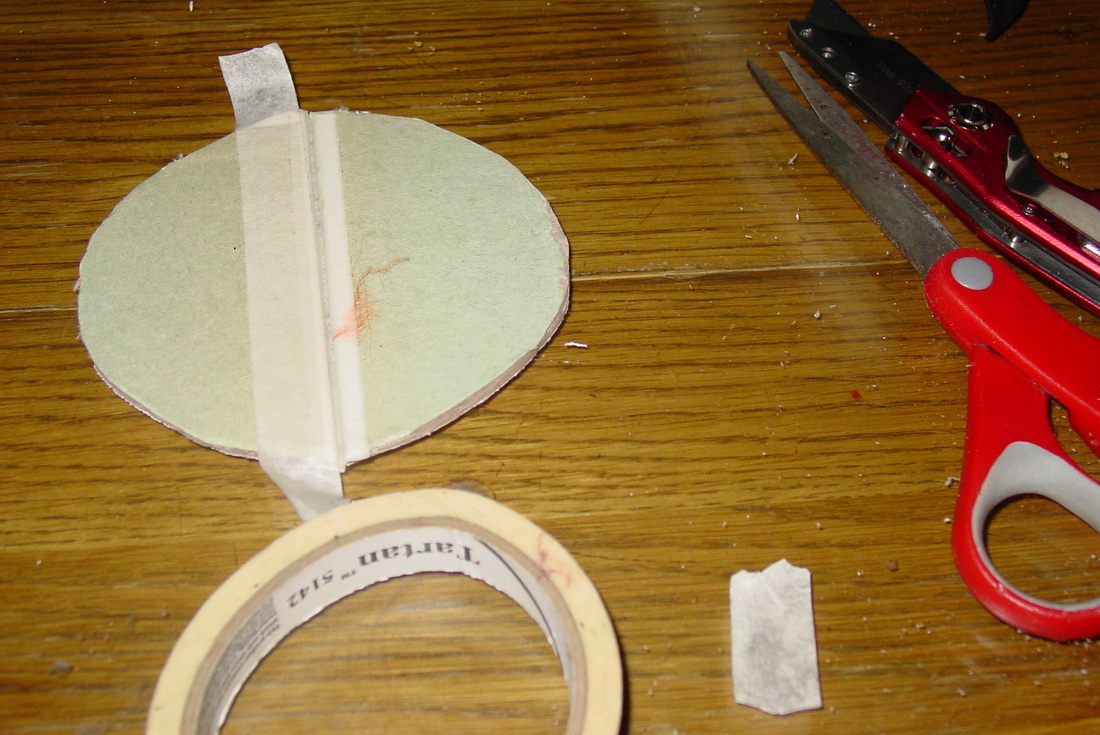
Taping the halves together before gluing into the foam piece for mouthplate.
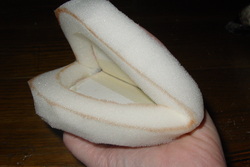
one of the halves of the foam "skull"
My next step in the process is cutting out all the foam pieces. Laying out the patterns on the foam, I try to get the least amount of waste as possible. For one puppet of this sort, I usually end up using about 16" wide x 27" long of foam. (Save the little bits- I'll show you later some fun things you can make with them.) Watch carefully when putting down the pieces, some will need to be flipped over to get the parts to lay out correctly (ie- the head pieces will need to have a left and right side) I usually use a sharp scissor, but have used a good utility knife for cutting, also. After cutting out all the pieces, apply the contact cement to the edges indicated on the pattern. I usually let it dry for about 15-20 minutes before gluing the edges together.
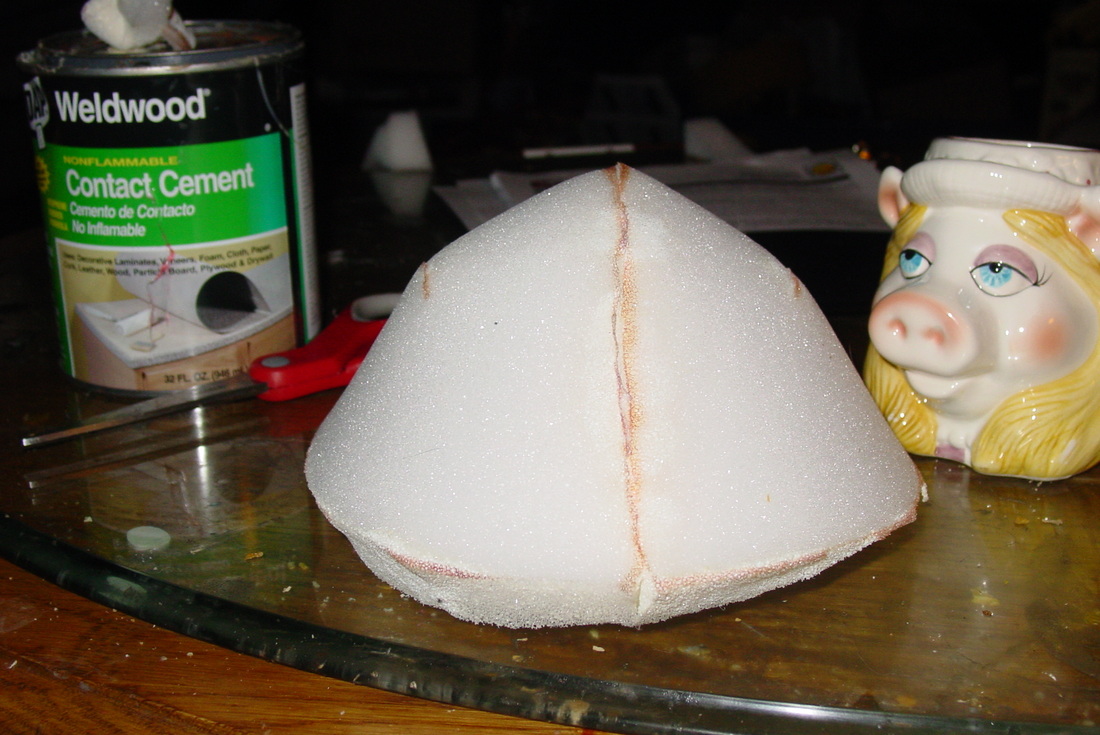
the foam "skull" put together
Now it's time to collect up my plethora of pattern pieces! For the monstery purple puppet, I will be using the "Mostro" pattern that I bought from projectpuppet.com . (I highly recommend their patterns- they are very complete and easy to follow!) I previously used this pattern on Brrrnadette, my teenage Yeti puppet, so it's already been cut. When I do cut out the patterns, I have found it is really helpful to use spray adhesive to mount them to a heavy cardboard. They last quite awhile longer that way, and have some weight for holding down the fur, foam or fabric that I am tracing them onto. Looks like I've got all my pieces- tomorrow we'll be cutting out the foam!
There are many different things that you can use to build a puppet. A sock, a spoon, fleece, a box- the list goes on and on.
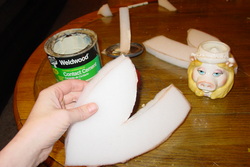
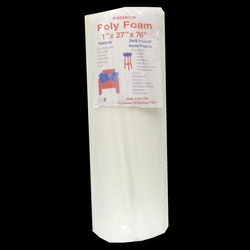
My monstery puppet will be built using a skeleton I construct from foam. The poly foam is 1" thick, and sold in rolls at craft stores for use in cushions and such things. I just picked up a new roll today- I try to watch for 40% off coupons for my local craft stores. The glue I use is called Weldwood contact cement.
I have built many different types of eyes. You can make them from styrofoam balls, ping pong balls, plastic spoons, ping pong balls and many other things. The eyes I will be using for this puppet, I order from a supply store. *We'll talk more about the eyes when I am on that step :)
I end up hand sewing quite a bit of the puppet. I am pretty rough on thread, and found that a spool of upholstery thread works the best for me. It makes things sturdier, and if I need to use a lighter weight thread in some areas I can always do that.

 RSS Feed