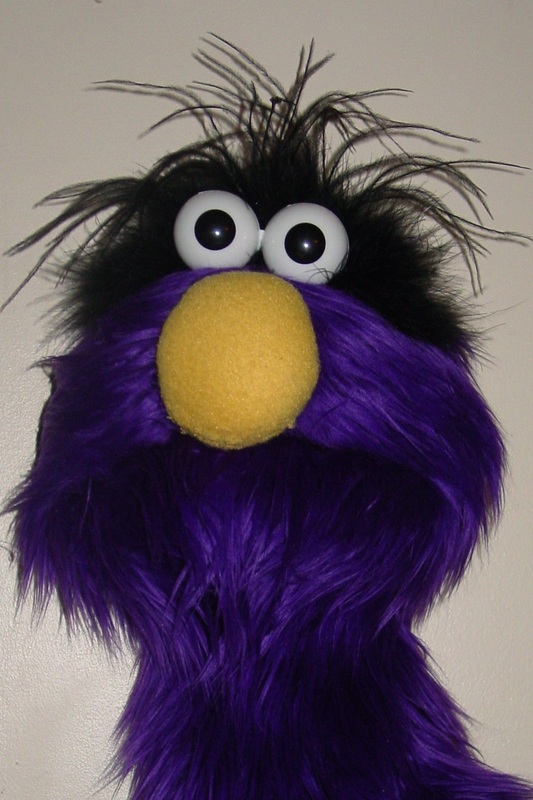
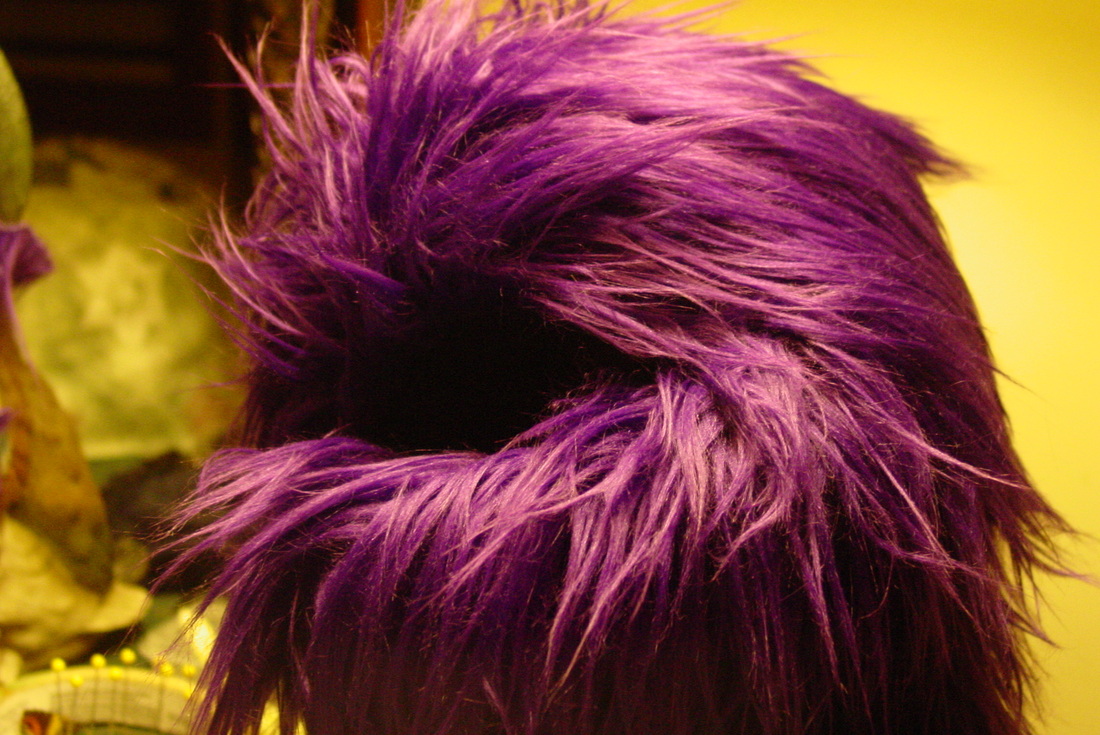
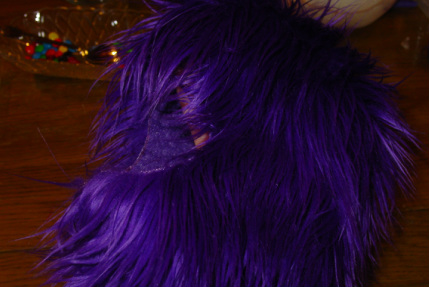
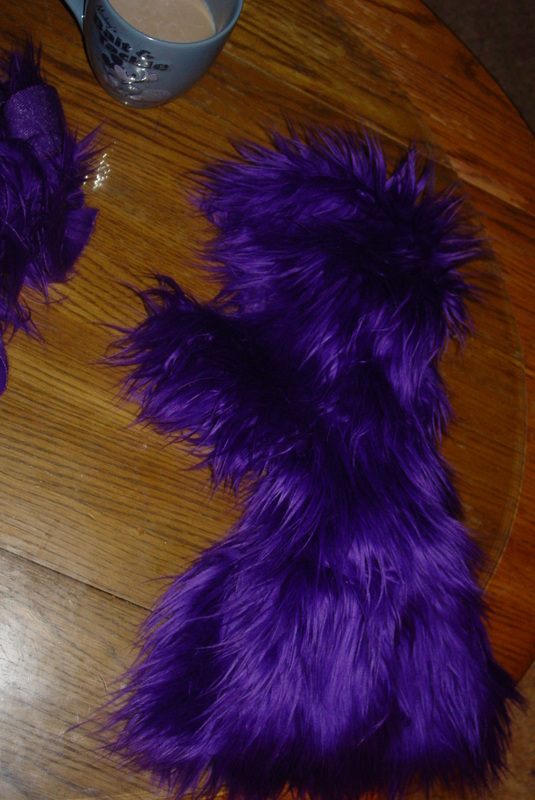
The top hair is in place and wild!
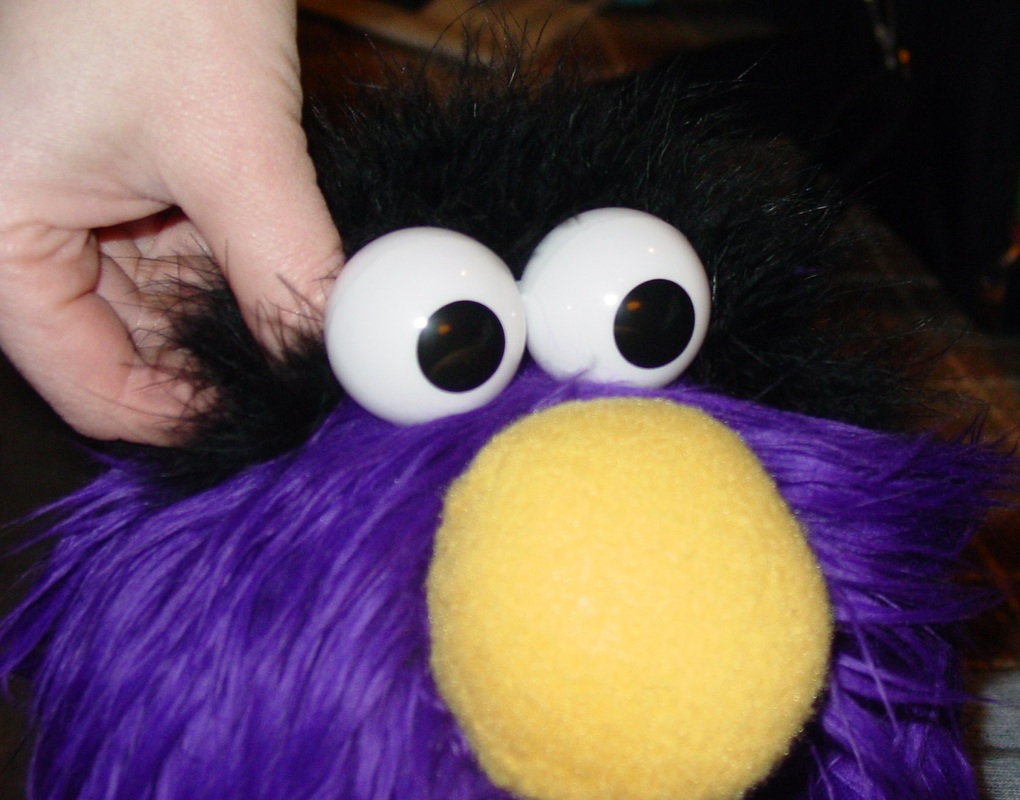
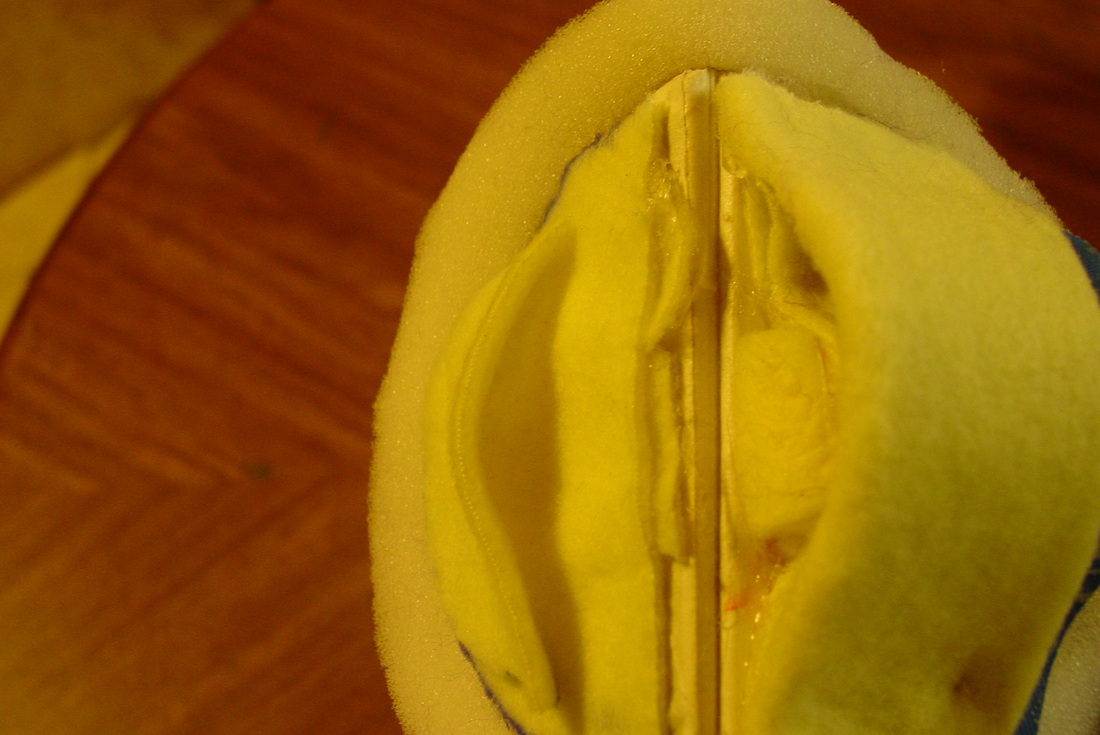
Back into working on our furry little monster!! Time to work on the "hair". I created the hair from a feather boa that I sewed 4 layers of about 5" each together. I then sewed each end of the boa onto either side of fabric behind the eyes of the puppet.
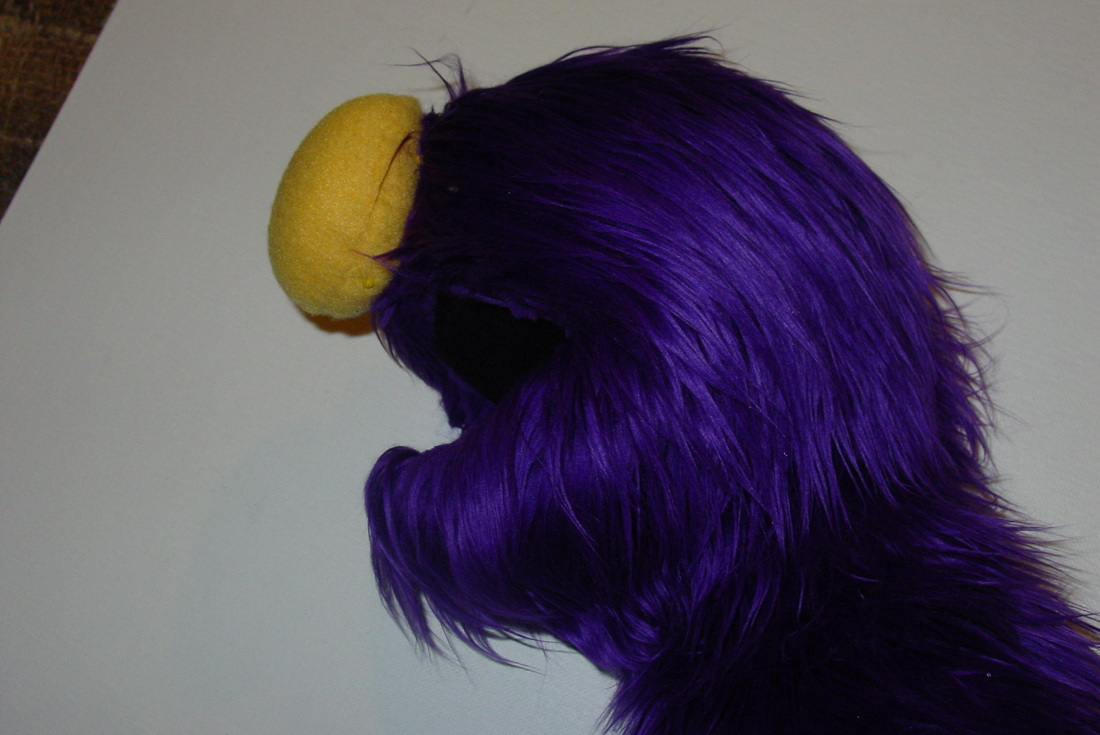
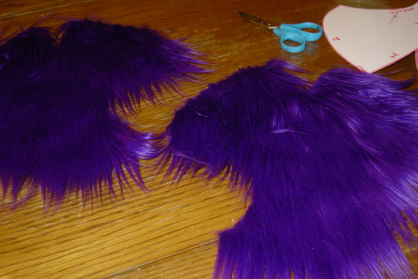
Next, I take an ostrich feather and snip off a few pieces and glue the ends and insert it down into the boa. I do this several times until I get the look I desire. I keep my original illustration in front of me at this point, so I can match it as closely as possible.
Tomorrow, we'll talk arm joints! :)
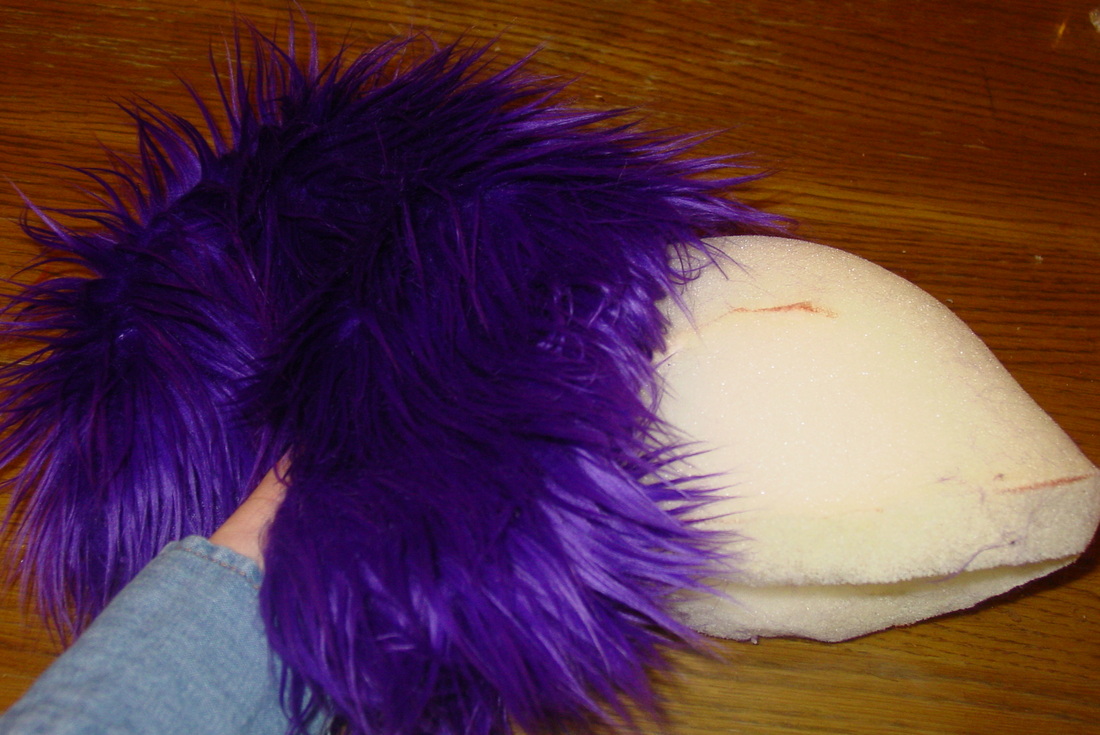
Attaching the boa layers to the long haired fur fabric with upholstery thread.
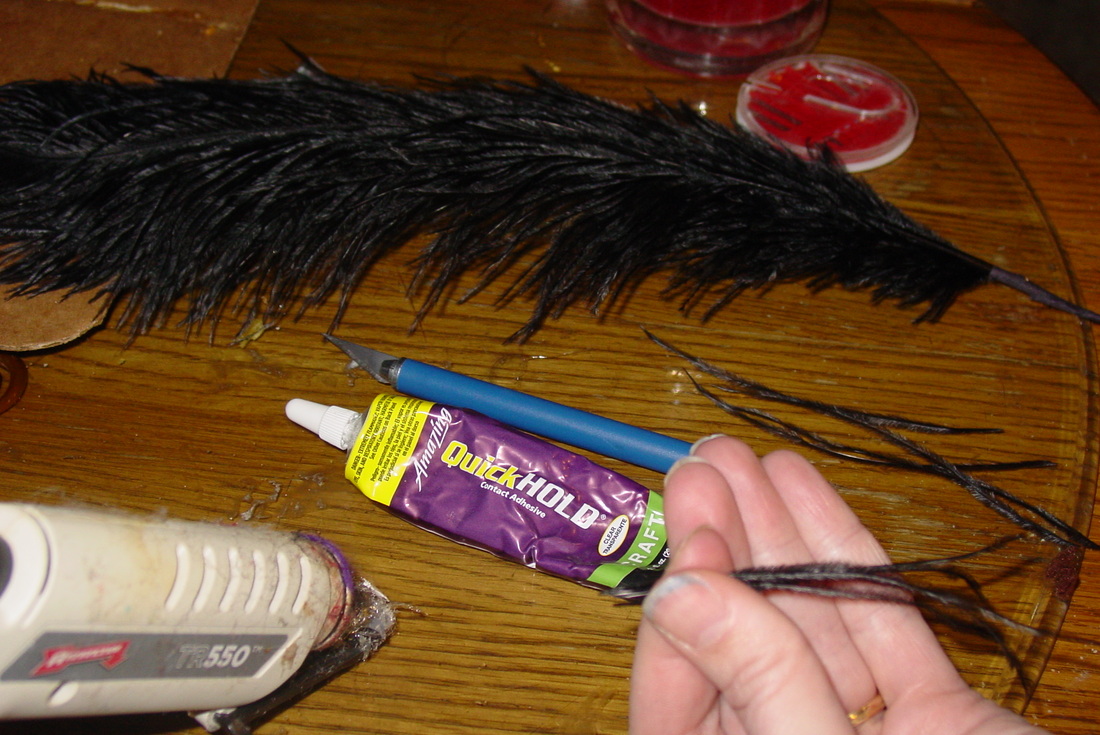
Cutting off ostrich feather pieces to glue to head

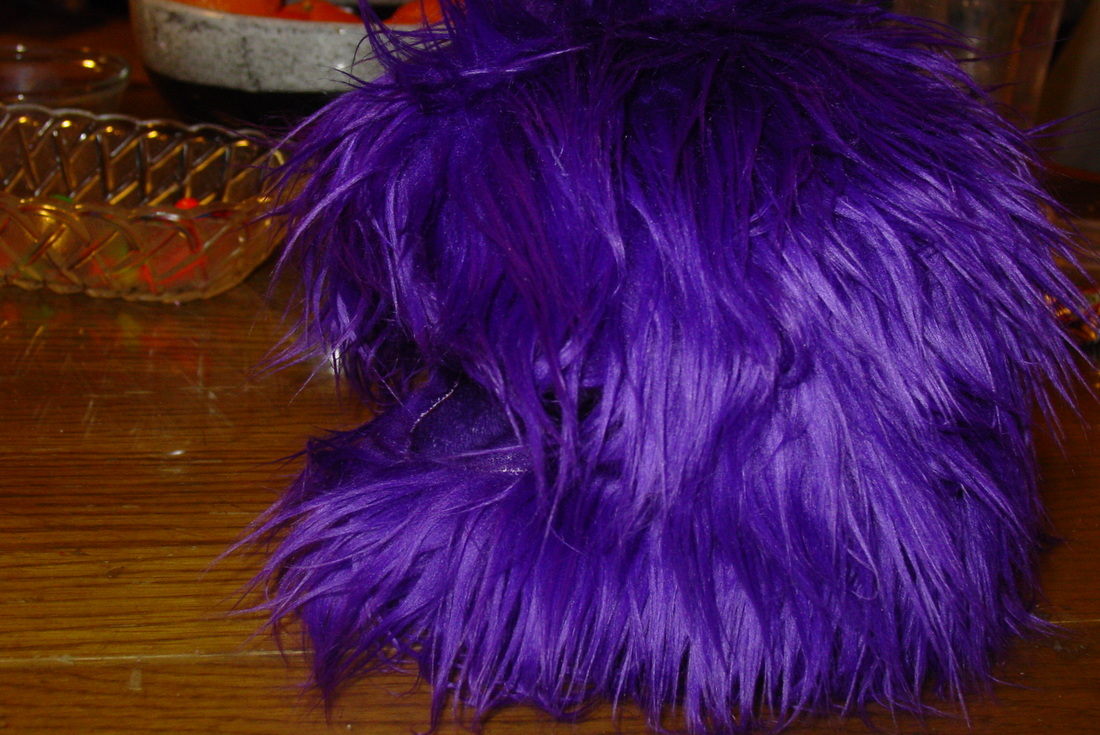
A few feather pieces transplanted as monster hair!

Some of the kids at the children's home in 2011, playing and hanging out with a friend of mine.
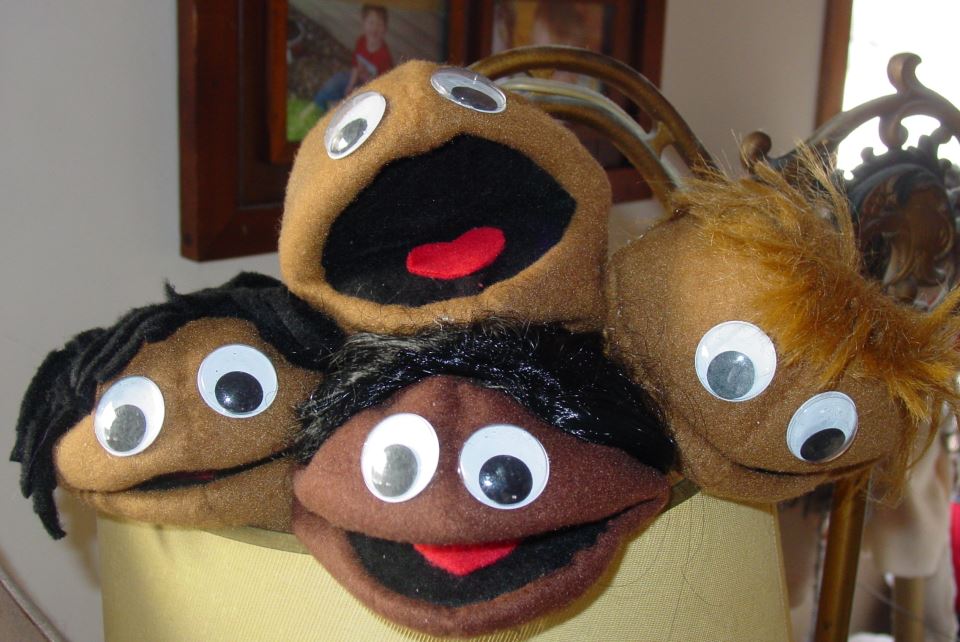
A few puppets resting in the shade!
Hey Everybody! Stick with me- we'll be back into furry monster tomorrow. I have been working on 6 special little puppets that will be heading to India with a missions team to teach at a children's home in Karjat. I created them from the "infamous" 1969 pattern that Jim Henson created for Women's Day magazine. They are about 14" tall, and compact really nicely to take up very little space. I am excited to get them finished up, so I can go teach the team how to use them this week. I will post some more on furry monster puppet tomorrow- this project just got put to the top of my list because I can see the impact that it will make in India in the lives of these kids.
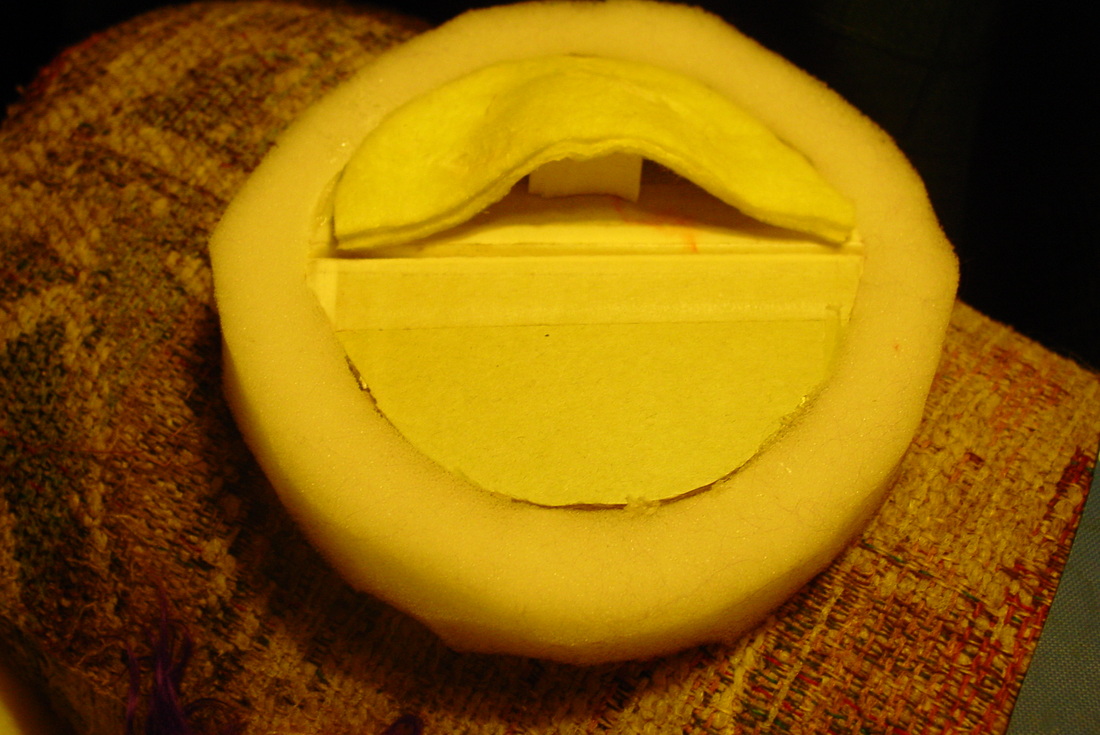
Mouthplate with bottom thumb pocket sewn in.
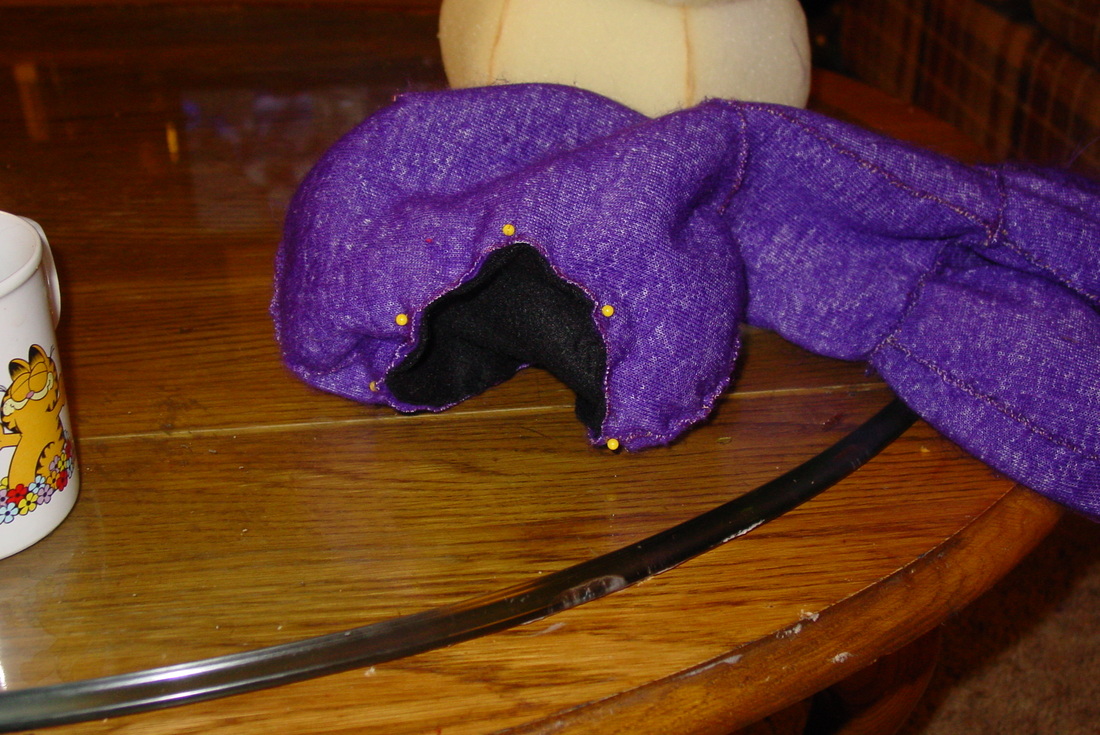
Nose pinned on to check for placement.

Nose pinned on, holding eyes up to decide where they LOOK best.
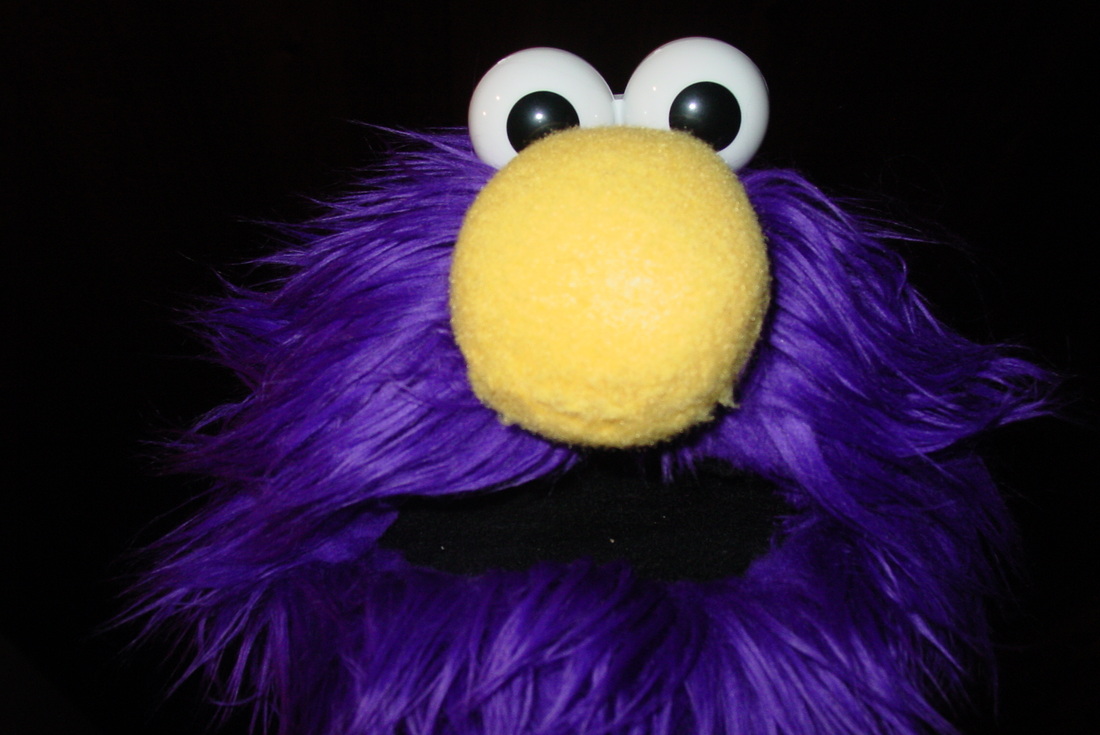
Puppet head after permanently attaching eyes and nose.
After finishing up the mouthgrip on the mouthplate inside the head, I get to turn it right side out again. I add the foam skull piece back in, in order to decide the placement of the nose and eyes. I can pin the nose on temporarily, then I can see where the eyes should go. This is a very important part of the puppet build, because the "focus" of the eyes needs to be just right. I want this puppet to appear to be almost peeking over his nose directly at the camera/audience. I used the seam as a guide to center the nose and the eyes, and decided on placing the eyes about 2 finger widths back from the top of the nose. This is going to differ from puppet to puppet. I really take my time getting the placement decided. I pin them where I think they should go- then I look at them straight on and from the sides. I also have other people look at them. (My kids are great critics!)
Before I sew the nose in place, I trim up some of the fur that will be directly under it (makes it lie flush to the head). After sewing the nose. I mark to small areas to cut just enough room to slide the posts from the eyes down into. I add the push-nuts onto the posts from the inside and they are locked in!

Positioning the grip onto the mouthplate
Tonight, I have been working on building the mouthgrip onto the mouthplate. I sew a panel of fleece around a sheet of rubber that goes together for the fingers of the hand to slide into. I also place a piece of latex makeup sponge material under where the middle of the hand goes to form a more natural position. (Otherwise, the puppeteer would be working with their fingers in a very uncomfortable position, basically flat out the whole time)
The panels of fleece are sewn together at the edges and cemented down to the mouthplate over the sponge. The whole thing is cemented to the black fleece inside the mouth.
Then, I turn the whole thing right side out to check my work again. Yay! Tomorrow we will be moving on to adding more facial features.
Mouthplate with grip, before adding top part to hold fingers in snugly.
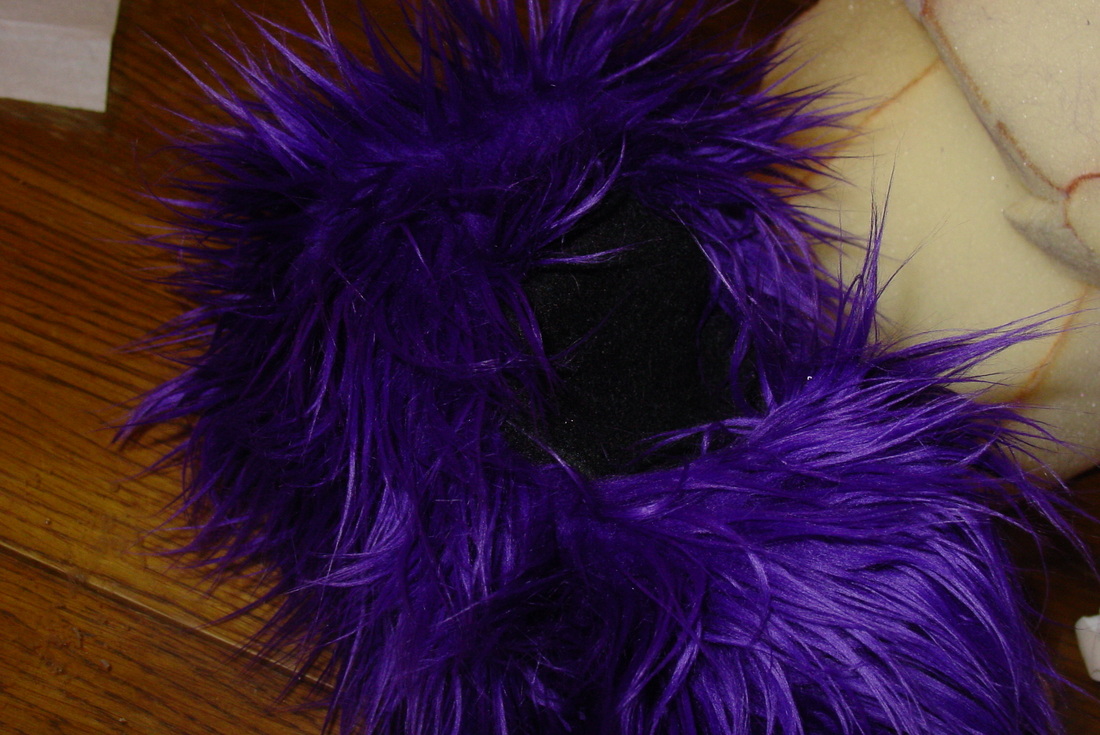
Funny, furry featureless head!
Brrrnadette saw her shadow today. She's wondering what we'll have 6 more weeks of. It certainly hasn't been a snowy Minnesota winter, thus far. I sat outside sewing for over an hour this afternoon with temps in the upper 40s and no breeze. WONDERFUL!! More building blog to come....please stand (or sit) by....
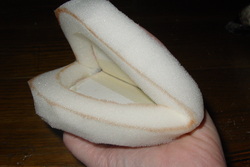
The mouthplate is the most important functioning part of the puppet. It really is the heart of the puppet, where all the life comes from. It needs to be easy to manipulate. Each puppet builder has their own preferred way of building a mouthplate. I build this mouth from very heavy cardboard (it's from an artist canvas). I place the two halves of the cardboard a little ways apart, then tape them together with masking or gaffers tape. Then, I glue the cardboard piece into the foam. All this will be glued to the inside of the fleece mouth- which I will show you on the next post. :)

Parts all ready to assemble mouthplate
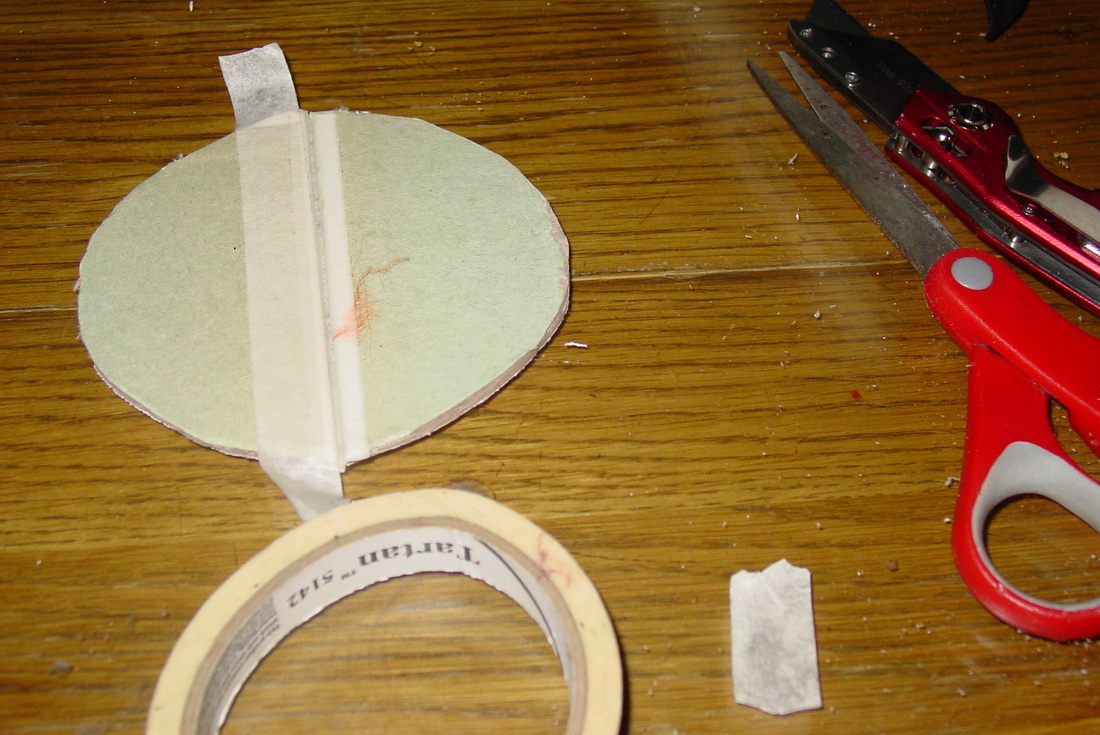
Taping the halves together before gluing into the foam piece for mouthplate.
This step is pretty simple. I like to cut out my mouth plate from fleece, although many people prefer using felt. This whole step is done with the fabrics inside out. After pinning the fleece to the fur- I sew it together (once again!) with the whip stitch. Then, I turn it right side out, just to see how cool it looks- and if I need to fix anything. :) Tomorrow, I will be working on the rest of the mouthplate parts.
(Technical note- Been having a bit of trouble with the blog stats and comments today, so if you sent something don't worry- I'm sure it will be on tomorrow when weebly works the bugs out. Another option is to send me a note on my Joy Filled Puppets page on face book.)
I did a lot more pinning and sewing today. Whip stitch is the boss- works best for me for speed and durability. As you can see in the picture of the inside-out fabric, I pin all the pieces to each other before sewing. I like to do it that way so I don't have to stop to pin every couple of minutes. I've used a brown colored thread so you can see where the stitches go. This Projectpuppet.com pattern has the three body parts- head, neck and torso. It goes together really smoothly. I just love this fur- so glad I will have quite a bit more leftover to play with for other puppets and parts. So fun! Tomorrow, I will be working on the mouth plate.
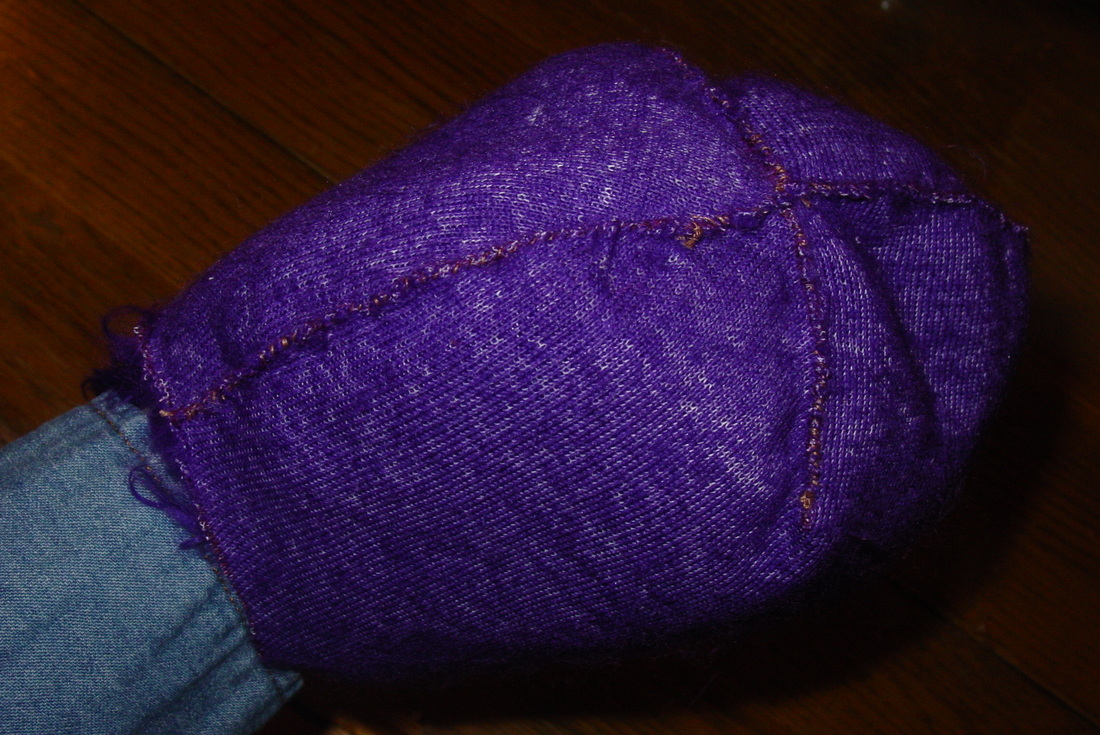
The head pieces sewn up, still inside out.
Tonight, I sewed up the head pieces. Beginning with the darts on each head piece individually I pin the dart sides together. I use a whip stitch to sew them up on the backing side. Then I pin the two halves together (fur side in) and whip stich all the way up from the neck hole to the mouth opening. I then sew up the pieces that will become the chin. Now, I get to turn it right side out to see how it looks! Yay! At this point I also like to "test out" the foam inside the head to see how everything fits so far. It looks great, so tomorrow I will turn it inside out again and continue with the body panels.
The head fur fabric right side out.
Putting the foam "skull" into the head for a test.
The fur fabric with the foam skull in it, fits well.
The fur all cut and ready to go for the head of the furry monster puppet!
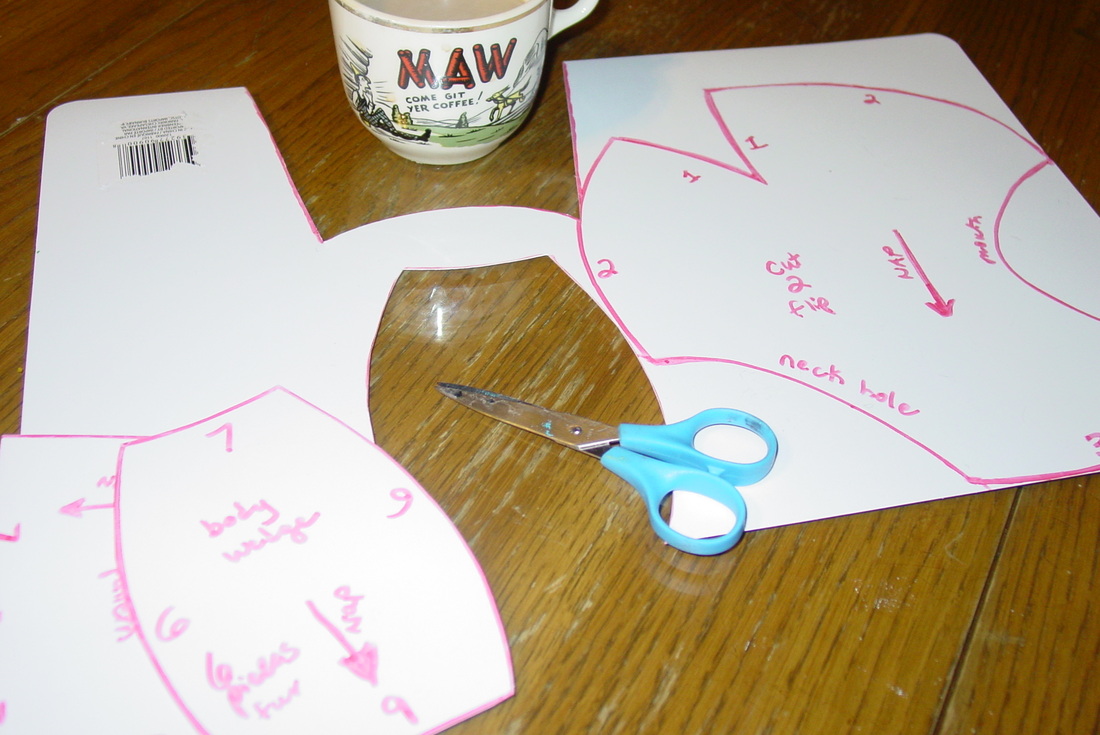
The fur just arrived yesterday, so I'm off and cutting. But first- I got the best tip right here on the blog from Amy Sue and I just have to pass it on! She mentioned cutting patterns out of plastic to make them last. So awesome! I picked up some placemats at the dollar store, traced my patterns on them, and cut them out. So easy, and so amazing. Thanks, Amy Sue!
A couple tips on cutting out fur-
1. Make sure the nap is all going the right direction when you put the pattern down. (The fur will look terrible if it is sewn together in different directions!)
2. When you are cutting, only cut the bottom fabric that the fur is attached to. This is done easily using small snips.
3. Always remember to flip the pattern over to cut "the other side of the head" instead of creating 2 left sides or right sides. I know it sounds simple and silly, but I've done it. :)
I usually get all of my fur cut out before I start any sewing, so I'll wait and get started on the sewing tomorrow.
Plastic place mats- super cheap investment in the life of your patterns.
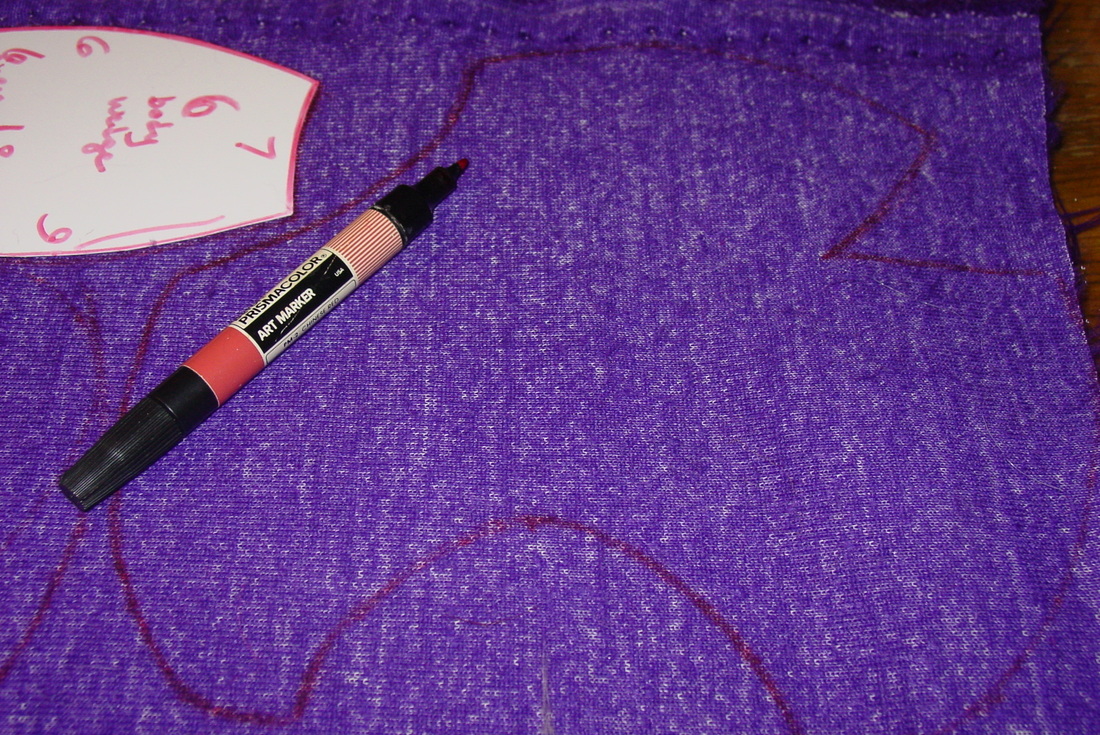
I usually trace my patterns onto the fabric with a marker. If it is a light fabric, I will use a chalk or something that disappears easily.


 RSS Feed