Many of my characters have been a couple different colors. But squirmy wormy- or Cornelius, as he will be called- will have 6 different colors of fleece, and polka dots to boot. It may take a little longer in the sewing, but the effect will be grand. The fleece will fit like a sock over the plastic tubing underneath, which will make a bendable but sturdy body for him.
Sewing, sewing and more sewing on the furry monster puppet. No pictures- only because I've already shown you how I sew- it would be repetitive. Instead I will give you a sneak peak at a new puppet I am in the early process of designing. It will be worn around the neck like a stole. The head will be rigged to a bracelet on the singer's wrist, so it will move the fox's head when the singer's arm moves.
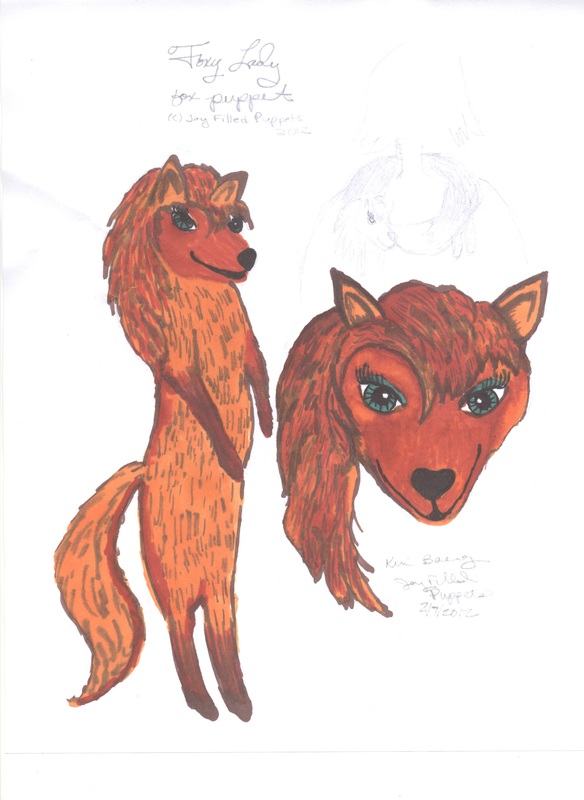
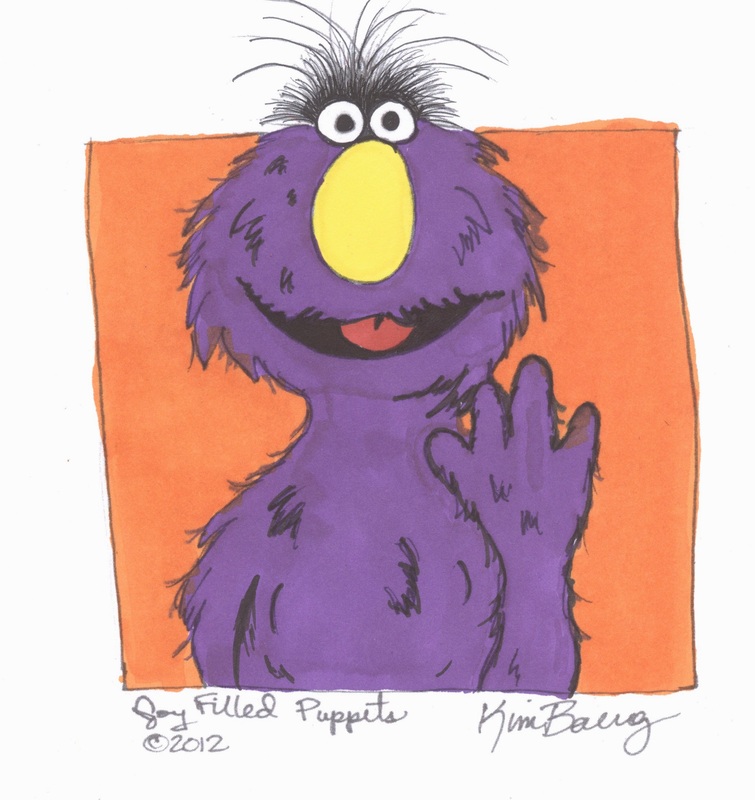
Color rendering of my design for a foxy stole puppet. (c) 2012 Joy Filled Puppets
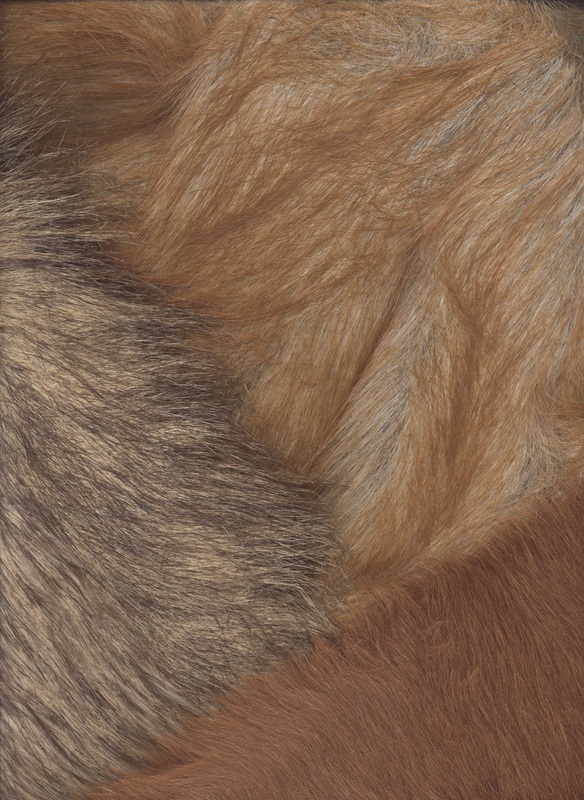
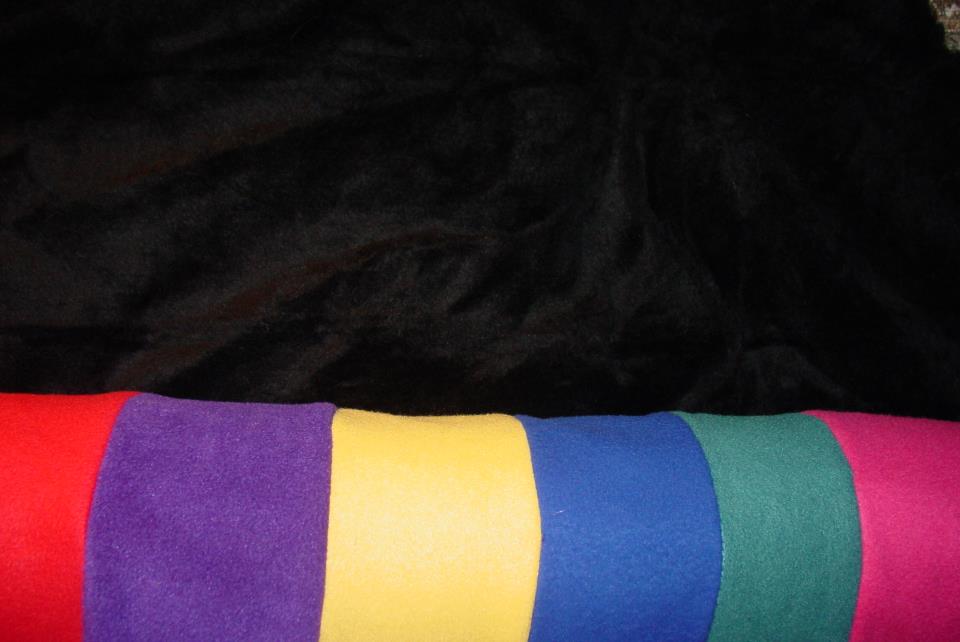
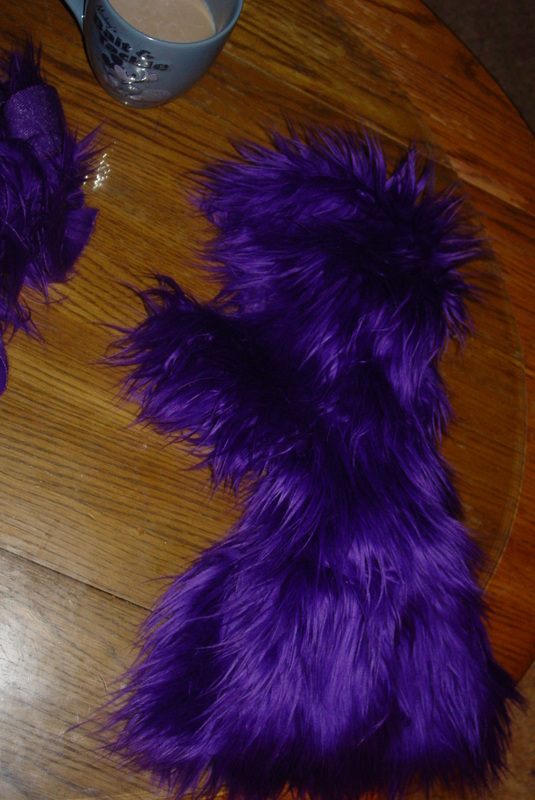
Furs that will be used for foxy stole puppet. Top right- body, Bottom right- head and paws, Left side- tail.
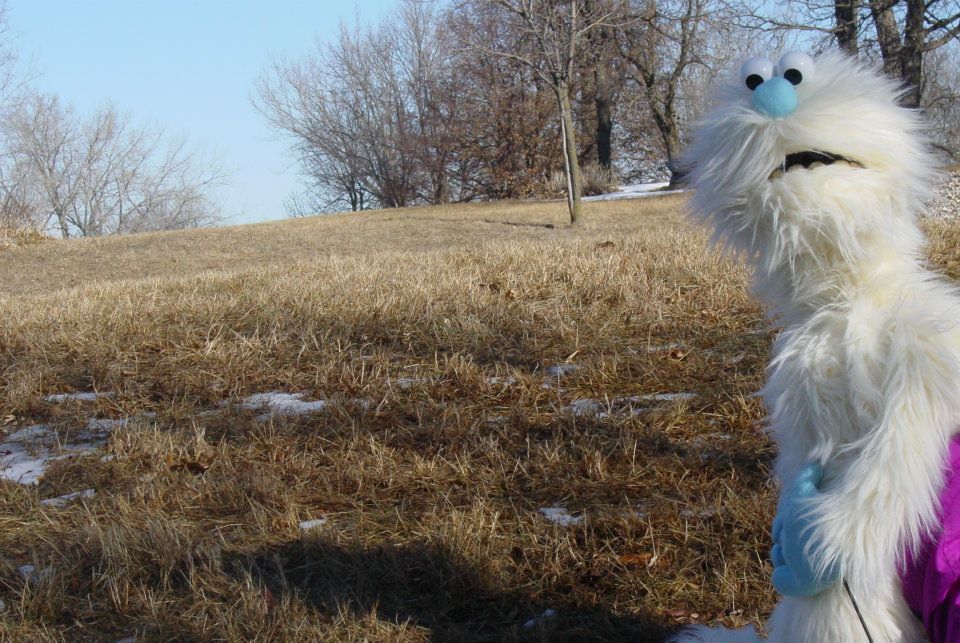
Brrrnadette saw her shadow today. She's wondering what we'll have 6 more weeks of. It certainly hasn't been a snowy Minnesota winter, thus far. I sat outside sewing for over an hour this afternoon with temps in the upper 40s and no breeze. WONDERFUL!! More building blog to come....please stand (or sit) by....
I did a lot more pinning and sewing today. Whip stitch is the boss- works best for me for speed and durability. As you can see in the picture of the inside-out fabric, I pin all the pieces to each other before sewing. I like to do it that way so I don't have to stop to pin every couple of minutes. I've used a brown colored thread so you can see where the stitches go. This Projectpuppet.com pattern has the three body parts- head, neck and torso. It goes together really smoothly. I just love this fur- so glad I will have quite a bit more leftover to play with for other puppets and parts. So fun! Tomorrow, I will be working on the mouth plate.
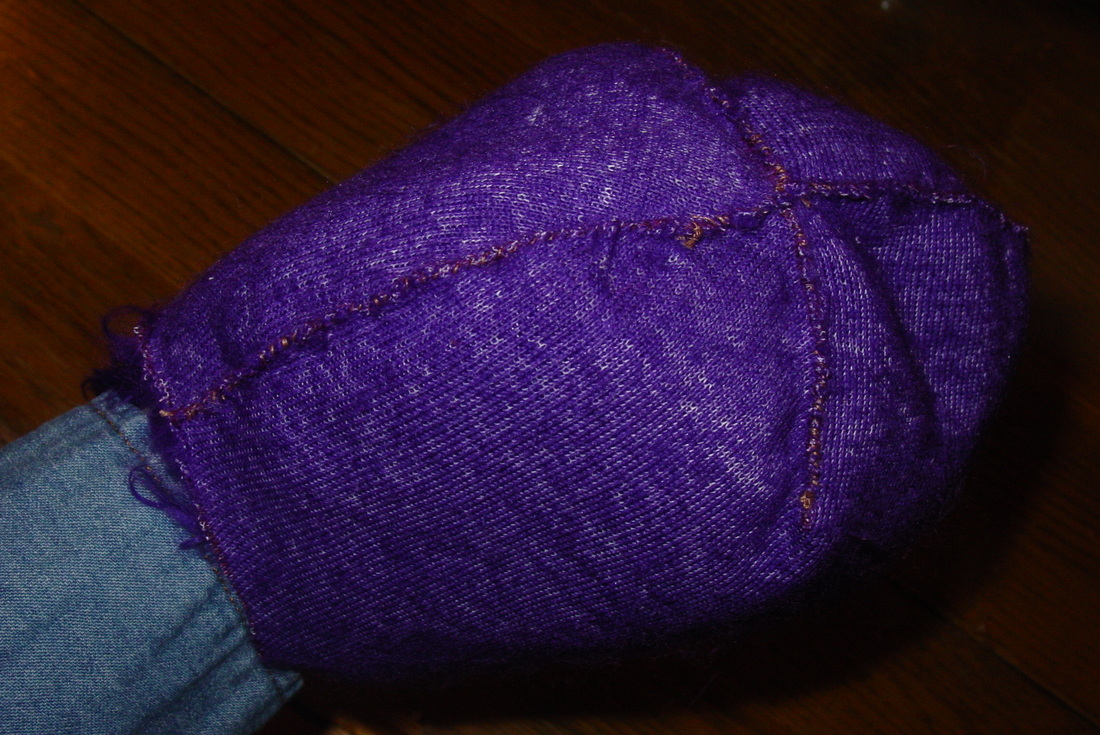
The head pieces sewn up, still inside out.
Tonight, I sewed up the head pieces. Beginning with the darts on each head piece individually I pin the dart sides together. I use a whip stitch to sew them up on the backing side. Then I pin the two halves together (fur side in) and whip stich all the way up from the neck hole to the mouth opening. I then sew up the pieces that will become the chin. Now, I get to turn it right side out to see how it looks! Yay! At this point I also like to "test out" the foam inside the head to see how everything fits so far. It looks great, so tomorrow I will turn it inside out again and continue with the body panels.
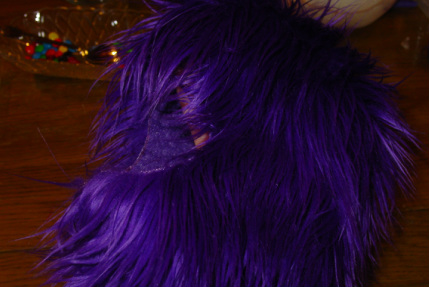
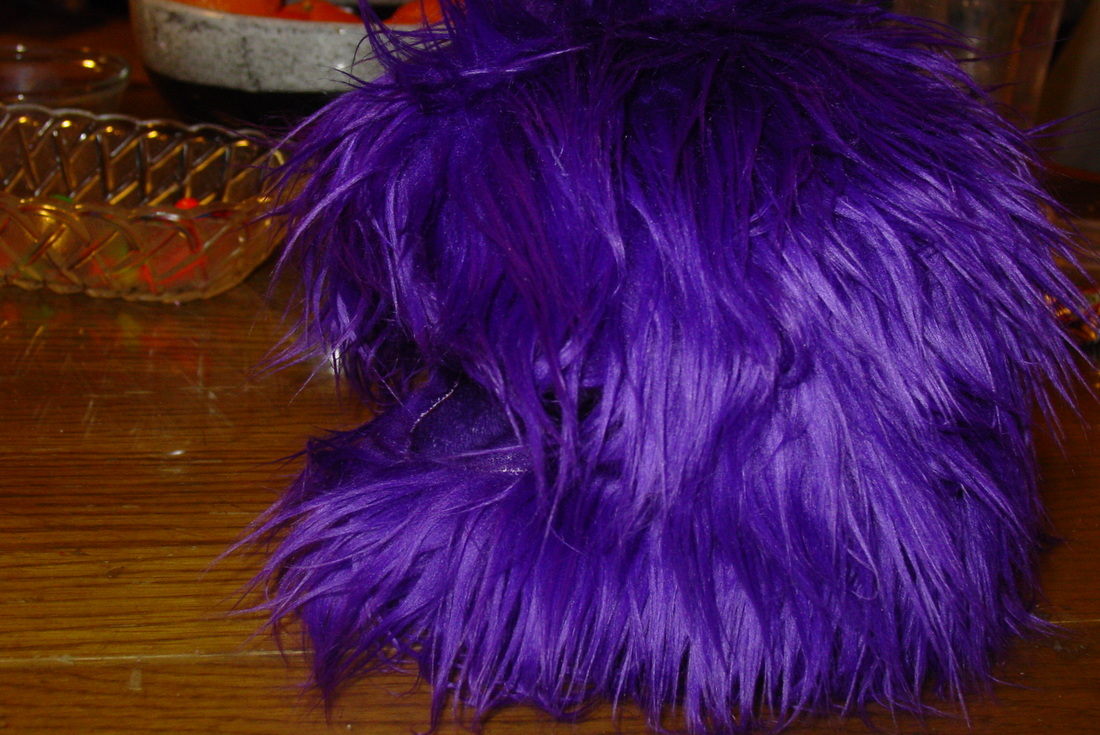
The head fur fabric right side out.
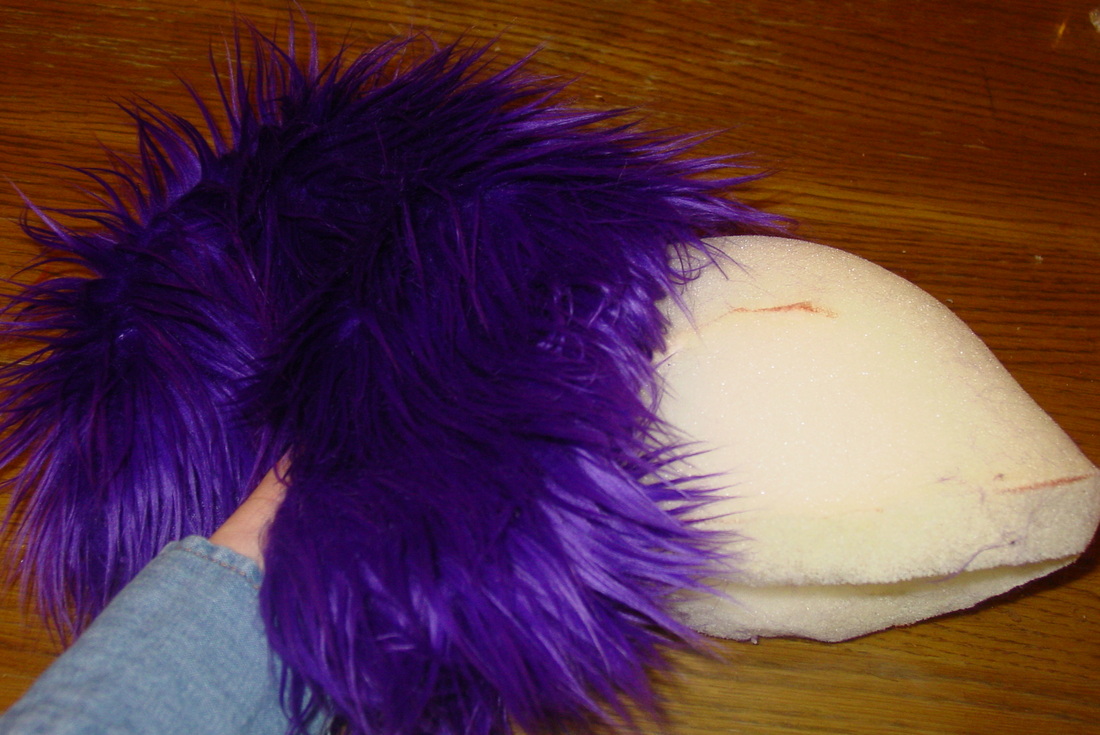
Putting the foam "skull" into the head for a test.
The fur fabric with the foam skull in it, fits well.
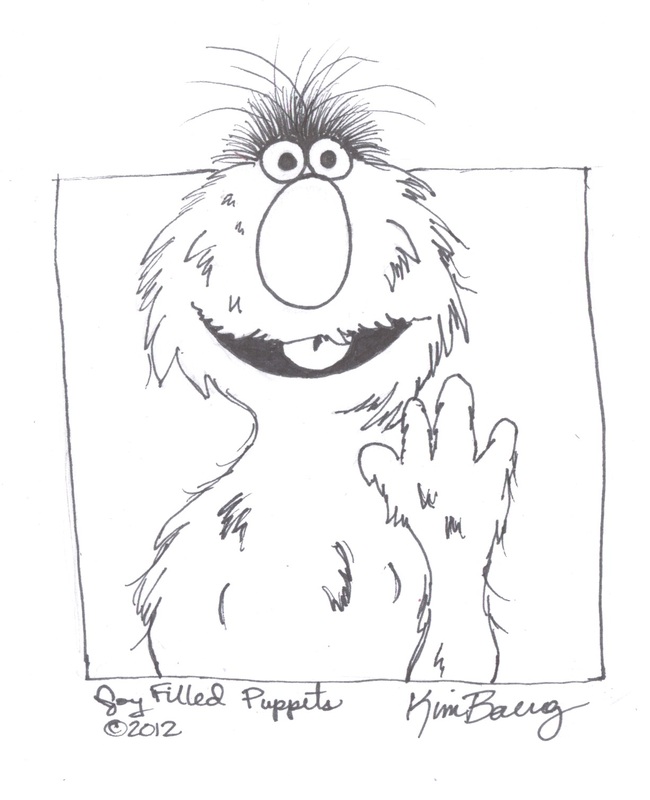
To build a puppet, I first have to get the character in my head down onto the paper. Sometimes this comes easily, other times there's kicking and screaming. Draw, draw, draw. Lots of paper might end up in the recycle bin, but better than fur and feathers.
I like to use Prismacolor markers and a Sharpie pen on plain printer paper. Once I get a black and white sketch that I am happy with, I scan it, then print it out. That way, if I mess up in the coloring process- I just print out another page and color again.

 RSS Feed