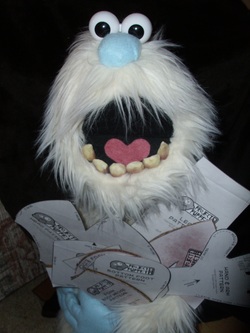
Now it's time to collect up my plethora of pattern pieces! For the monstery purple puppet, I will be using the "Mostro" pattern that I bought from projectpuppet.com . (I highly recommend their patterns- they are very complete and easy to follow!) I previously used this pattern on Brrrnadette, my teenage Yeti puppet, so it's already been cut. When I do cut out the patterns, I have found it is really helpful to use spray adhesive to mount them to a heavy cardboard. They last quite awhile longer that way, and have some weight for holding down the fur, foam or fabric that I am tracing them onto. Looks like I've got all my pieces- tomorrow we'll be cutting out the foam!
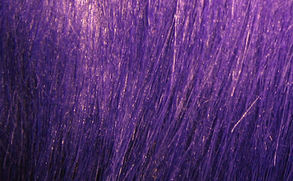
After the character sketch has been approved, it's time to choose the proper fabric. In the case of this monstery hand puppet, the furrier the better. After going to a few of my favorite online* fabric stores, I narrow it down to a couple different long pile furs.
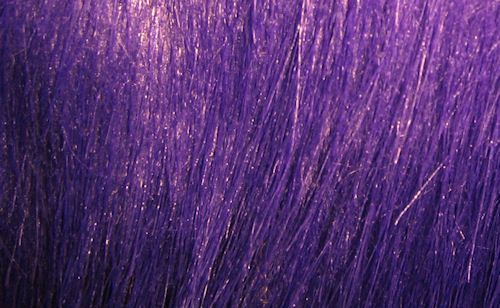
Although the top choice is a nice long pile purple fur, I like the bottom fur better for it's wild "hairy" texture.
(*If you live in a large city- head to the fabric district! I am in the middle of Nowheresville, an hour from anywhere of significance.)
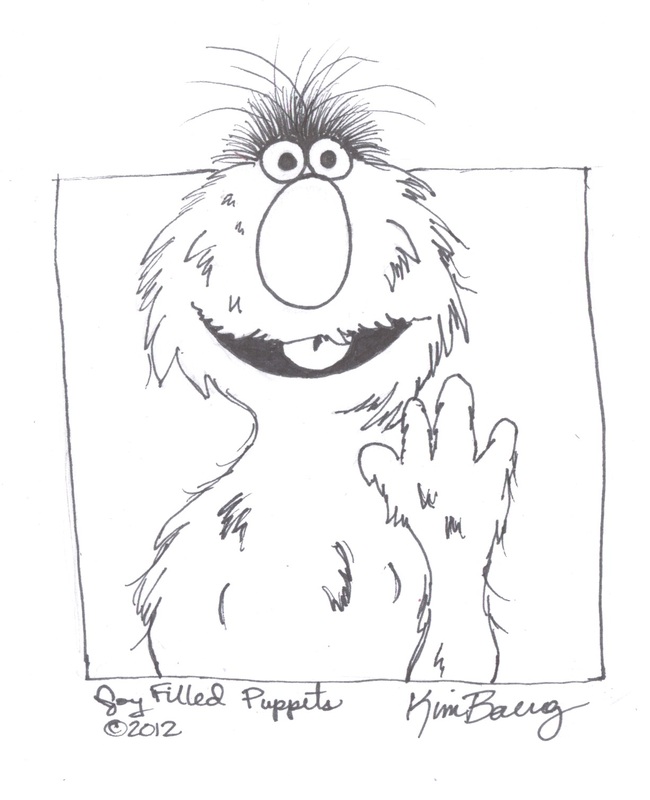
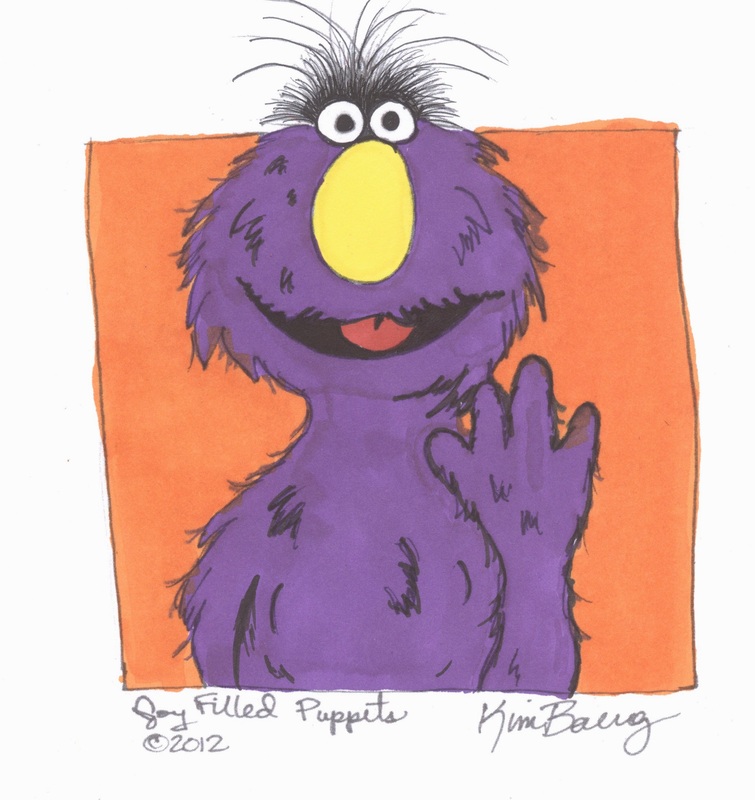
To build a puppet, I first have to get the character in my head down onto the paper. Sometimes this comes easily, other times there's kicking and screaming. Draw, draw, draw. Lots of paper might end up in the recycle bin, but better than fur and feathers.
I like to use Prismacolor markers and a Sharpie pen on plain printer paper. Once I get a black and white sketch that I am happy with, I scan it, then print it out. That way, if I mess up in the coloring process- I just print out another page and color again.

 RSS Feed