Picture
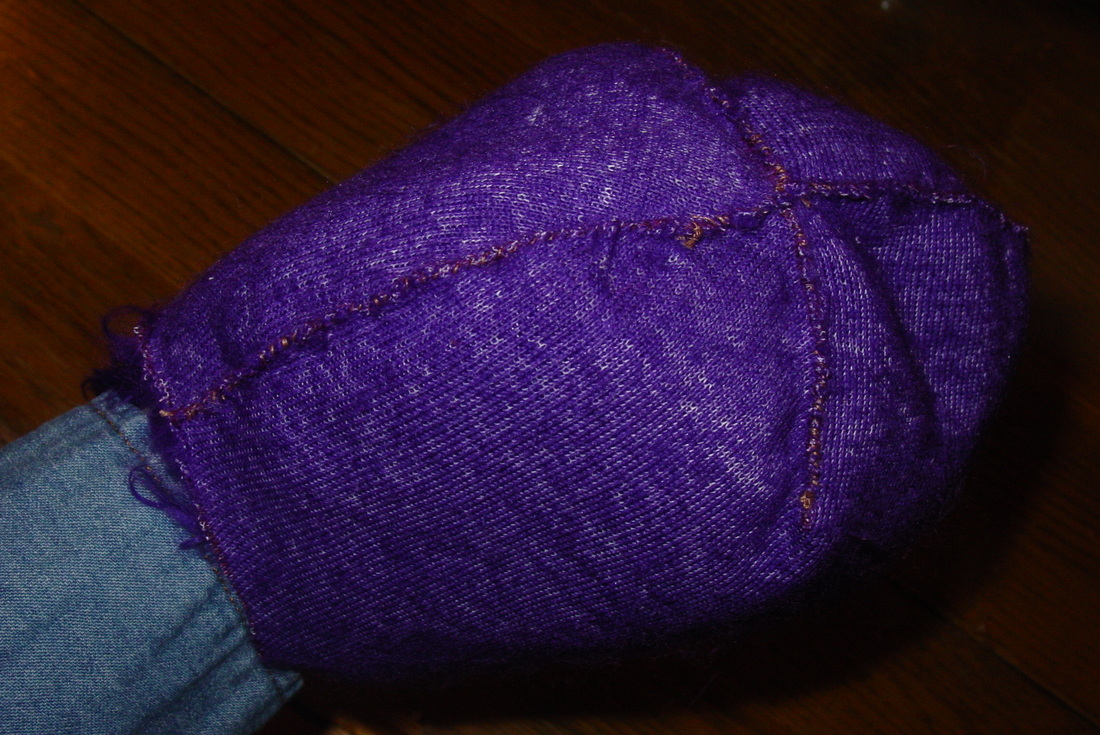
The head pieces sewn up, still inside out.
Tonight, I sewed up the head pieces. Beginning with the darts on each head piece individually I pin the dart sides together.  I use a whip stitch to sew them up on the backing side. Then I pin the two halves together (fur side in) and whip stich all the way up from the neck hole to the mouth opening. I then sew up the pieces that will become the chin. Now, I get to turn it right side out to see how it looks! Yay! At this point I also like to "test out" the foam inside the head to see how everything fits so far. It looks great, so tomorrow I will turn it inside out again and continue with the body panels.
Picture
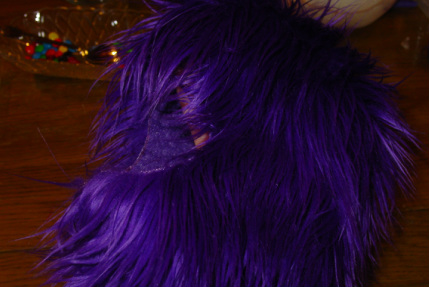
The head fur fabric right side out.
Picture
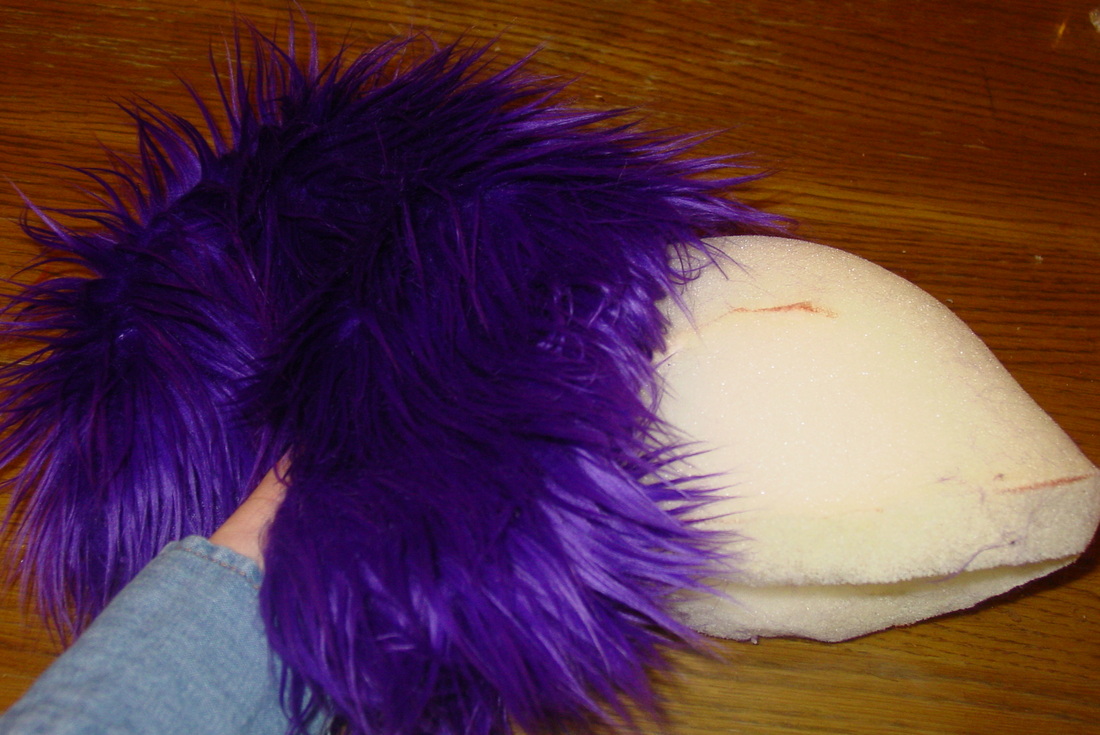
Putting the foam "skull" into the head for a test.
Picture
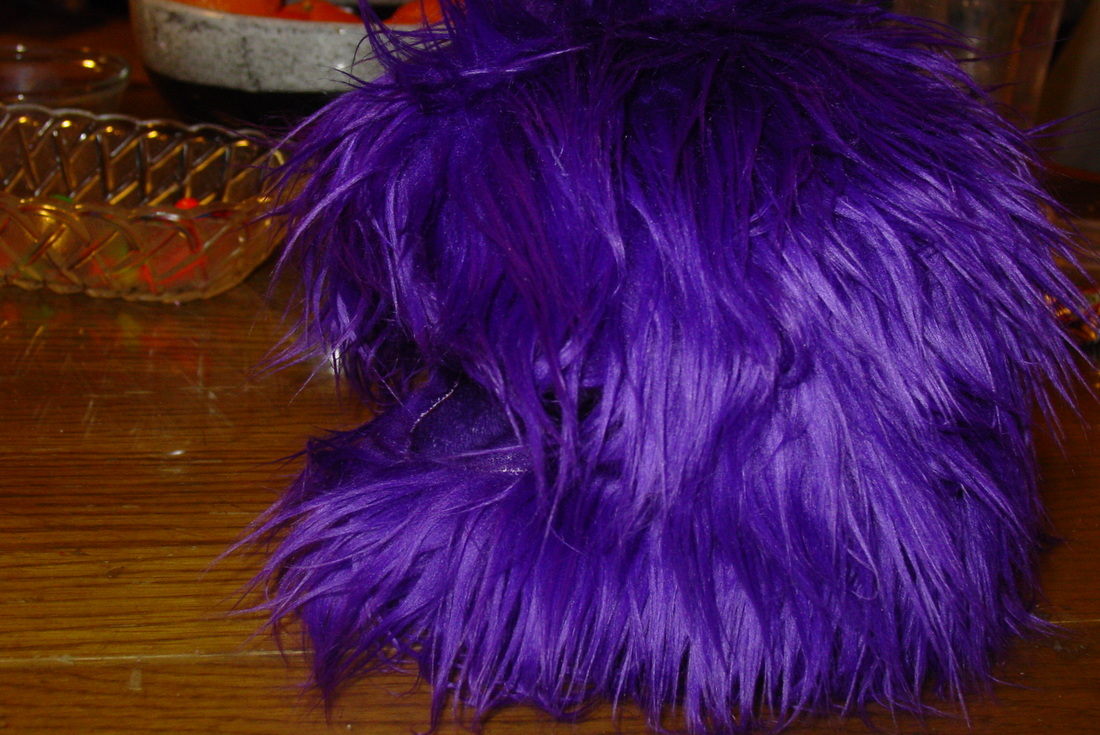
The fur fabric with the foam skull in it, fits well.
1/31/2012 09:10:58 pm

Hey great stuff! Thanks so much for sharing! I wanted to share how I do the contact cement thing. I mostly use hot glue (while wearing cotton gloves) but for the items using contact cement I'm never patient enough to wait the required time so I use a heat gun to dry mine in a matter of seconds. Of course a hair dryer accomplishes the same thing. Just thought I'd share! Keep up the awesome work!

Reply
1/31/2012 11:34:34 pm

Thanks, Marc!
Good point on the heat gun. I haven't used that, but the contact cement I use only takes about 15-20 minutes to dry. I do the whole puppet's gluing at once, so by the time I get done applying the cement all the way from the first piece of foam to the last, then the first piece is dry and ready to stick together.
I used to use hot glue. I think it does work pretty well, but I've been told by a couple builders that the hot glue does not hold up well if the puppet is kept in a vehicle, so I don't use it anymore. I just want to make sure that the entertainers I sell to won't have a melting monster in their car! :)

Reply


Leave a Reply.