There are many different things that you can use to build a puppet. A sock, a spoon, fleece, a box- the list goes on and on.
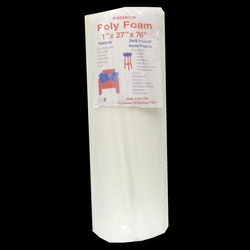
My monstery puppet will be built using a skeleton I construct from foam. The poly foam is 1" thick, and sold in rolls at craft stores for use in cushions and such things. I just picked up a new roll today- I try to watch for 40% off coupons for my local craft stores. The glue I use is called Weldwood contact cement.
I have built many different types of eyes. You can make them from styrofoam balls, ping pong balls, plastic spoons, ping pong balls and many other things. The eyes I will be using for this puppet, I order from a supply store. *We'll talk more about the eyes when I am on that step :)
I end up hand sewing quite a bit of the puppet. I am pretty rough on thread, and found that a spool of upholstery thread works the best for me. It makes things sturdier, and if I need to use a lighter weight thread in some areas I can always do that.


 RSS Feed