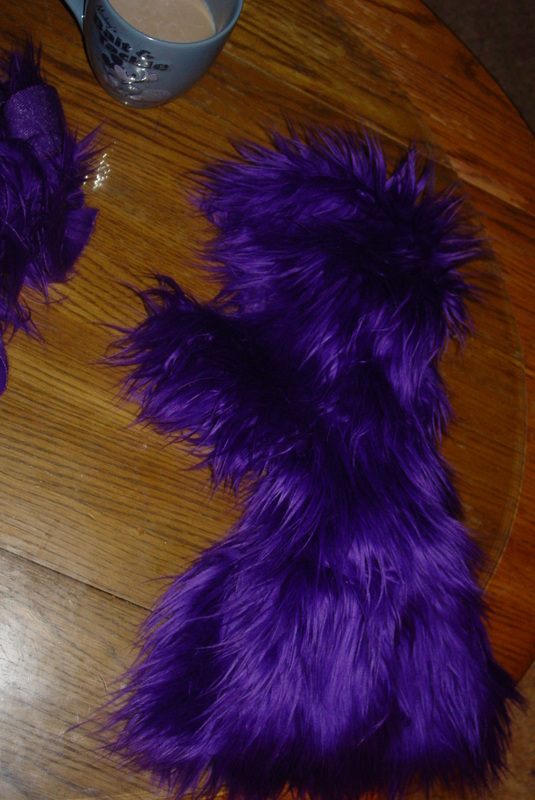
Sewing, sewing and more sewing on the furry monster puppet. No pictures- only because I've already shown you how I sew- it would be repetitive. Instead I will give you a sneak peak at a new puppet I am in the early process of designing. It will be worn around the neck like a stole. The head will be rigged to a bracelet on the singer's wrist, so it will move the fox's head when the singer's arm moves.
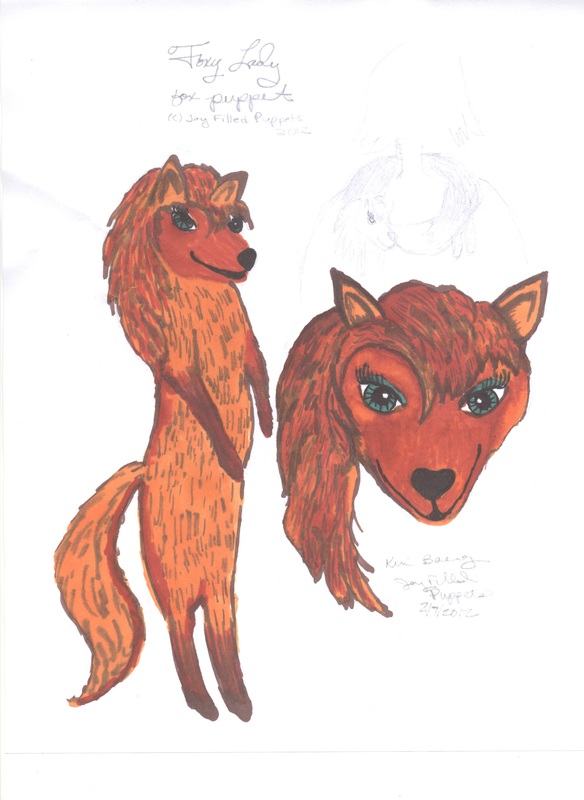
Color rendering of my design for a foxy stole puppet. (c) 2012 Joy Filled Puppets
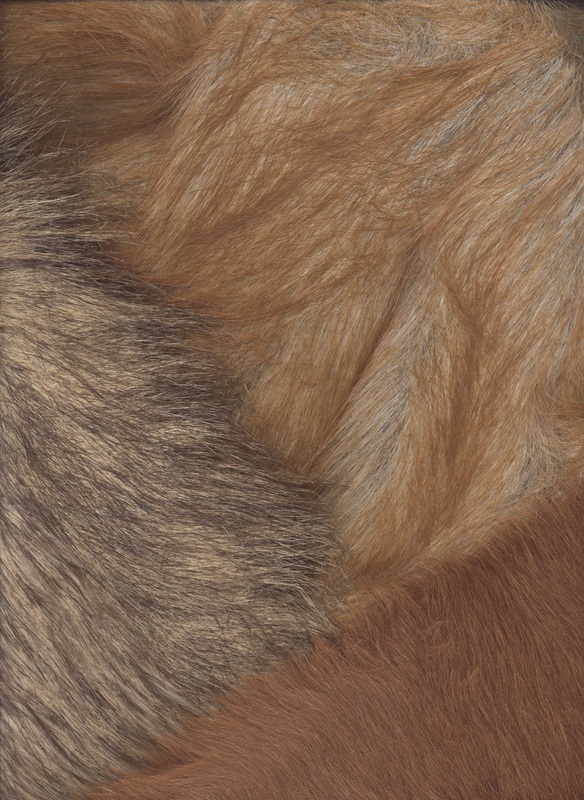
Furs that will be used for foxy stole puppet. Top right- body, Bottom right- head and paws, Left side- tail.
I did a lot more pinning and sewing today. Whip stitch is the boss- works best for me for speed and durability. As you can see in the picture of the inside-out fabric, I pin all the pieces to each other before sewing. I like to do it that way so I don't have to stop to pin every couple of minutes. I've used a brown colored thread so you can see where the stitches go. This Projectpuppet.com pattern has the three body parts- head, neck and torso. It goes together really smoothly. I just love this fur- so glad I will have quite a bit more leftover to play with for other puppets and parts. So fun! Tomorrow, I will be working on the mouth plate.
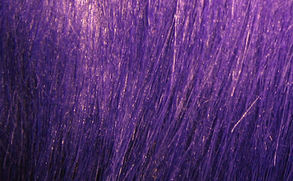
After the character sketch has been approved, it's time to choose the proper fabric. In the case of this monstery hand puppet, the furrier the better. After going to a few of my favorite online* fabric stores, I narrow it down to a couple different long pile furs.
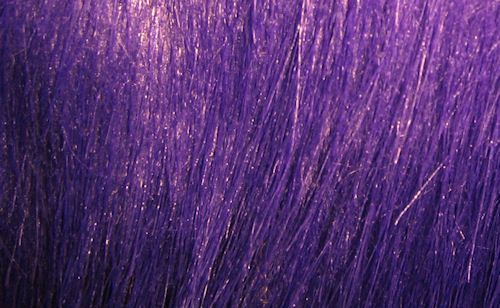
Although the top choice is a nice long pile purple fur, I like the bottom fur better for it's wild "hairy" texture.
(*If you live in a large city- head to the fabric district! I am in the middle of Nowheresville, an hour from anywhere of significance.)


 RSS Feed