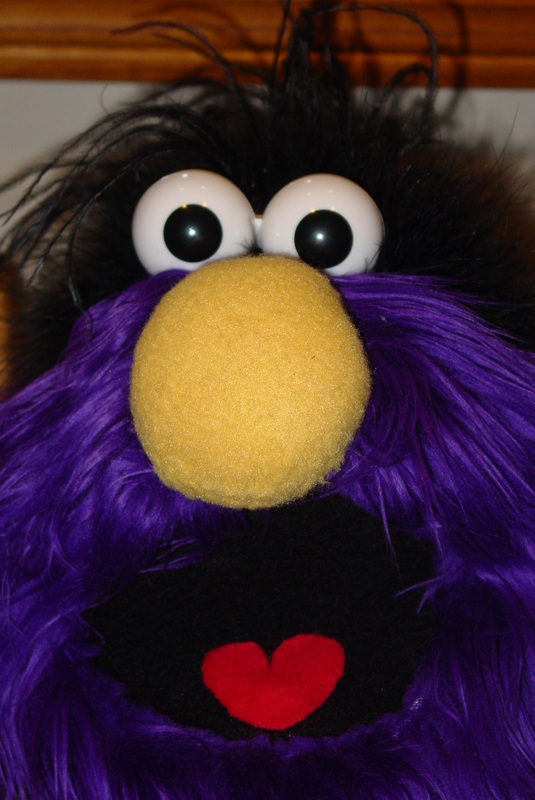
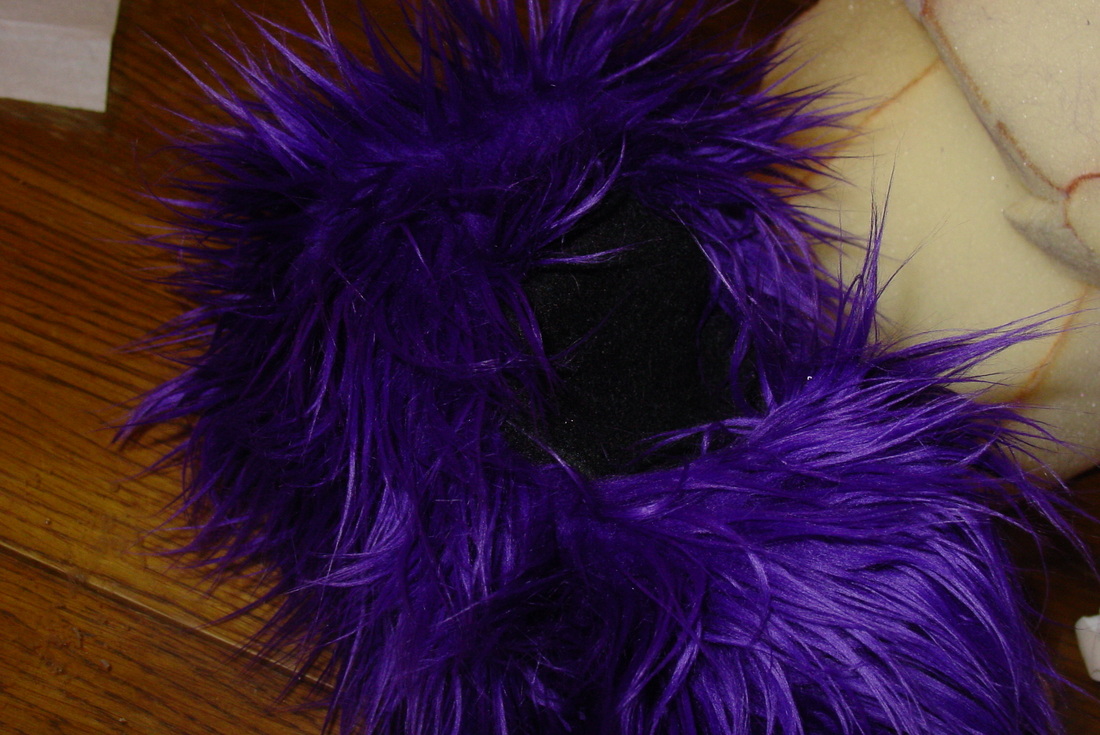
Purple furry monter happy to have a tongue
Time to get purple furry monster's tongue into the mouth. I cut the tongue in a heart shape from red fleece. (Just like cutting a heart from paper folded in half!) I hot glue the tongue in after I set it in a couple different positions to get it "just right". I've found it's good to walk at least 6-10 feet away to get a good look at how it looks from farther away.
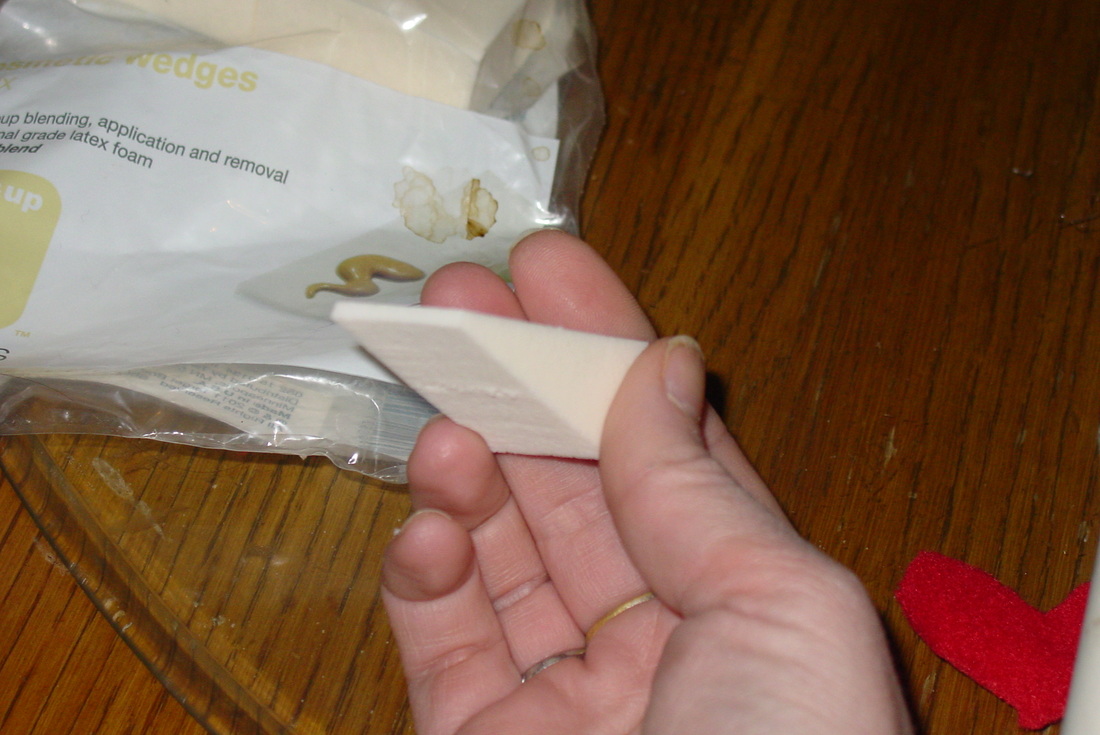
This puppet doesn't have teeth, but I think this a great place to talk about how I do teeth. I carve them with an embroidery scissor from latex makeup sponges. For the particular teeth shown in the pictures, I also "aged" and added plaque to the teeth with 3 different shades of brown markers.
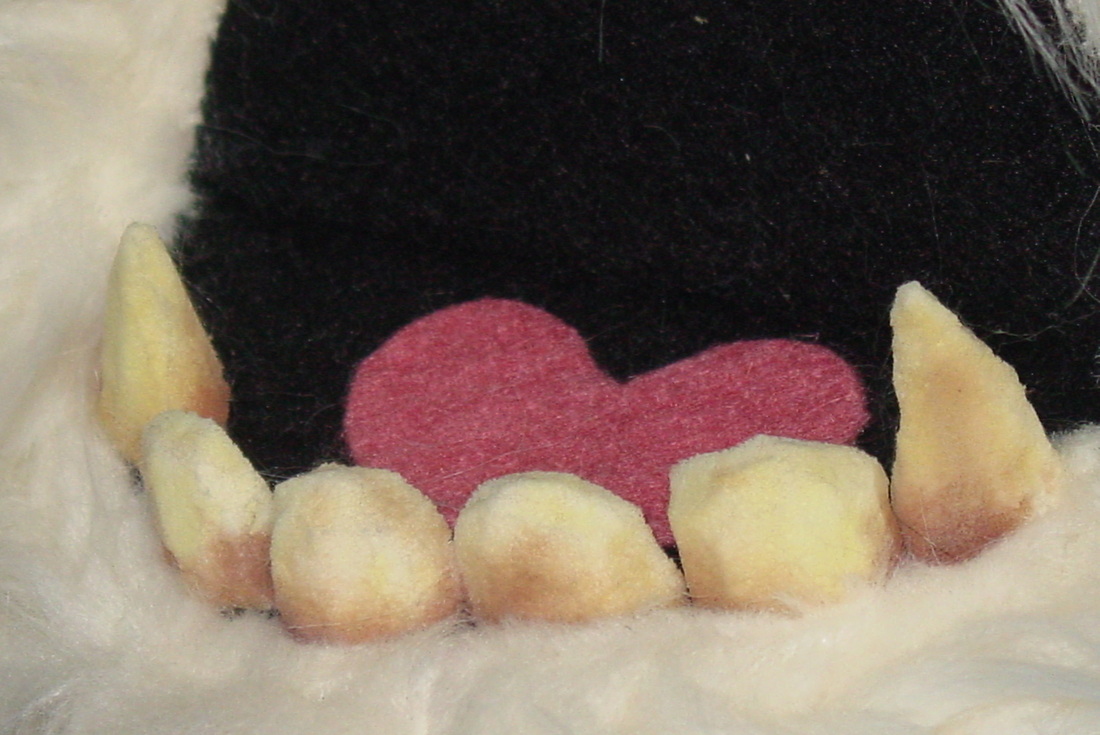
Grungy monster teeth built from makeup sponges
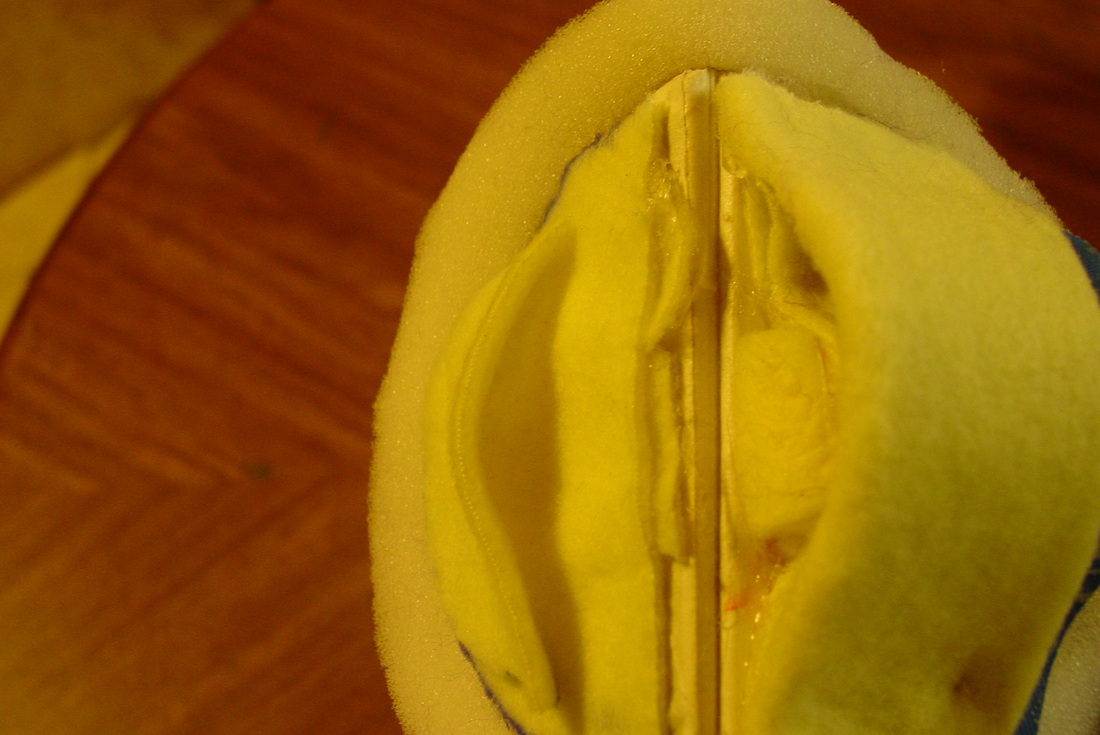
Mouthplate with bottom thumb pocket sewn in.
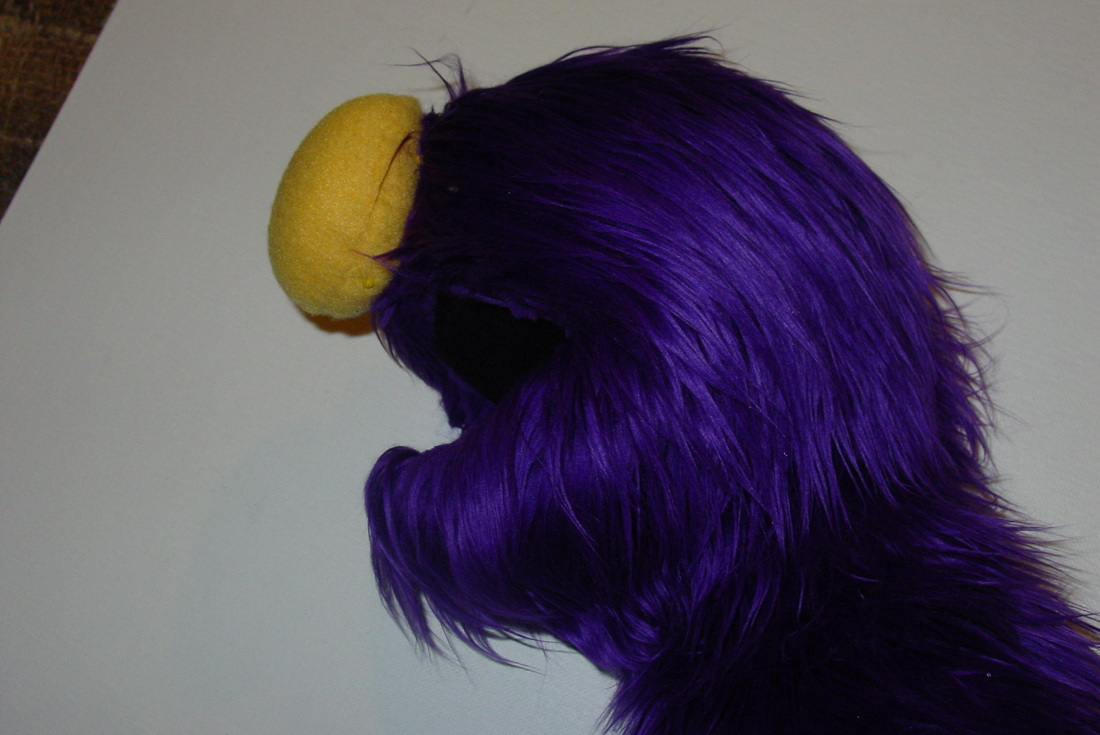
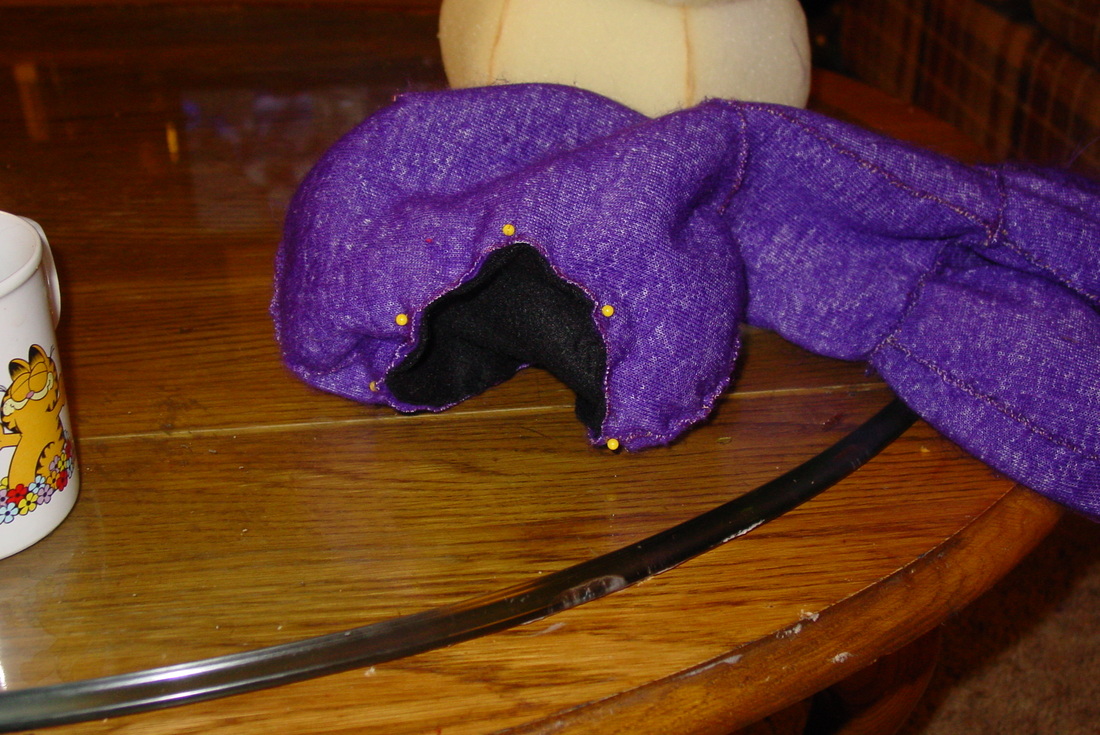
Nose pinned on to check for placement.

Nose pinned on, holding eyes up to decide where they LOOK best.
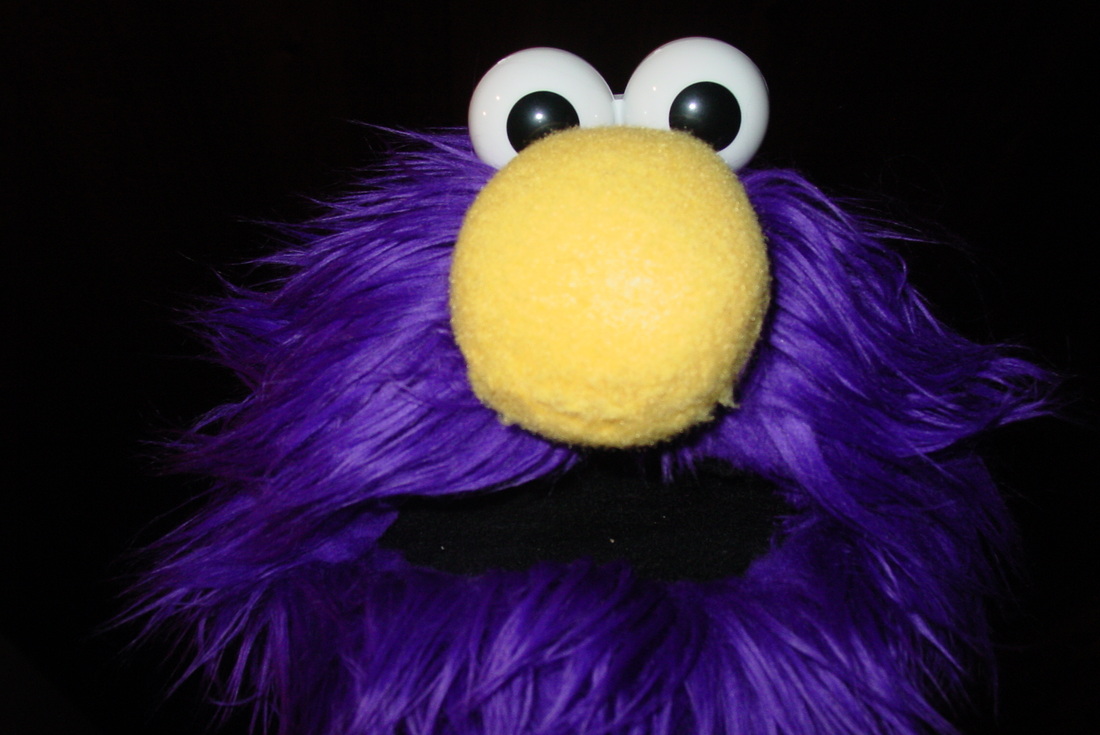
Puppet head after permanently attaching eyes and nose.
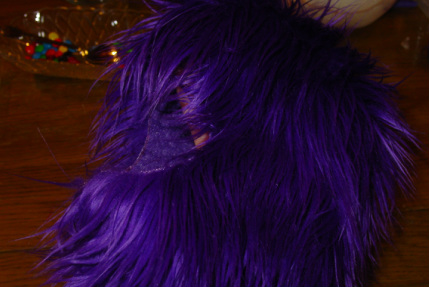
After finishing up the mouthgrip on the mouthplate inside the head, I get to turn it right side out again. I add the foam skull piece back in, in order to decide the placement of the nose and eyes. I can pin the nose on temporarily, then I can see where the eyes should go. This is a very important part of the puppet build, because the "focus" of the eyes needs to be just right. I want this puppet to appear to be almost peeking over his nose directly at the camera/audience. I used the seam as a guide to center the nose and the eyes, and decided on placing the eyes about 2 finger widths back from the top of the nose. This is going to differ from puppet to puppet. I really take my time getting the placement decided. I pin them where I think they should go- then I look at them straight on and from the sides. I also have other people look at them. (My kids are great critics!)
Before I sew the nose in place, I trim up some of the fur that will be directly under it (makes it lie flush to the head). After sewing the nose. I mark to small areas to cut just enough room to slide the posts from the eyes down into. I add the push-nuts onto the posts from the inside and they are locked in!

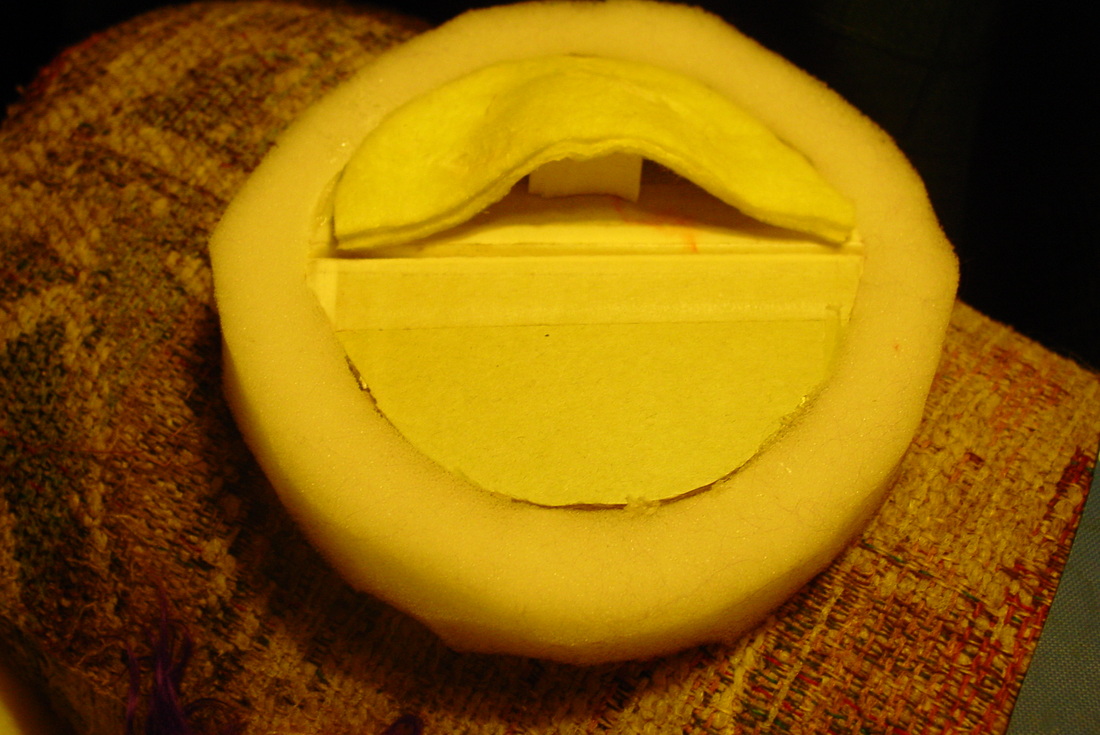
Positioning the grip onto the mouthplate
Tonight, I have been working on building the mouthgrip onto the mouthplate. I sew a panel of fleece around a sheet of rubber that goes together for the fingers of the hand to slide into. I also place a piece of latex makeup sponge material under where the middle of the hand goes to form a more natural position. (Otherwise, the puppeteer would be working with their fingers in a very uncomfortable position, basically flat out the whole time)
The panels of fleece are sewn together at the edges and cemented down to the mouthplate over the sponge. The whole thing is cemented to the black fleece inside the mouth.
Then, I turn the whole thing right side out to check my work again. Yay! Tomorrow we will be moving on to adding more facial features.
Mouthplate with grip, before adding top part to hold fingers in snugly.
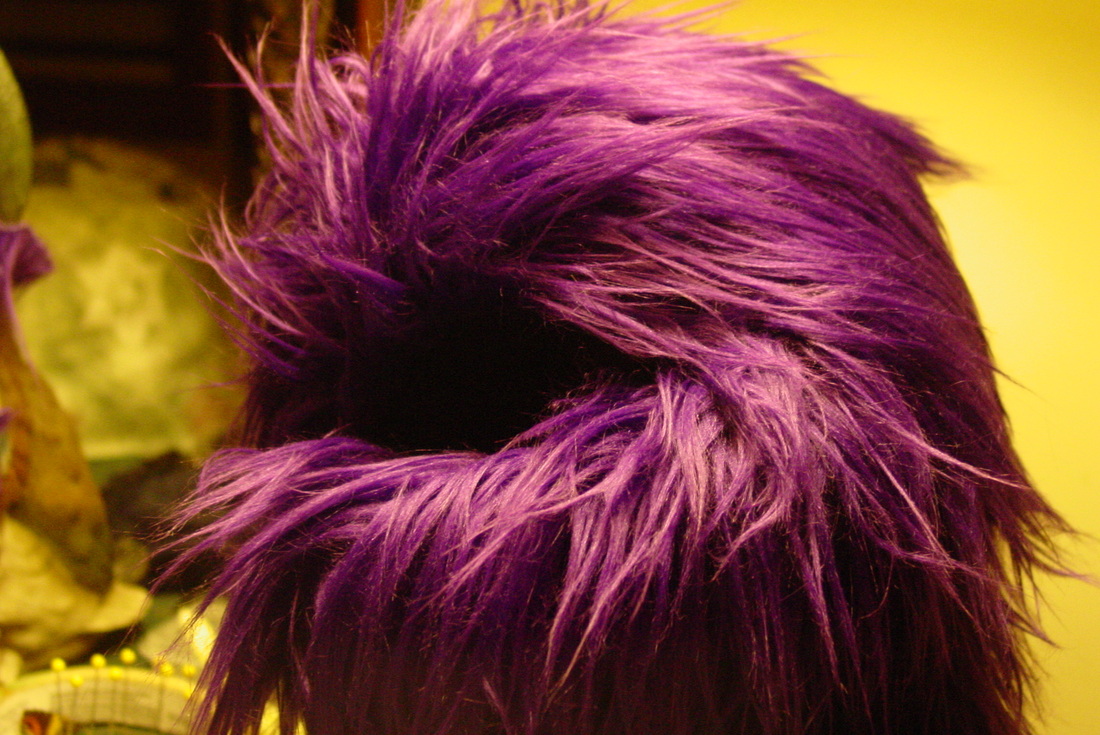
Funny, furry featureless head!
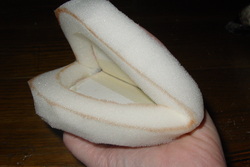
The mouthplate is the most important functioning part of the puppet. It really is the heart of the puppet, where all the life comes from. It needs to be easy to manipulate. Each puppet builder has their own preferred way of building a mouthplate. I build this mouth from very heavy cardboard (it's from an artist canvas). I place the two halves of the cardboard a little ways apart, then tape them together with masking or gaffers tape. Then, I glue the cardboard piece into the foam. All this will be glued to the inside of the fleece mouth- which I will show you on the next post. :)

Parts all ready to assemble mouthplate
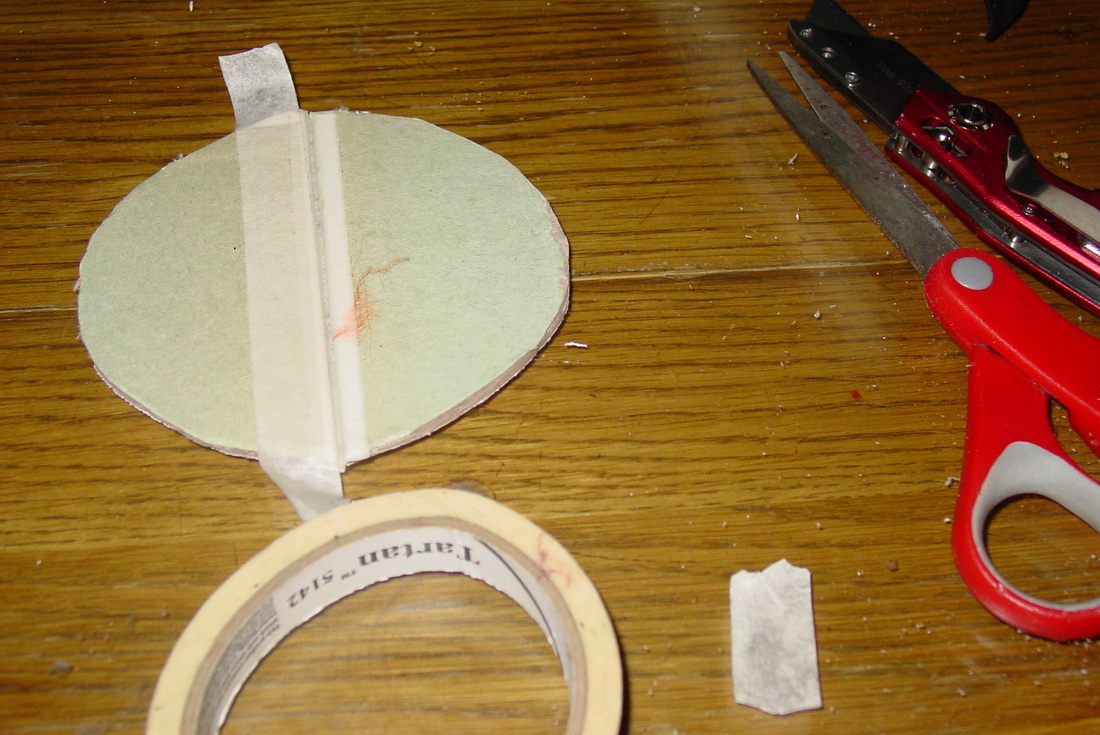
Taping the halves together before gluing into the foam piece for mouthplate.
This step is pretty simple. I like to cut out my mouth plate from fleece, although many people prefer using felt. This whole step is done with the fabrics inside out. After pinning the fleece to the fur- I sew it together (once again!) with the whip stitch. Then, I turn it right side out, just to see how cool it looks- and if I need to fix anything. :) Tomorrow, I will be working on the rest of the mouthplate parts.
(Technical note- Been having a bit of trouble with the blog stats and comments today, so if you sent something don't worry- I'm sure it will be on tomorrow when weebly works the bugs out. Another option is to send me a note on my Joy Filled Puppets page on face book.)
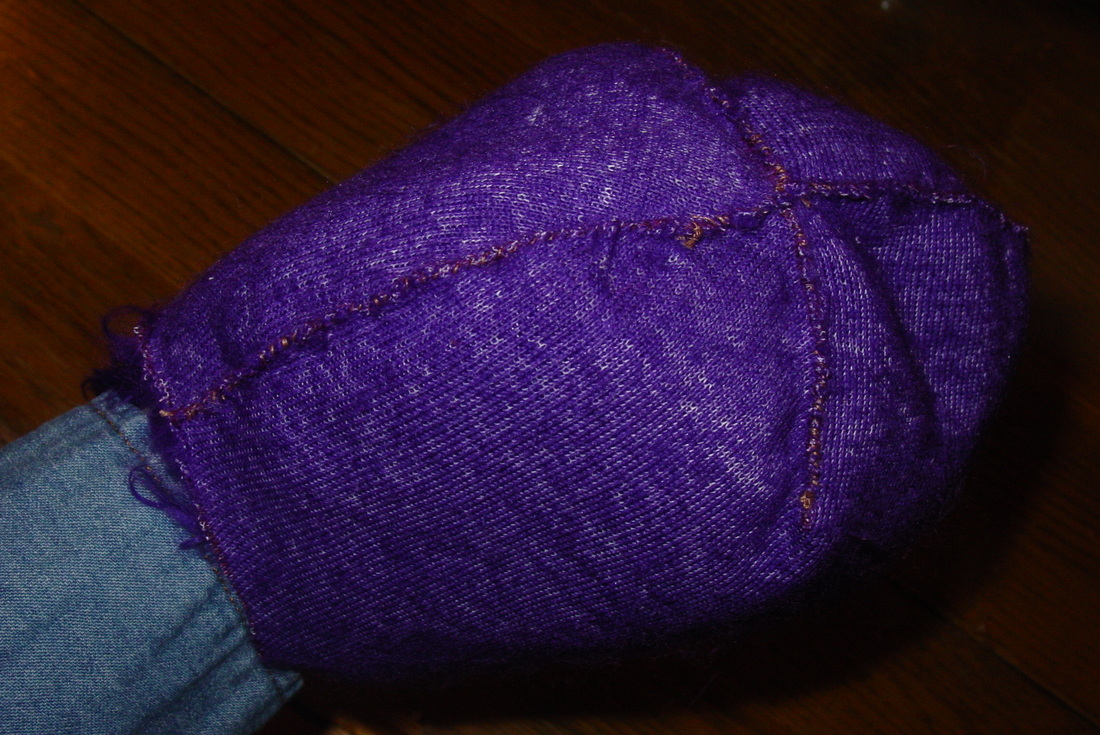
The head pieces sewn up, still inside out.
Tonight, I sewed up the head pieces. Beginning with the darts on each head piece individually I pin the dart sides together. I use a whip stitch to sew them up on the backing side. Then I pin the two halves together (fur side in) and whip stich all the way up from the neck hole to the mouth opening. I then sew up the pieces that will become the chin. Now, I get to turn it right side out to see how it looks! Yay! At this point I also like to "test out" the foam inside the head to see how everything fits so far. It looks great, so tomorrow I will turn it inside out again and continue with the body panels.
The head fur fabric right side out.
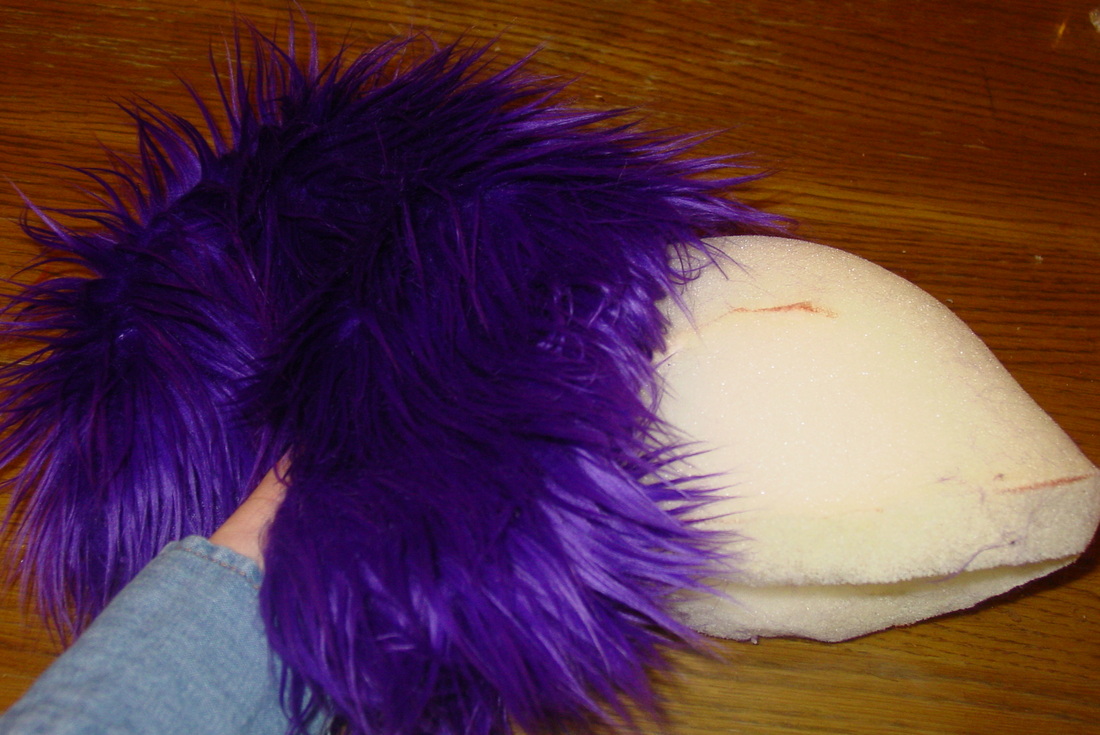
Putting the foam "skull" into the head for a test.
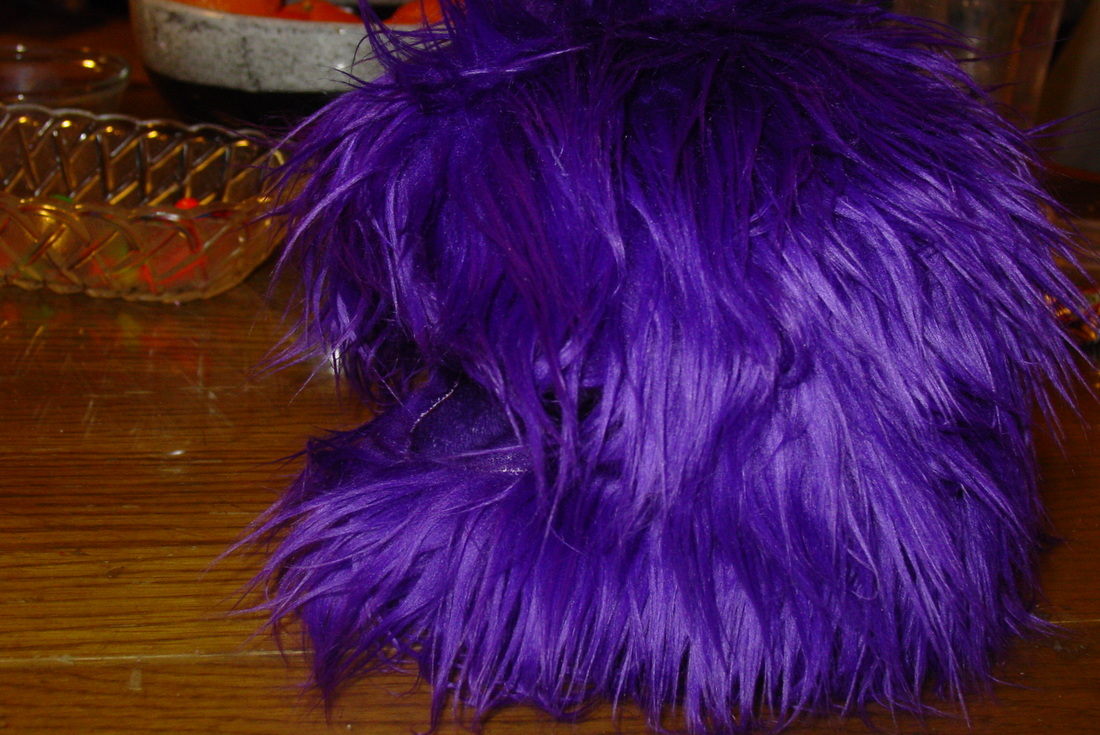
The fur fabric with the foam skull in it, fits well.

 RSS Feed