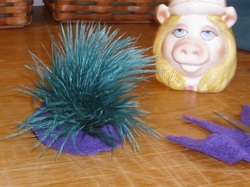
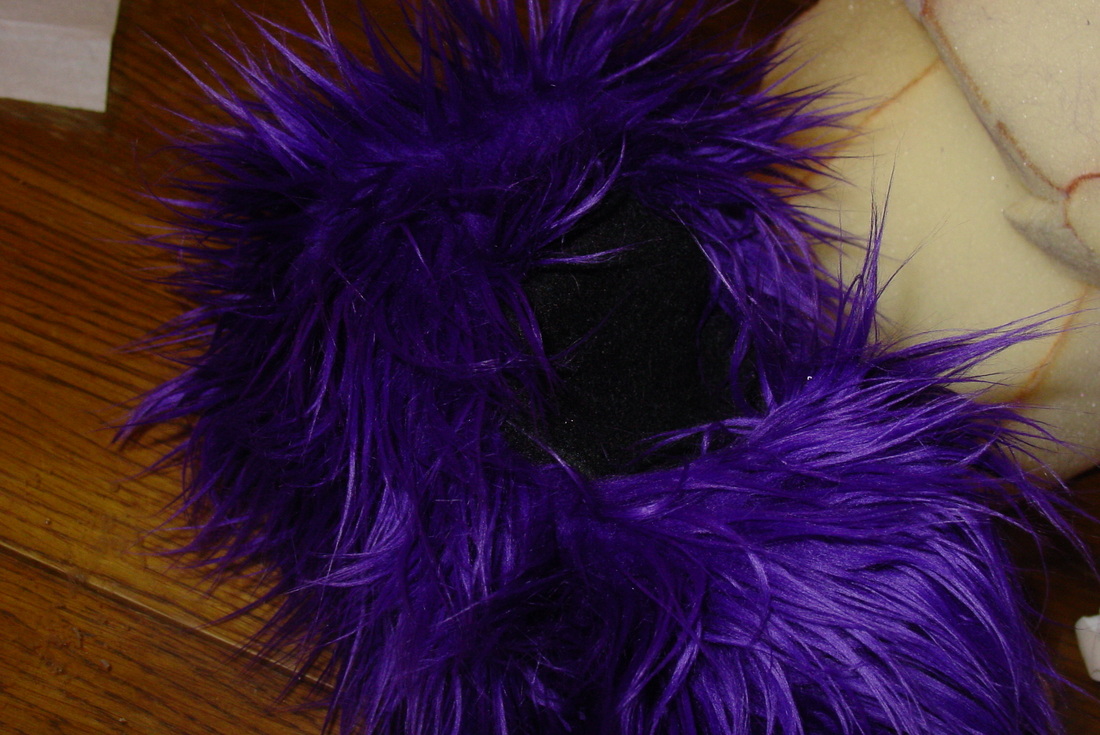
If a worm puppet needs hair- what kind of hair does he get? Well, this worm is getting lively, wispy hair made from ostrich feathers. I slice the barbs off the quill with an x-acto knife, about 10-15 together. I hot glue these together at the very end, about 1/8 inch up the barbs. Then, after I have done this many, many times over, I take a piece of cloth (cap!) that is the same I will be using on the head. I cut a very small hole in the center of the fabric, which I slide one of the barb groupings tip through. I hot glue it on the bottom to keep it in place. I do this in a circular pattern around the cap. When the head has been completed, I will sew the toupee on to it. For more pictures of the progress of the squirmy wormy puppet so far, check out my facebook site, too. It is
http://www.facebook.com/pages/Joy-Filled-Puppets/134935036520065
-Kimberly
This step is pretty simple. I like to cut out my mouth plate from fleece, although many people prefer using felt. This whole step is done with the fabrics inside out. After pinning the fleece to the fur- I sew it together (once again!) with the whip stitch. Then, I turn it right side out, just to see how cool it looks- and if I need to fix anything. :) Tomorrow, I will be working on the rest of the mouthplate parts.
(Technical note- Been having a bit of trouble with the blog stats and comments today, so if you sent something don't worry- I'm sure it will be on tomorrow when weebly works the bugs out. Another option is to send me a note on my Joy Filled Puppets page on face book.)
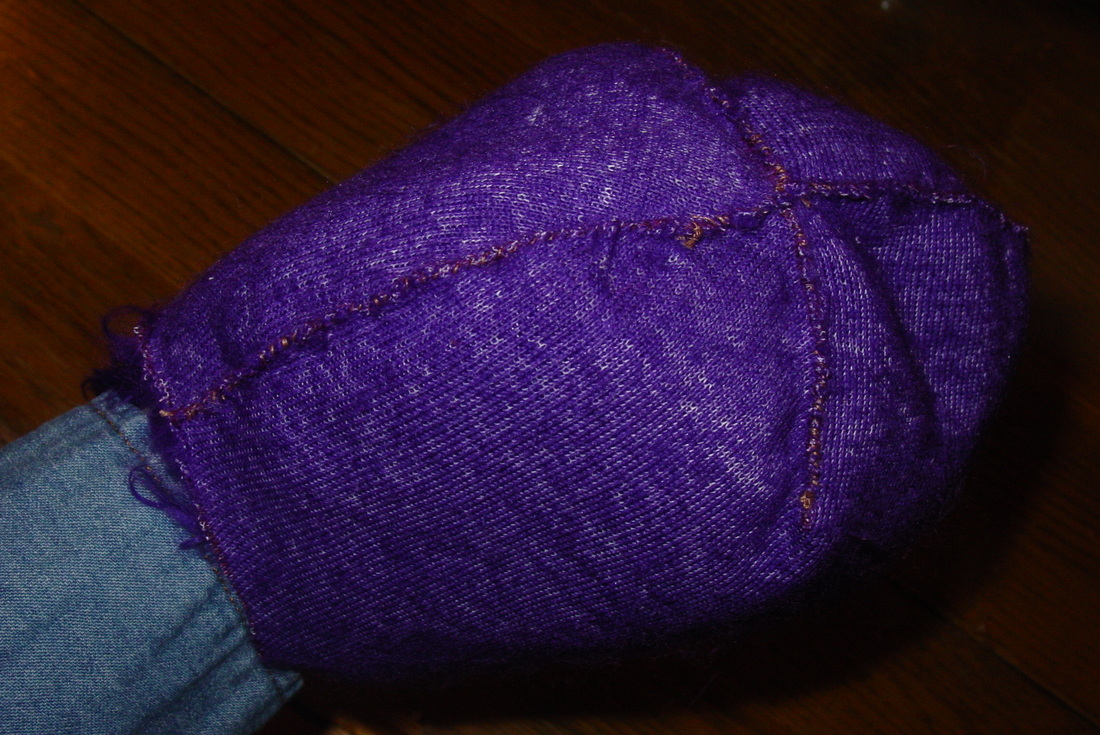
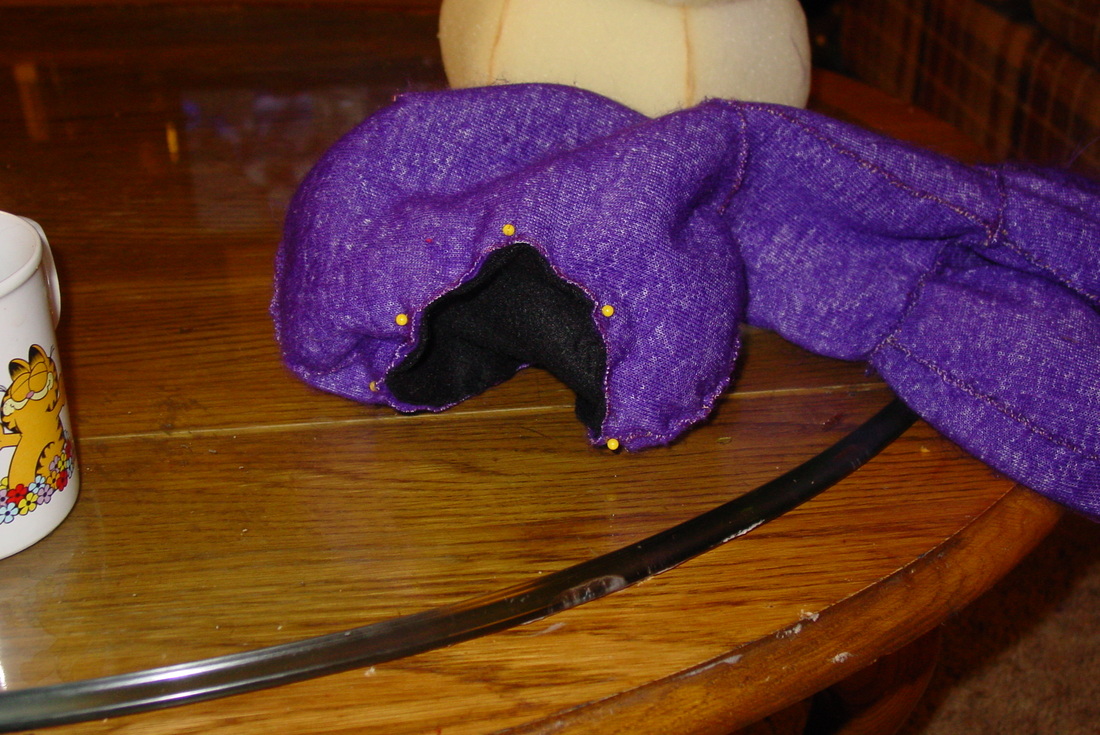
The head pieces sewn up, still inside out.
Tonight, I sewed up the head pieces. Beginning with the darts on each head piece individually I pin the dart sides together. I use a whip stitch to sew them up on the backing side. Then I pin the two halves together (fur side in) and whip stich all the way up from the neck hole to the mouth opening. I then sew up the pieces that will become the chin. Now, I get to turn it right side out to see how it looks! Yay! At this point I also like to "test out" the foam inside the head to see how everything fits so far. It looks great, so tomorrow I will turn it inside out again and continue with the body panels.
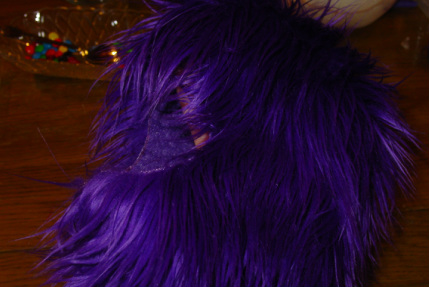
The head fur fabric right side out.
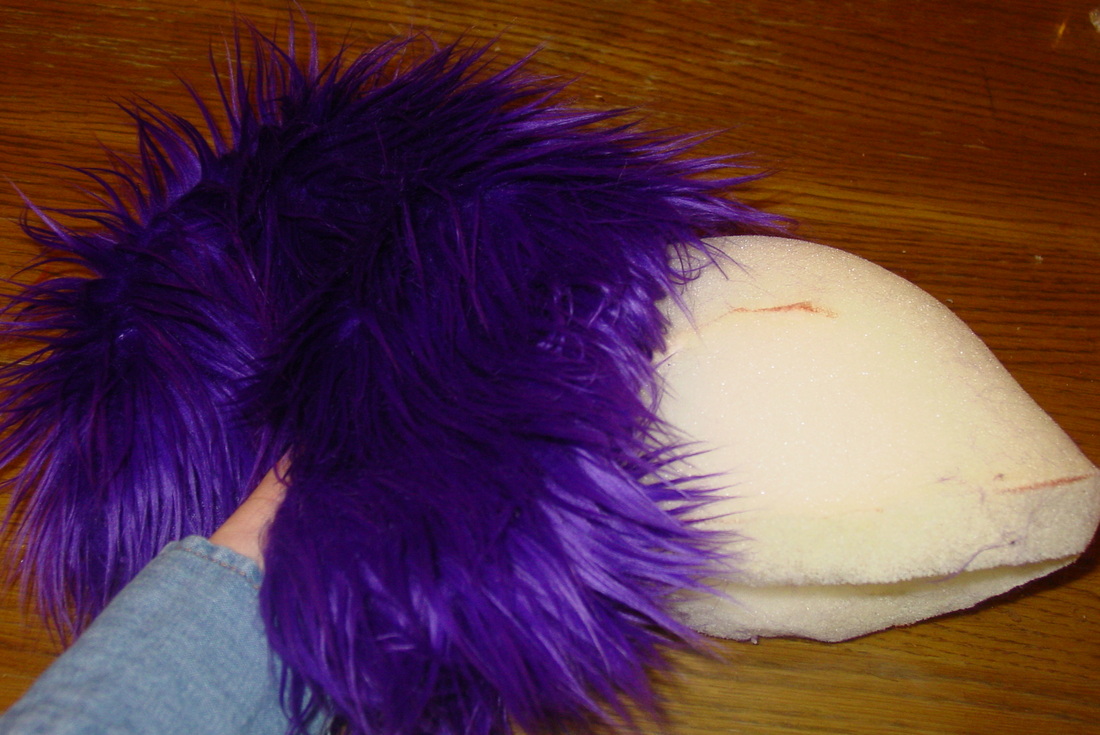
Putting the foam "skull" into the head for a test.
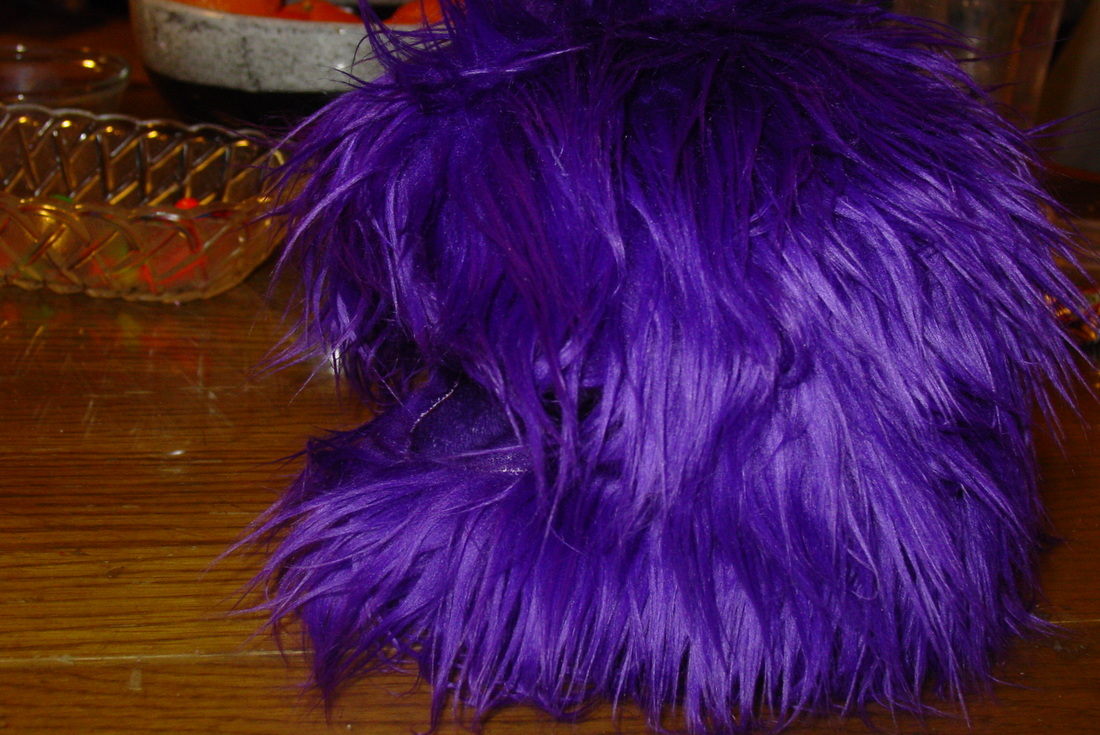
The fur fabric with the foam skull in it, fits well.
one of the halves of the foam "skull"
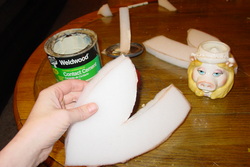
My next step in the process is cutting out all the foam pieces. Laying out the patterns on the foam, I try to get the least amount of waste as possible. For one puppet of this sort, I usually end up using about 16" wide x 27" long of foam. (Save the little bits- I'll show you later some fun things you can make with them.) Watch carefully when putting down the pieces, some will need to be flipped over to get the parts to lay out correctly (ie- the head pieces will need to have a left and right side) I usually use a sharp scissor, but have used a good utility knife for cutting, also. After cutting out all the pieces, apply the contact cement to the edges indicated on the pattern. I usually let it dry for about 15-20 minutes before gluing the edges together.
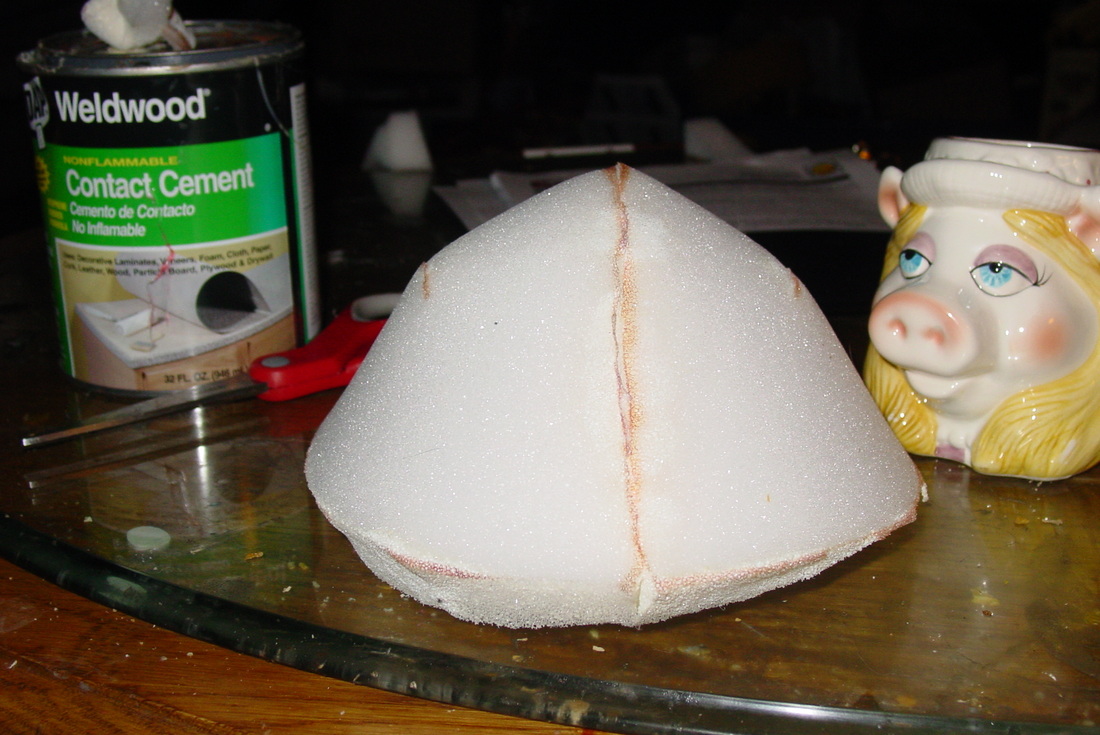
the foam "skull" put together

 RSS Feed