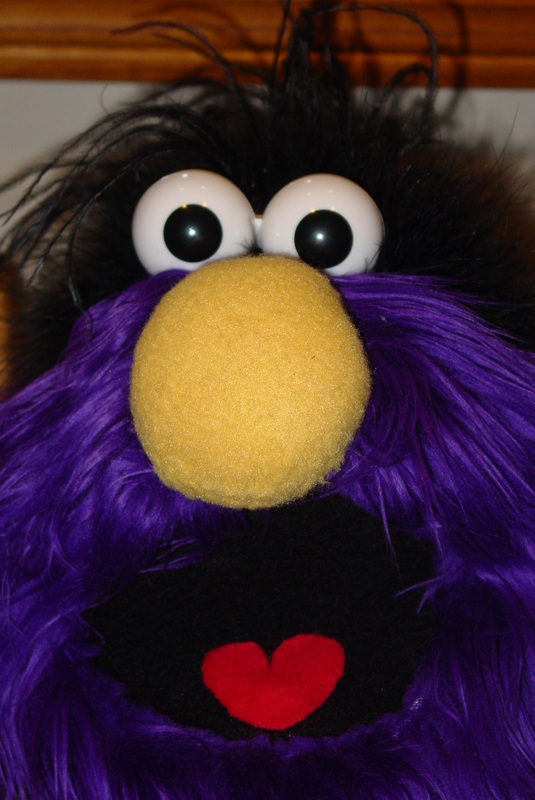
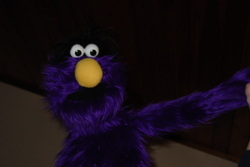
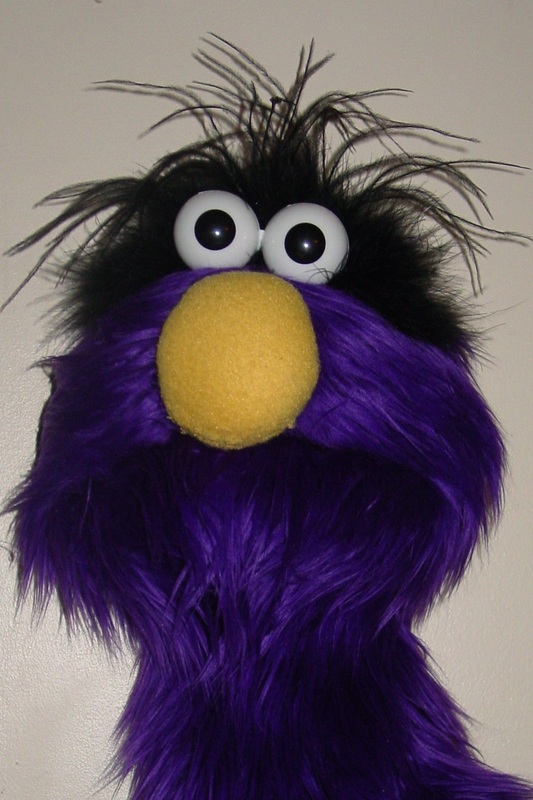
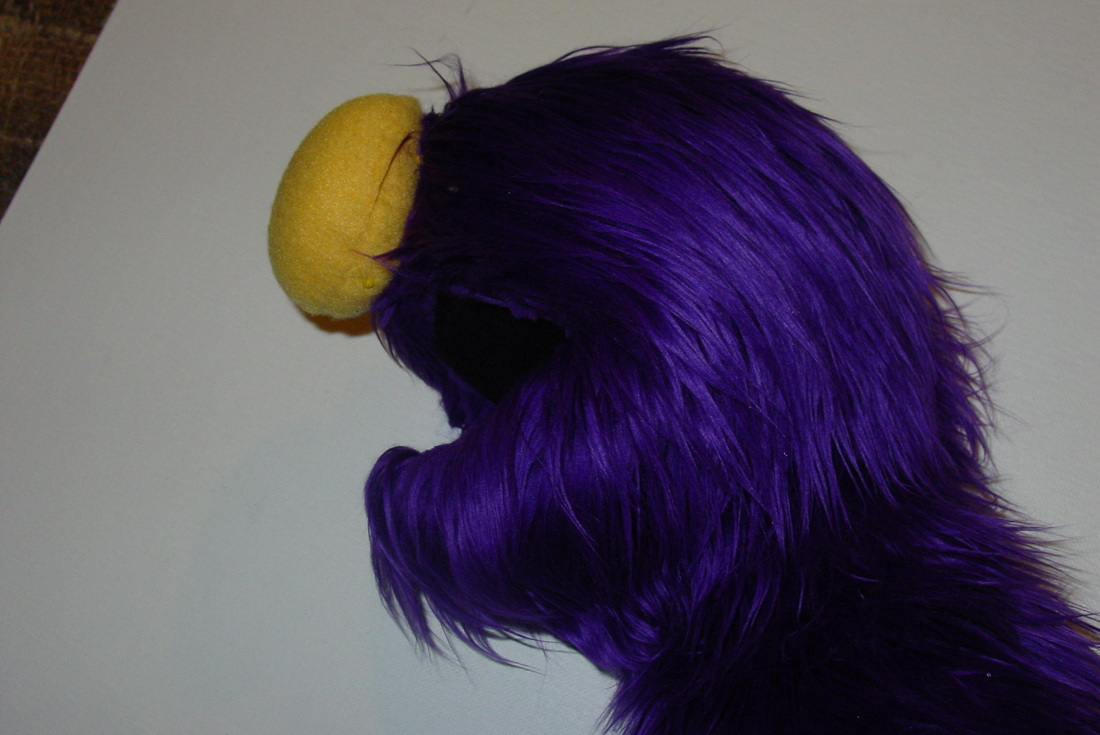
Purple furry monter happy to have a tongue
Time to get purple furry monster's tongue into the mouth. I cut the tongue in a heart shape from red fleece. (Just like cutting a heart from paper folded in half!) I hot glue the tongue in after I set it in a couple different positions to get it "just right". I've found it's good to walk at least 6-10 feet away to get a good look at how it looks from farther away.
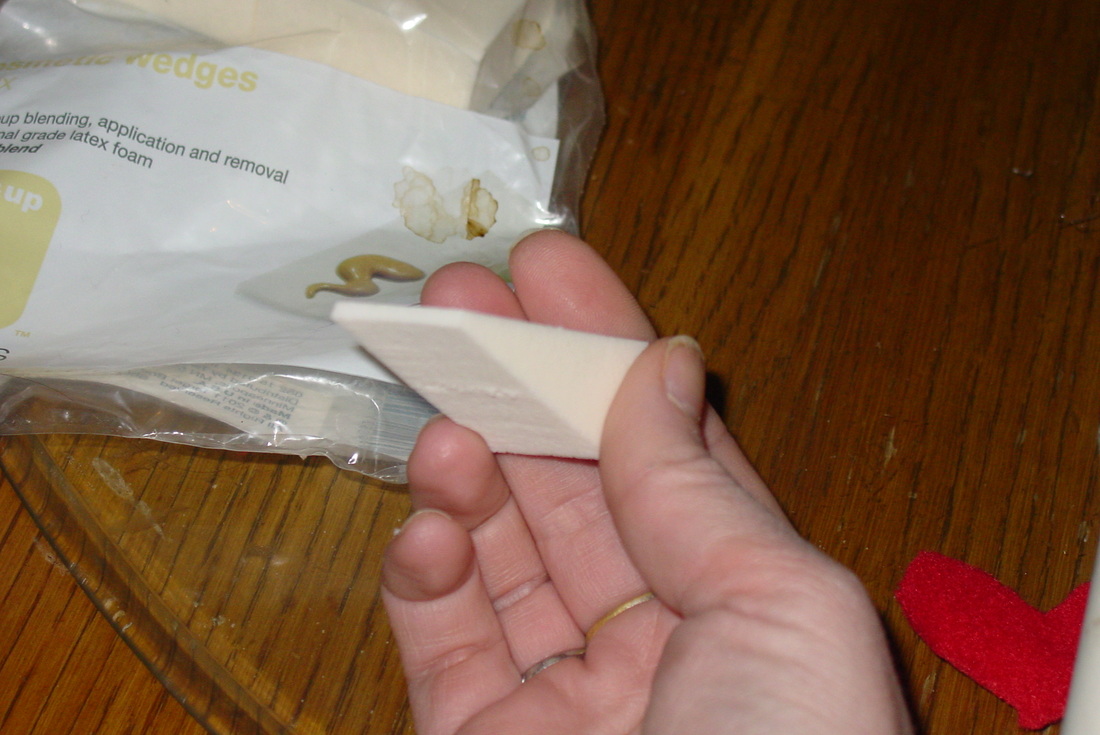
This puppet doesn't have teeth, but I think this a great place to talk about how I do teeth. I carve them with an embroidery scissor from latex makeup sponges. For the particular teeth shown in the pictures, I also "aged" and added plaque to the teeth with 3 different shades of brown markers.
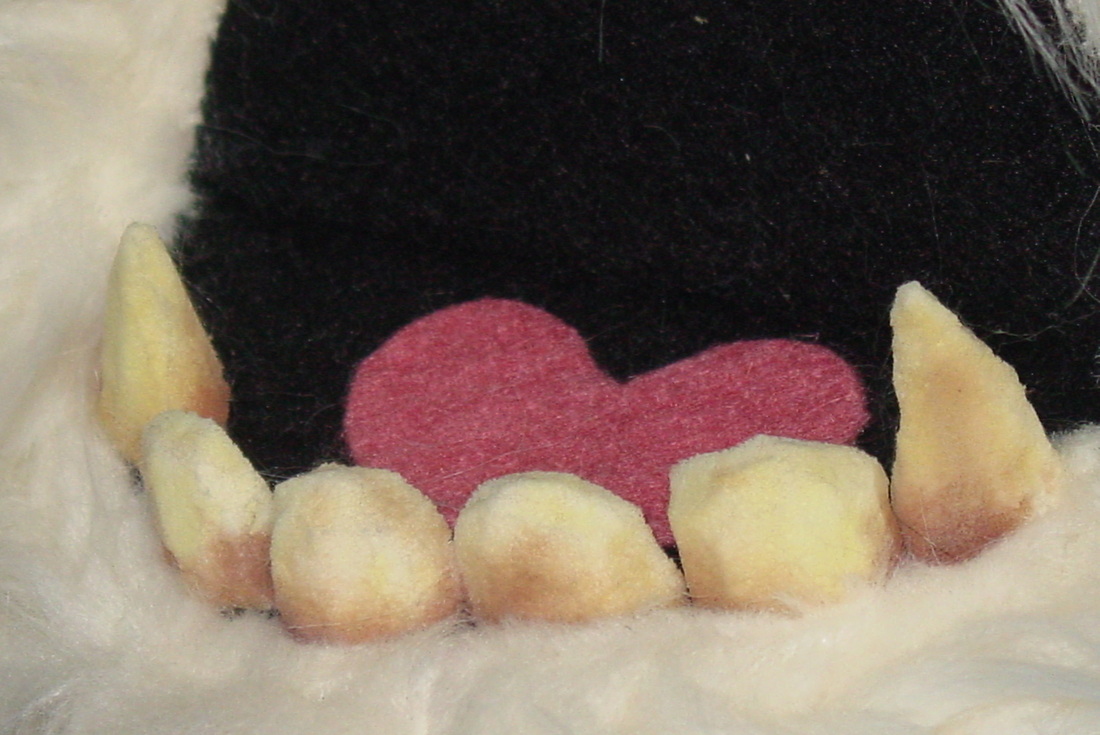
Grungy monster teeth built from makeup sponges
Sewing, sewing and more sewing on the furry monster puppet. No pictures- only because I've already shown you how I sew- it would be repetitive. Instead I will give you a sneak peak at a new puppet I am in the early process of designing. It will be worn around the neck like a stole. The head will be rigged to a bracelet on the singer's wrist, so it will move the fox's head when the singer's arm moves.
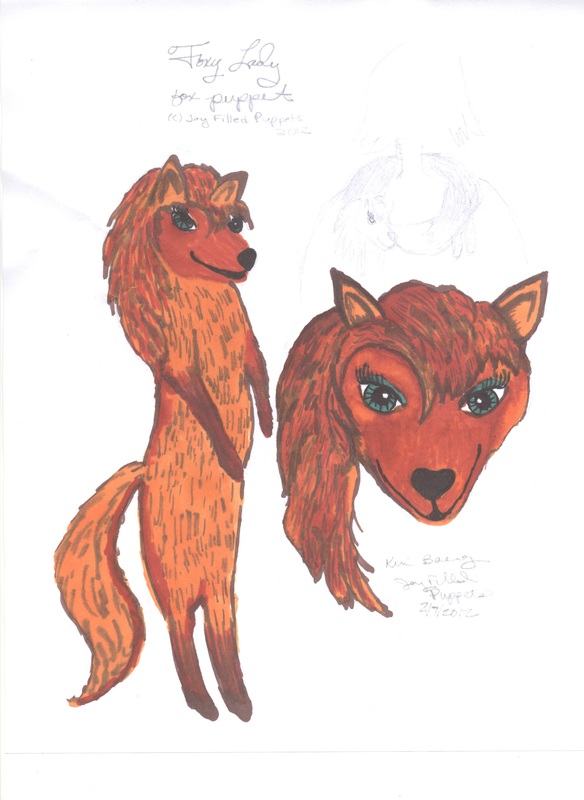
Color rendering of my design for a foxy stole puppet. (c) 2012 Joy Filled Puppets
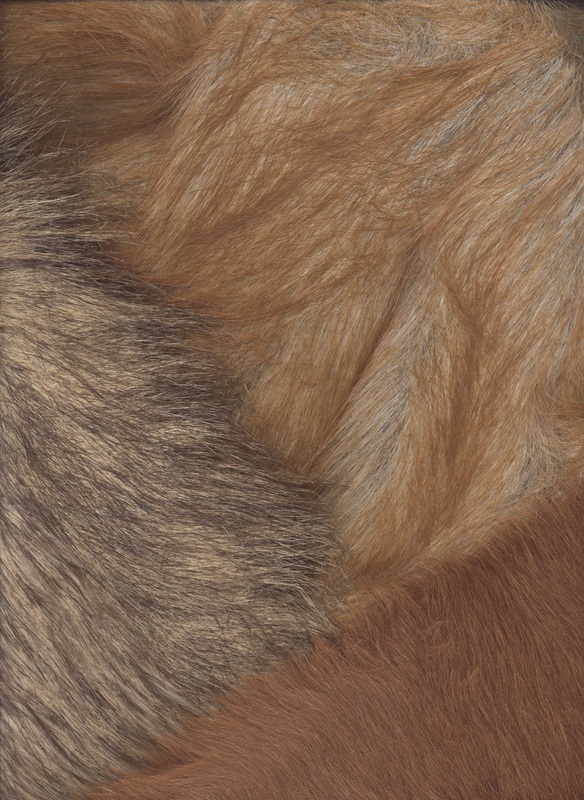
Furs that will be used for foxy stole puppet. Top right- body, Bottom right- head and paws, Left side- tail.
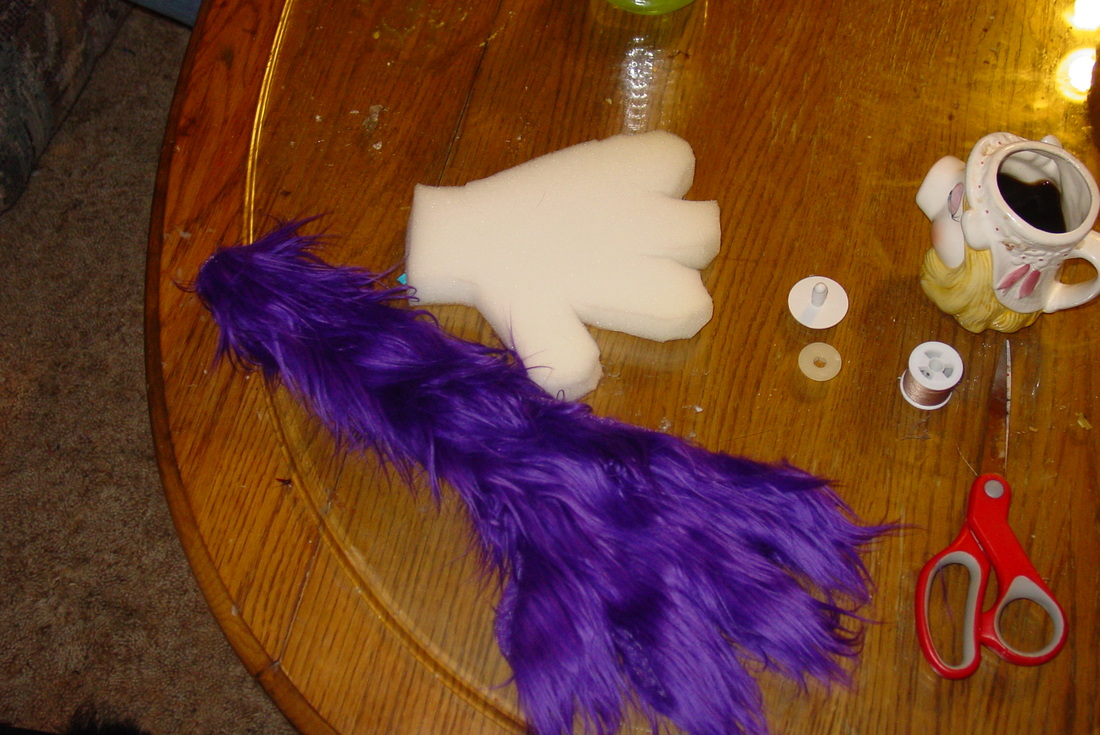
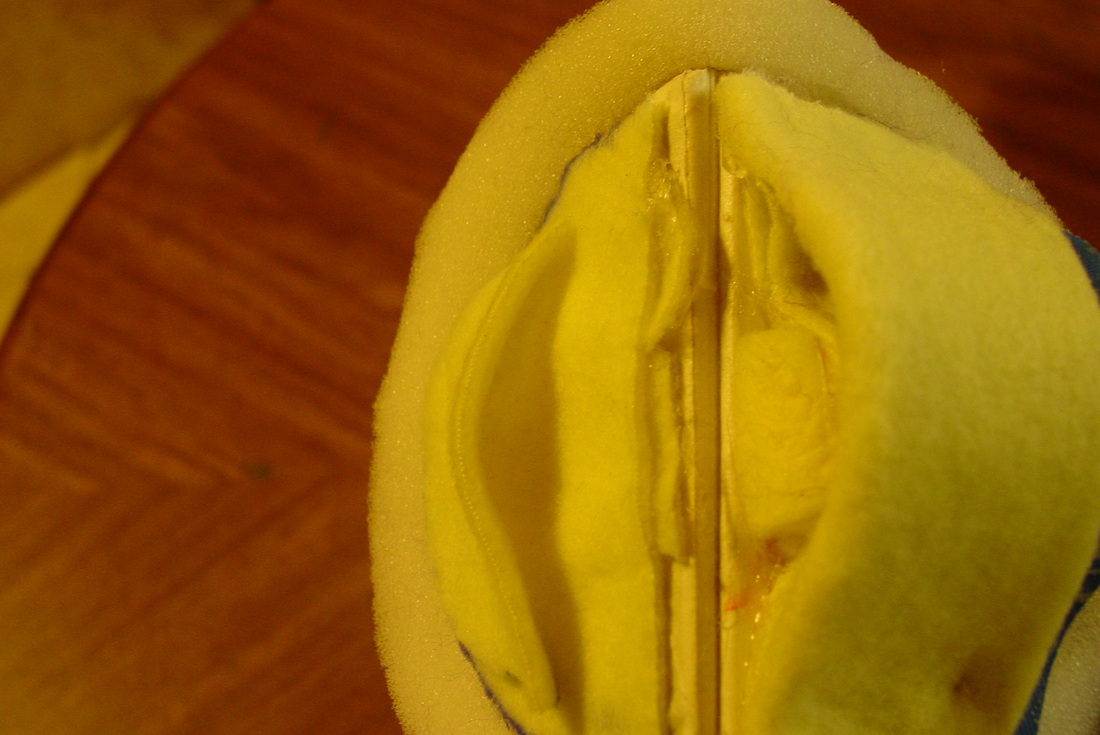
Tonight I'm getting one of the arms attached to the furry monster puppet. I have sewn the arm pieces up, but not the hands yet. This is because I will be inserting the foam piece tomorrow that will give the hand more bulk. I first cut the foam piece into two halves. Then I apply contact cement on both halves. While waiting for the cement to dry, I work on bending a heavy gauge wire into finger shapes. This will allow the puppets fingers to be poseable, and to look as if he is "holding" small objects. After I place the wire on top of one of the halves, I place the other half on to that. I let them dry overnight with a couple heavy books holding them together.
Now onto the arm! I use doll joints to attach my puppet arms. I hot glue the retaining ring into the arm. Next, I make a very tiny hole in the shoulder area that I slide the shoulder bolt through. This attaches very securely into the ring. Tomorrow we'll talk about how to do this puppets tongue, and also a bit more about teeth that I have built in the past.
getting everything all set to arm a puppet
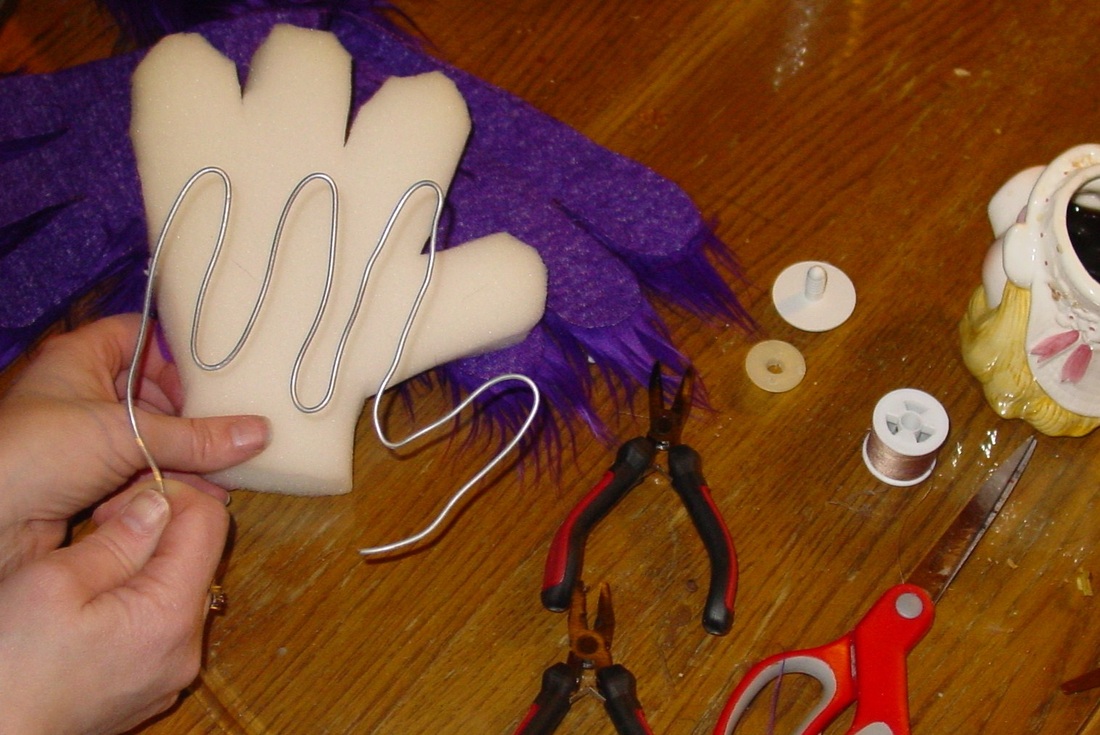
shaping the wire to the foam for the hand

preparing to glue the retaining ring into the arm
the arm after gluing the retaining ring in
the shoulder with the part of the bolt that sticks out, all ready for the arm
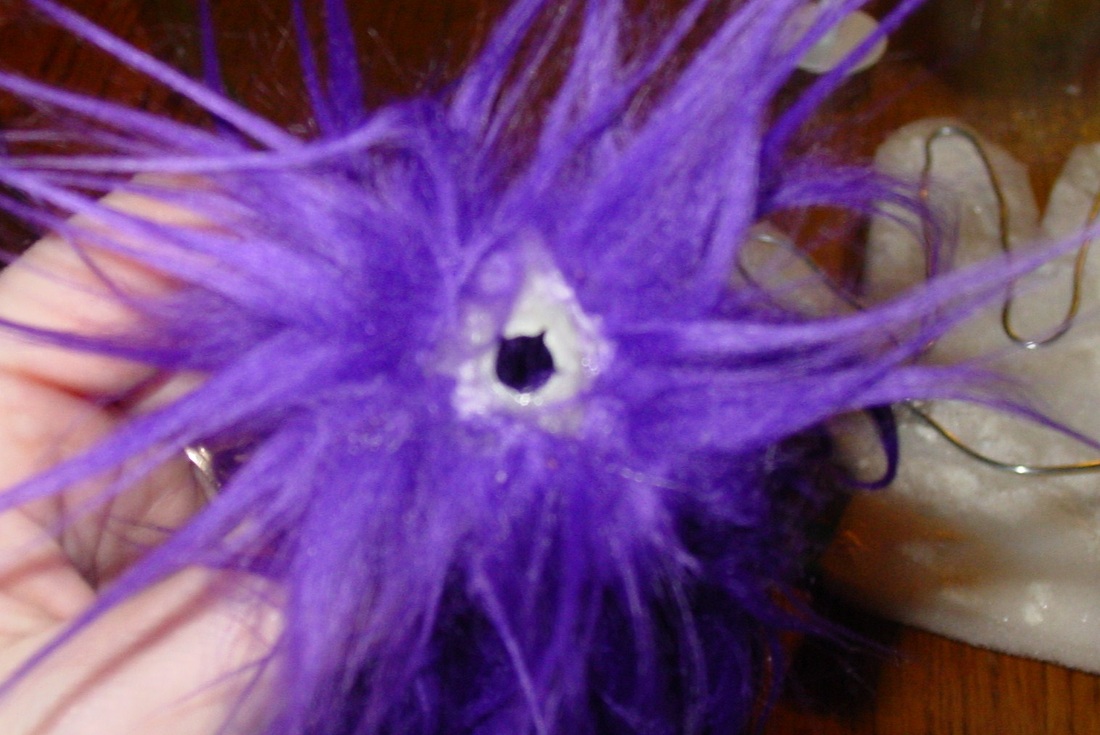
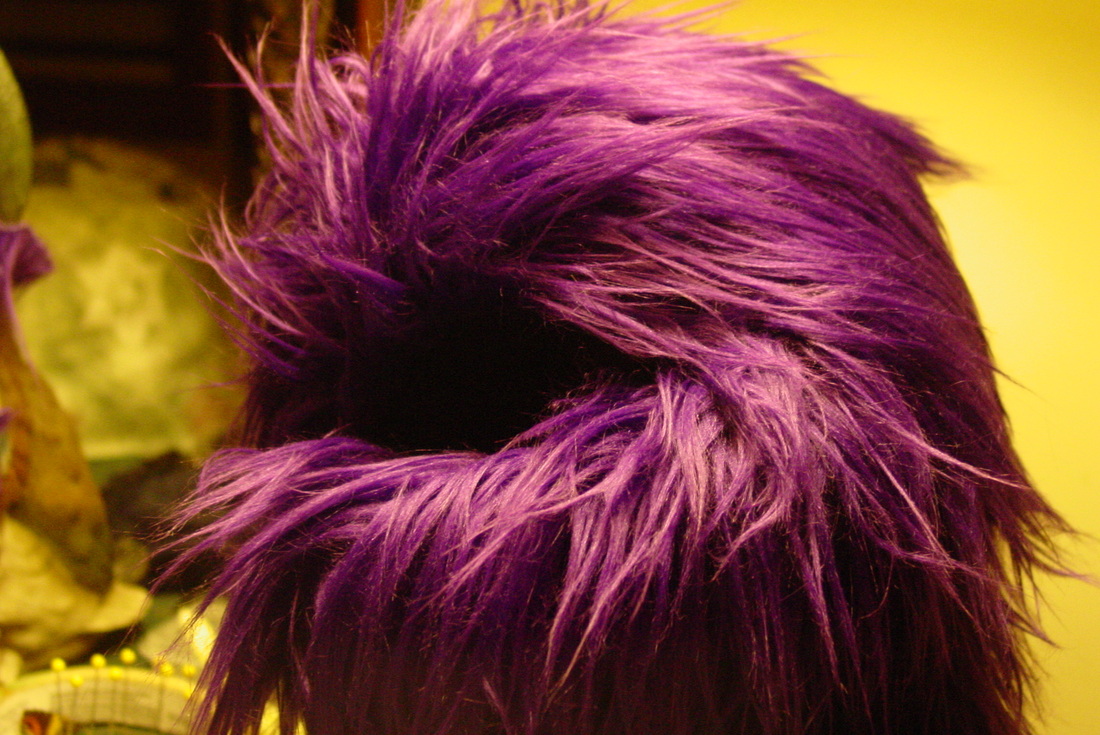
The top hair is in place and wild!
Back into working on our furry little monster!! Time to work on the "hair". I created the hair from a feather boa that I sewed 4 layers of about 5" each together. I then sewed each end of the boa onto either side of fabric behind the eyes of the puppet.
Next, I take an ostrich feather and snip off a few pieces and glue the ends and insert it down into the boa. I do this several times until I get the look I desire. I keep my original illustration in front of me at this point, so I can match it as closely as possible.
Tomorrow, we'll talk arm joints! :)
Attaching the boa layers to the long haired fur fabric with upholstery thread.
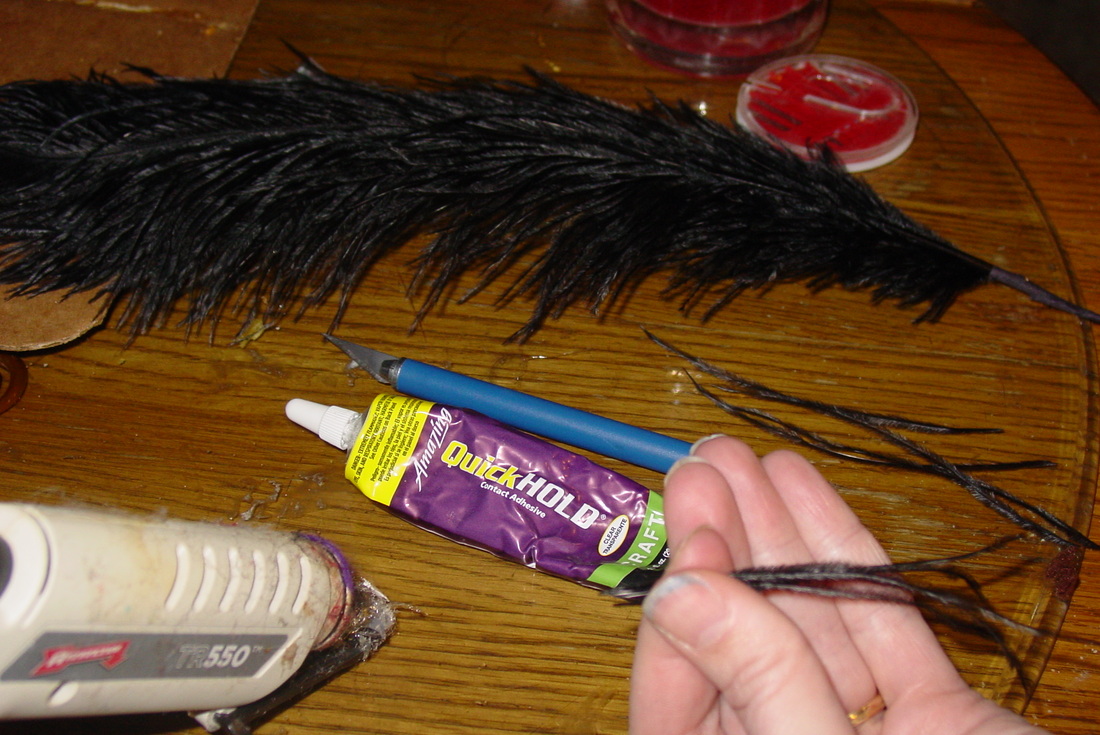
Cutting off ostrich feather pieces to glue to head

A few feather pieces transplanted as monster hair!
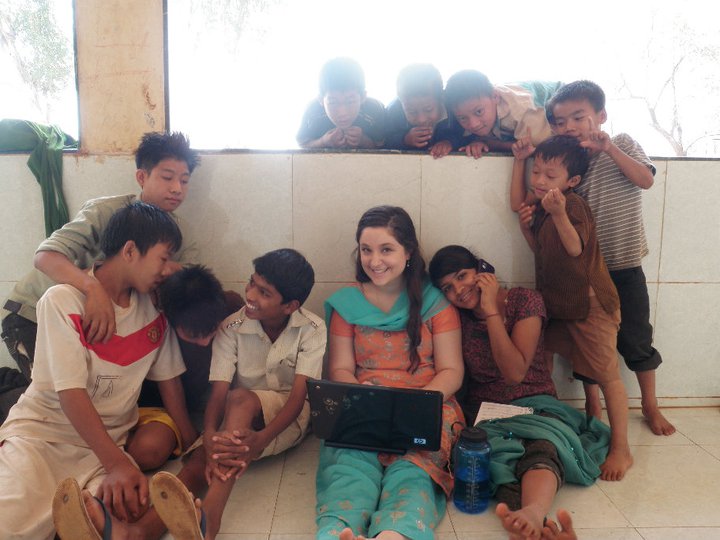
Some of the kids at the children's home in 2011, playing and hanging out with a friend of mine.
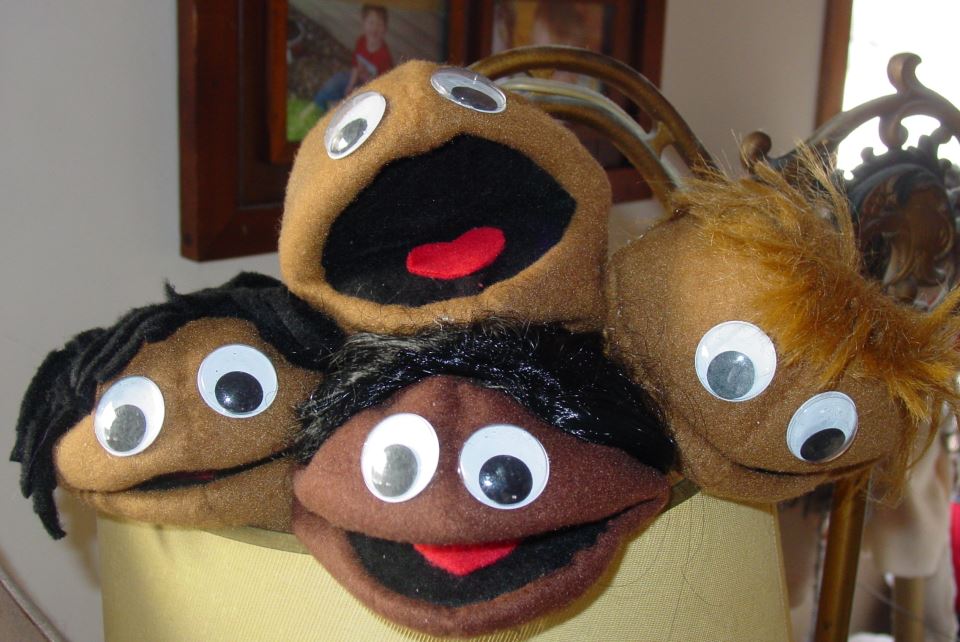
A few puppets resting in the shade!
Hey Everybody! Stick with me- we'll be back into furry monster tomorrow. I have been working on 6 special little puppets that will be heading to India with a missions team to teach at a children's home in Karjat. I created them from the "infamous" 1969 pattern that Jim Henson created for Women's Day magazine. They are about 14" tall, and compact really nicely to take up very little space. I am excited to get them finished up, so I can go teach the team how to use them this week. I will post some more on furry monster puppet tomorrow- this project just got put to the top of my list because I can see the impact that it will make in India in the lives of these kids.
Mouthplate with bottom thumb pocket sewn in.
Nose pinned on to check for placement.

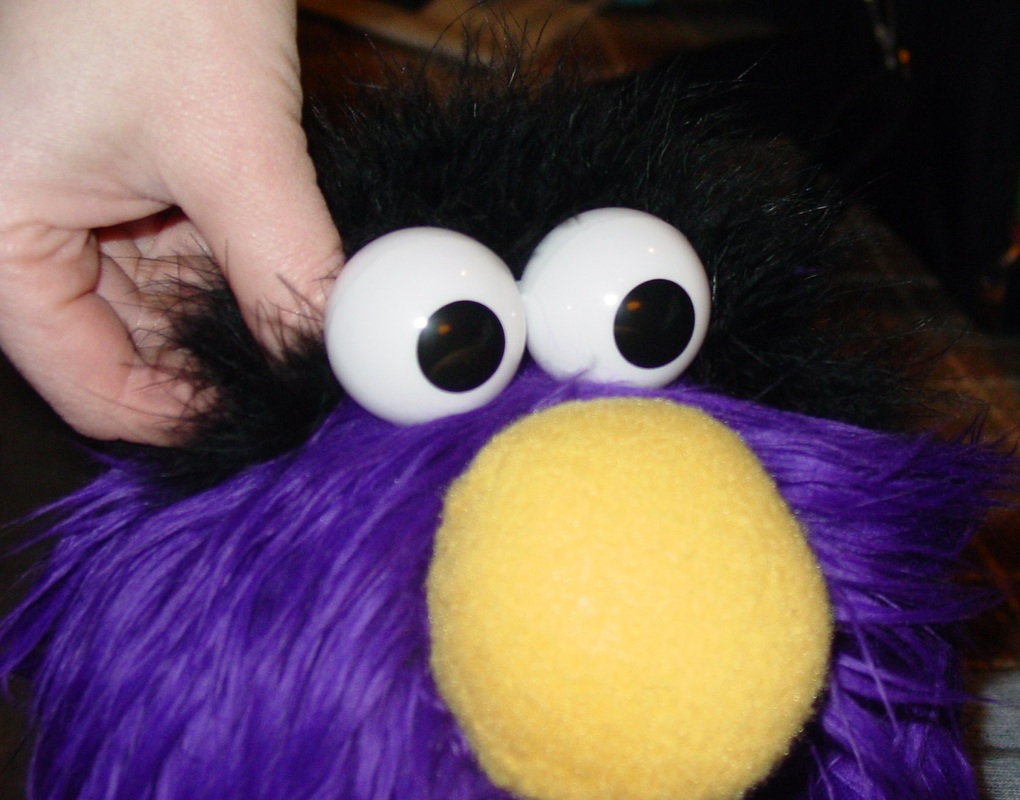
Nose pinned on, holding eyes up to decide where they LOOK best.
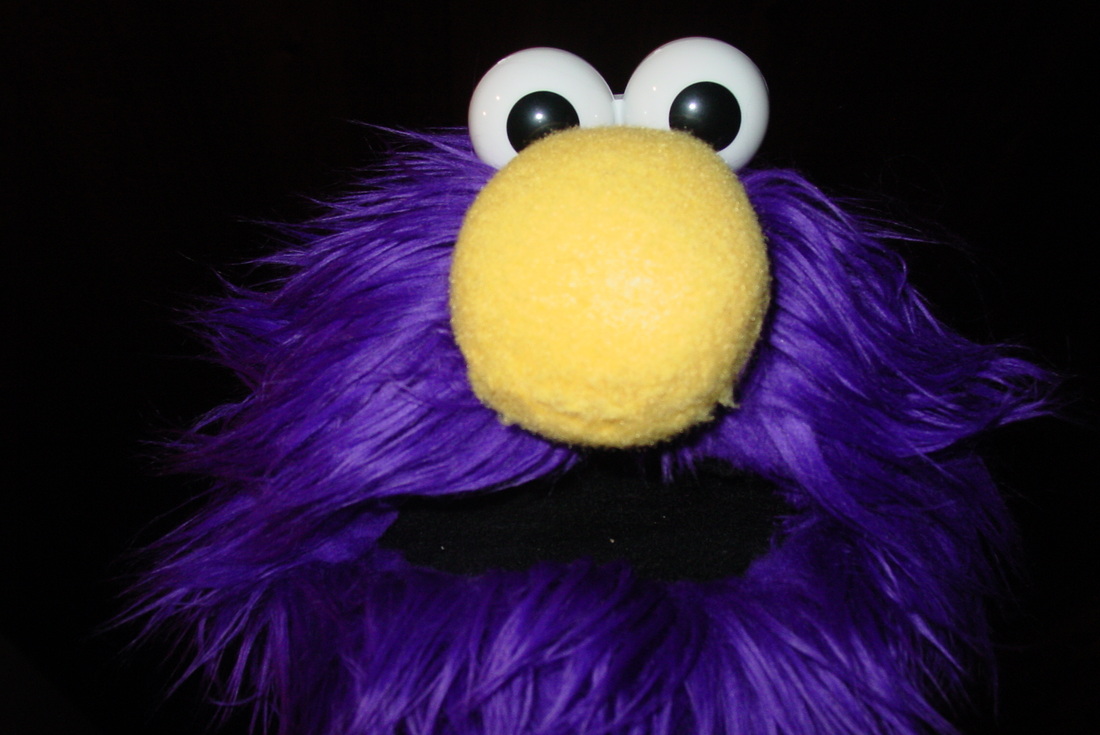
Puppet head after permanently attaching eyes and nose.
After finishing up the mouthgrip on the mouthplate inside the head, I get to turn it right side out again. I add the foam skull piece back in, in order to decide the placement of the nose and eyes. I can pin the nose on temporarily, then I can see where the eyes should go. This is a very important part of the puppet build, because the "focus" of the eyes needs to be just right. I want this puppet to appear to be almost peeking over his nose directly at the camera/audience. I used the seam as a guide to center the nose and the eyes, and decided on placing the eyes about 2 finger widths back from the top of the nose. This is going to differ from puppet to puppet. I really take my time getting the placement decided. I pin them where I think they should go- then I look at them straight on and from the sides. I also have other people look at them. (My kids are great critics!)
Before I sew the nose in place, I trim up some of the fur that will be directly under it (makes it lie flush to the head). After sewing the nose. I mark to small areas to cut just enough room to slide the posts from the eyes down into. I add the push-nuts onto the posts from the inside and they are locked in!

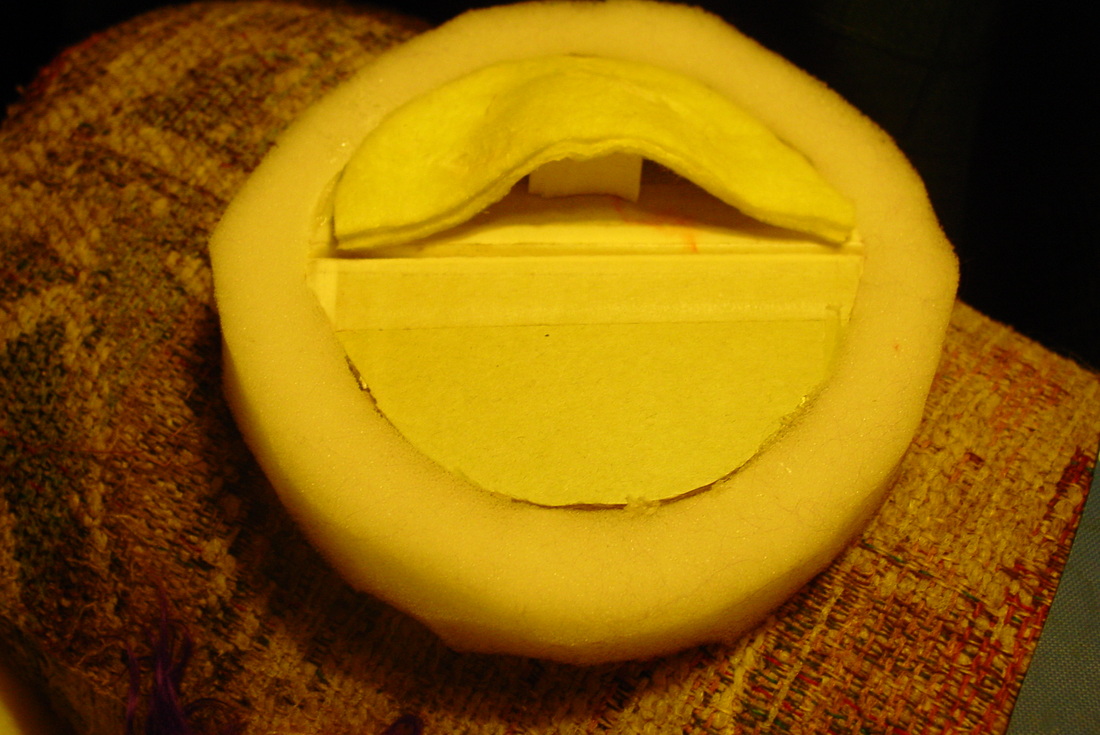
Positioning the grip onto the mouthplate
Tonight, I have been working on building the mouthgrip onto the mouthplate. I sew a panel of fleece around a sheet of rubber that goes together for the fingers of the hand to slide into. I also place a piece of latex makeup sponge material under where the middle of the hand goes to form a more natural position. (Otherwise, the puppeteer would be working with their fingers in a very uncomfortable position, basically flat out the whole time)
The panels of fleece are sewn together at the edges and cemented down to the mouthplate over the sponge. The whole thing is cemented to the black fleece inside the mouth.
Then, I turn the whole thing right side out to check my work again. Yay! Tomorrow we will be moving on to adding more facial features.
Mouthplate with grip, before adding top part to hold fingers in snugly.
Funny, furry featureless head!
Brrrnadette saw her shadow today. She's wondering what we'll have 6 more weeks of. It certainly hasn't been a snowy Minnesota winter, thus far. I sat outside sewing for over an hour this afternoon with temps in the upper 40s and no breeze. WONDERFUL!! More building blog to come....please stand (or sit) by....
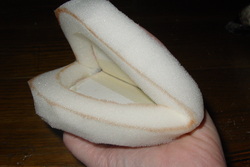
The mouthplate is the most important functioning part of the puppet. It really is the heart of the puppet, where all the life comes from. It needs to be easy to manipulate. Each puppet builder has their own preferred way of building a mouthplate. I build this mouth from very heavy cardboard (it's from an artist canvas). I place the two halves of the cardboard a little ways apart, then tape them together with masking or gaffers tape. Then, I glue the cardboard piece into the foam. All this will be glued to the inside of the fleece mouth- which I will show you on the next post. :)

Parts all ready to assemble mouthplate
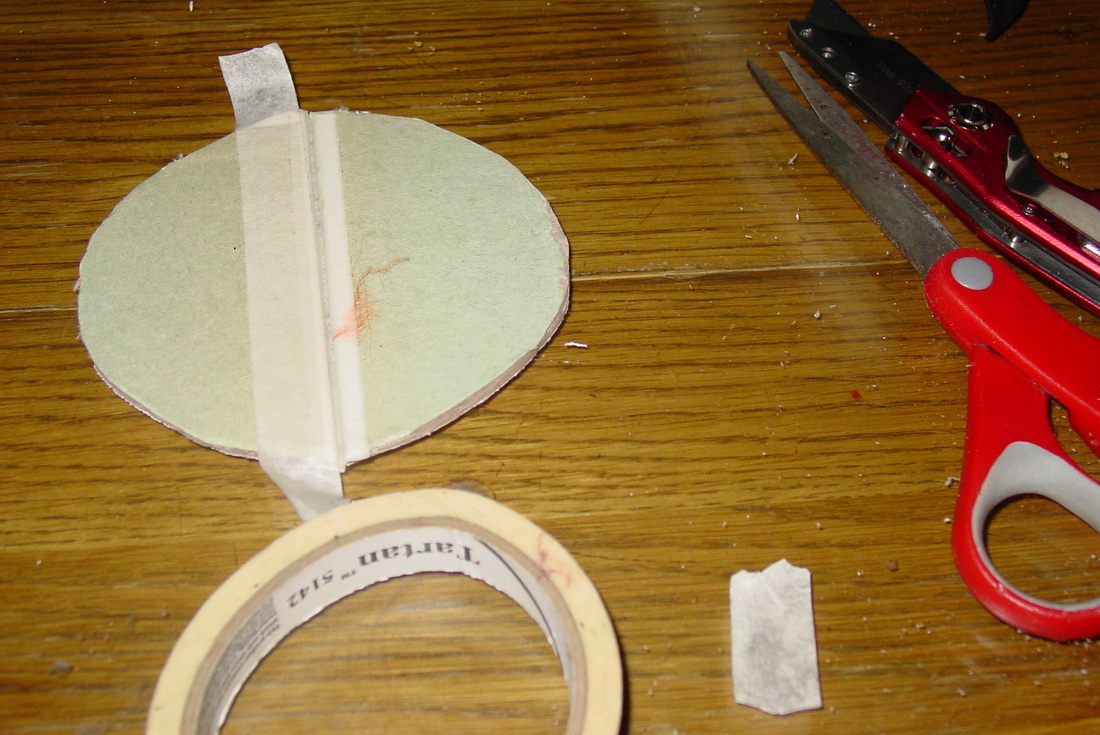
Taping the halves together before gluing into the foam piece for mouthplate.


 RSS Feed